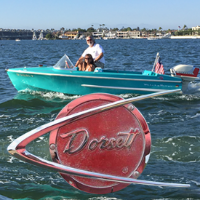
My wife went out of town this weekend so here's what I did for fun.
")
I needed to replace the exhaust cover gasket(s) on the side of the powerhead which required removing the powerhead. While I had it out I repainted the powerhead and cleaned lower cowl...
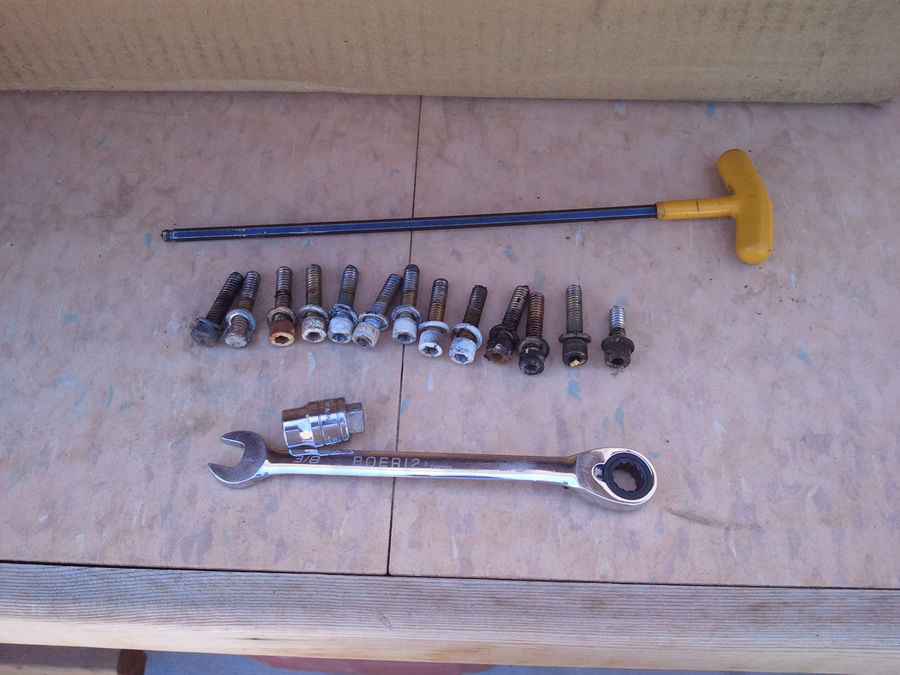
There are thirteen bolts. Mine had two hex head 3/8" bolts with 11 allen head bolts. As you can see this was serviceable with the motor still hung on the transom.
As advised by Flying Fish, I use a ball end hex wrench to access the 11 bolts. The port side was removable with a 3/8 open end wrench. The starboard side required a socket with a cut off 3/8 drive to get the 3/8" open end wrench on the bolt.
Tips for Removing my Powerhead
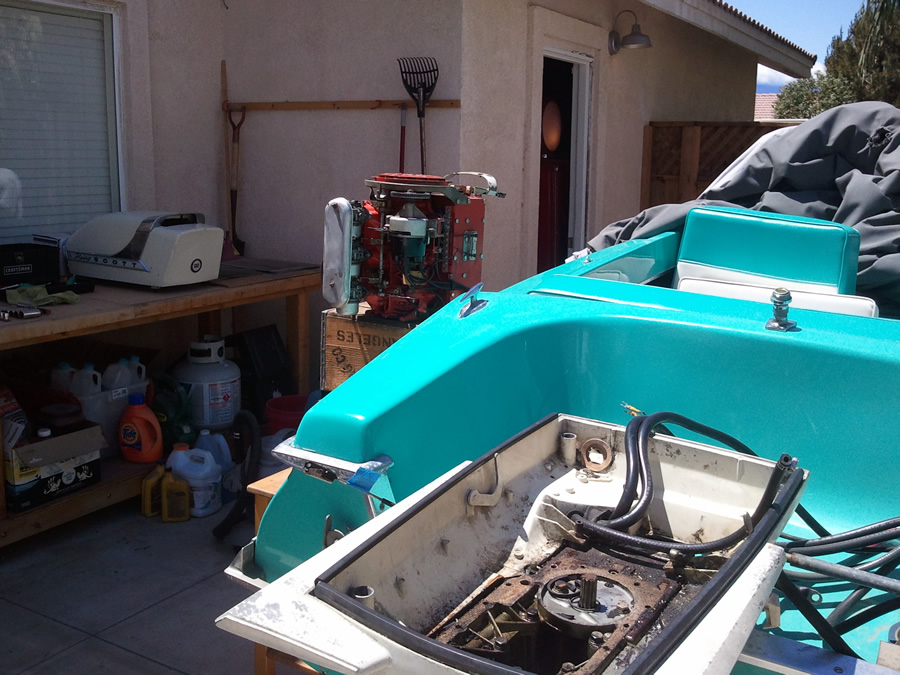
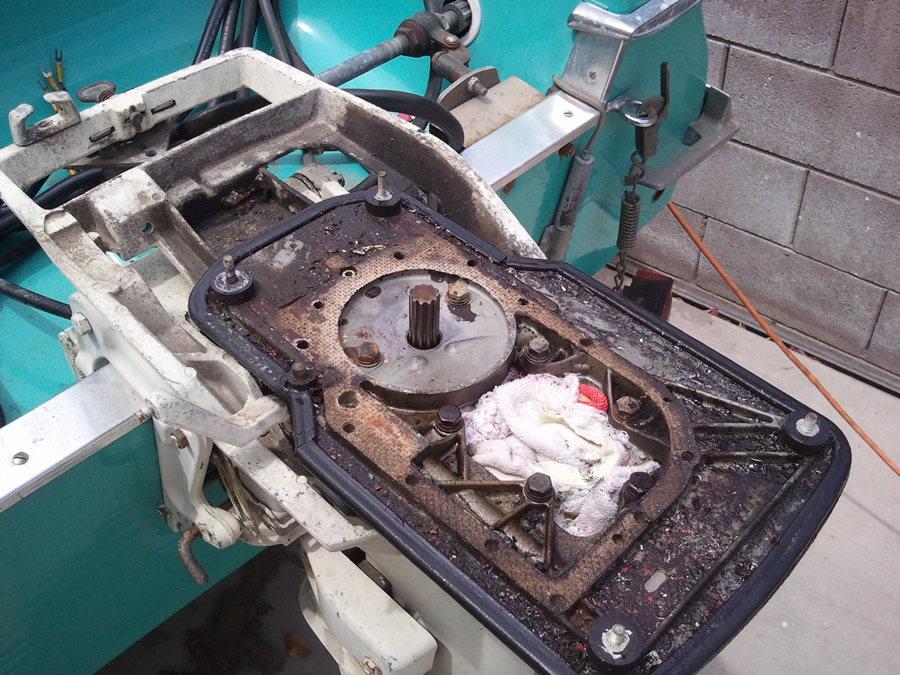
So here's what I did... after disconnecting the battery cables, throttle cable, fuel line and electrical harness and removing the 13 bolts I removed the powerhead.
In an ideal world I would have had a overhead hoist or at the very least a helper. But in order to do this alone I tipped the motor to the up position and got in the back of the boat. From here I was able to lift the power head off the prop shaft. I sat the motor on a table with wood boxes that was the same height as the boat. I made the mistake of leaving all the components on the block. If you do this, at the very least remove the starter and fly wheel to lighten the motor.
I removed the lower cowl (just four nuts) and stuffed a rag in the lower to proceed with the degrease clean-up of 50 years of grime.
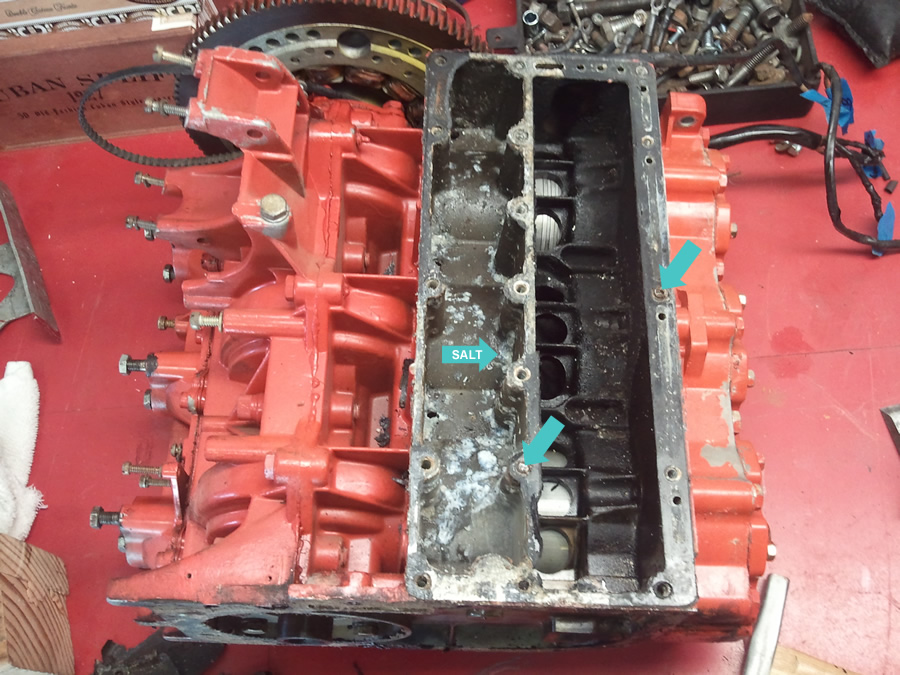
I removed the side cover and had two broken bolts to replace. The bolts were so soft I was able to drill the middle of the bolts and retap the hole to the original 1/4-20 size. Note the salt, compliments of the Pacific ocean. I always flush the motor after running it but salt residue remains!
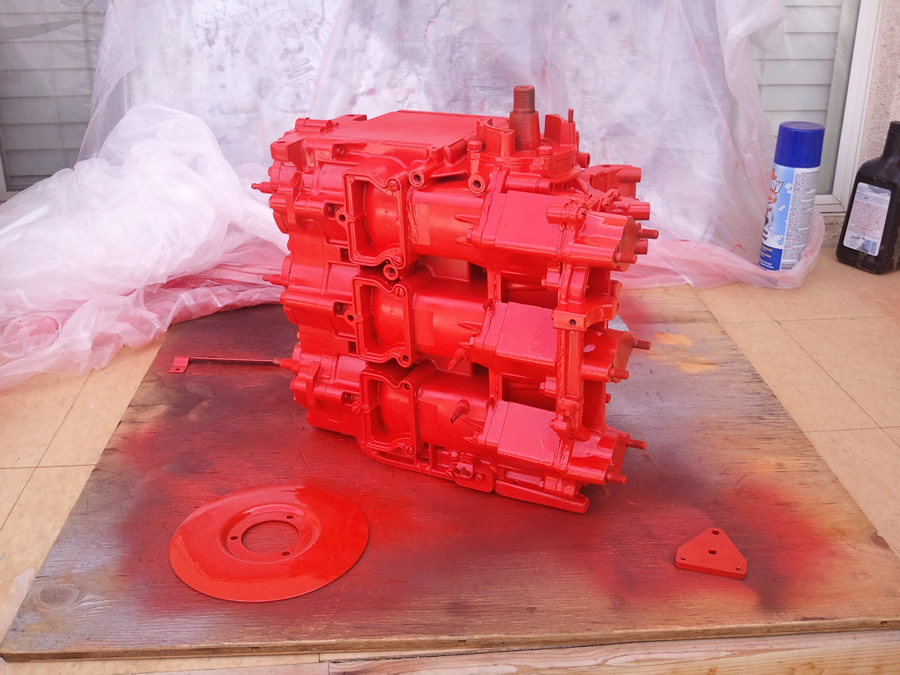
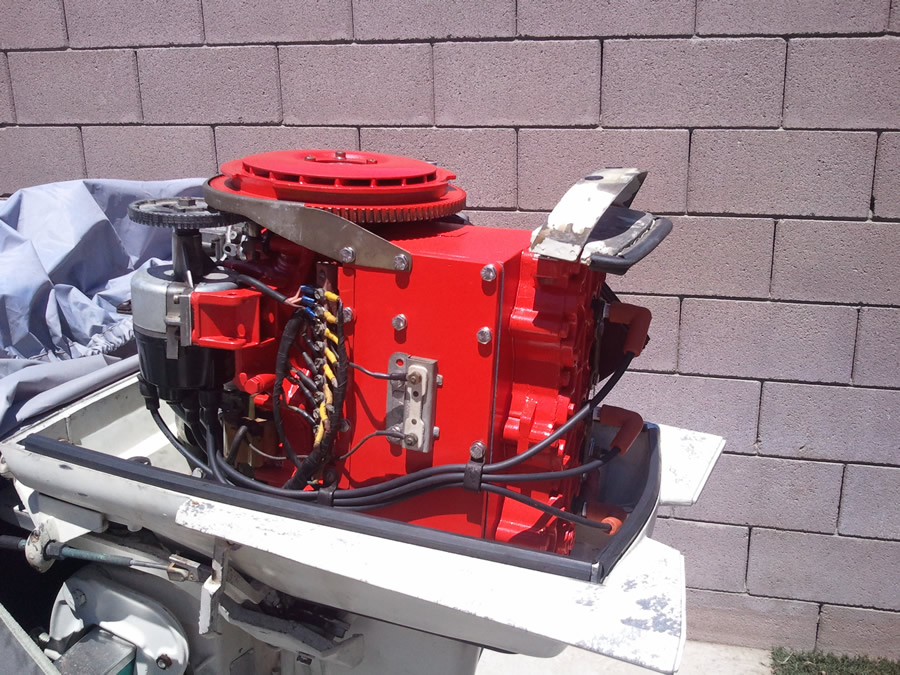
After sealing up the motor and thoroughly degreasing and cleaning the motor I gave it a fresh coat of red engine paint. Autozone calls this Chevrolet Orange Red.
I reassembled the motor with new stainless hardware and gaskets from
laingsoutboards.com/
Two on the exhaust cover, 1 on the base of the motor. (Note: placing the motor back on with all the accessories removed was a whole lot easier!)
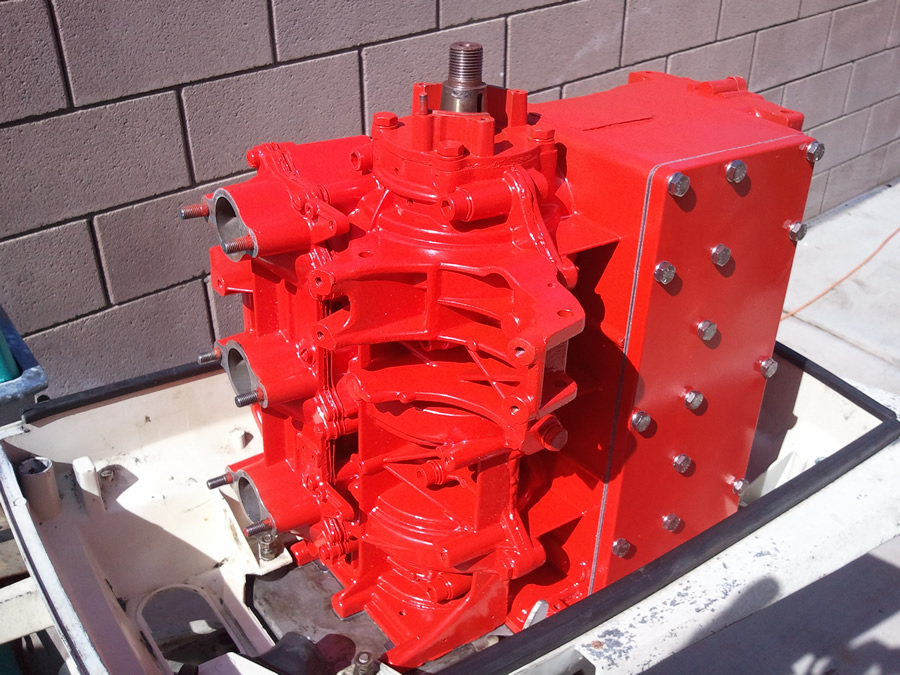
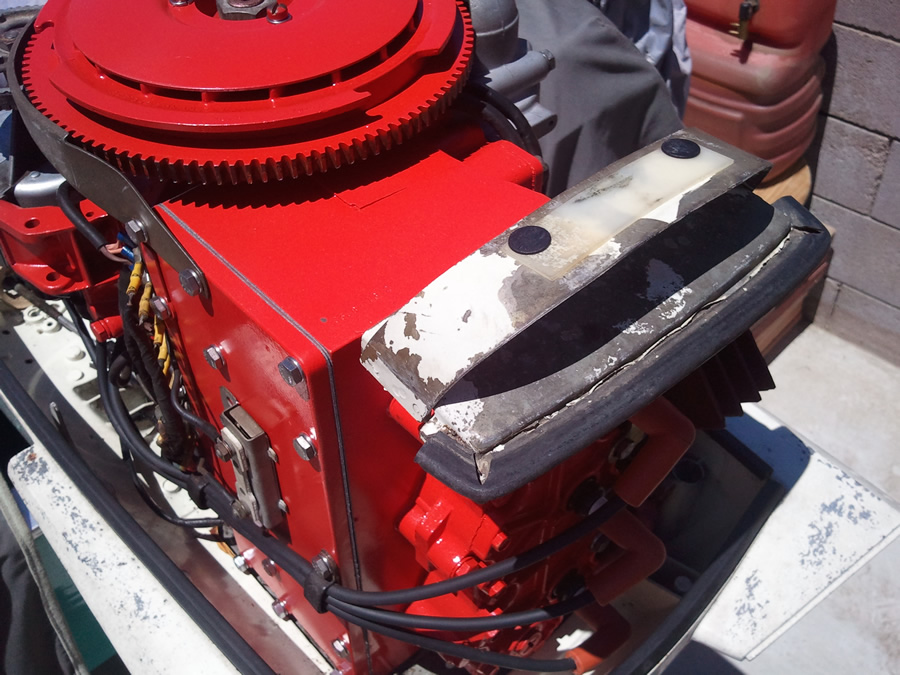
Here's the motor all reassembled.
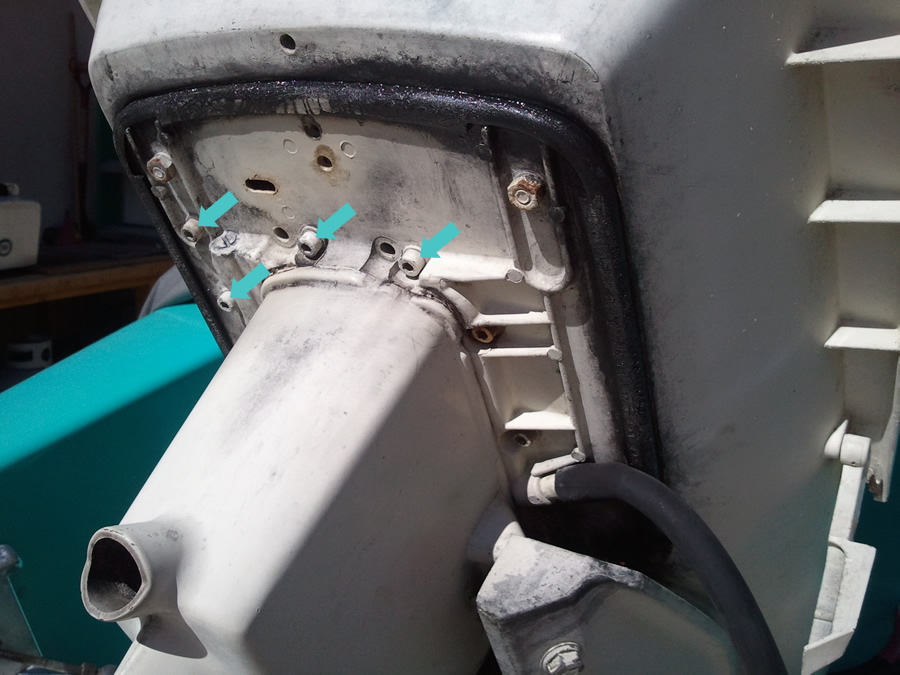
The side cover gaskets are sandwiched with an aluminum plate. This plate allows water to flow around the exhaust port and into the spaces cast into the walls of the motor.
If you look close you can see my modification:
For the bottom 3 bolts I cut off 3 1-1/4" long 1/4-20 bolts and red Loctited them into the case. Then I used 3 nuts with lock washers to hold on the cover. This way in the future I should be able to remove the exhaust cover without having to remove the powerhead.