|
Welcome,
Guest
|
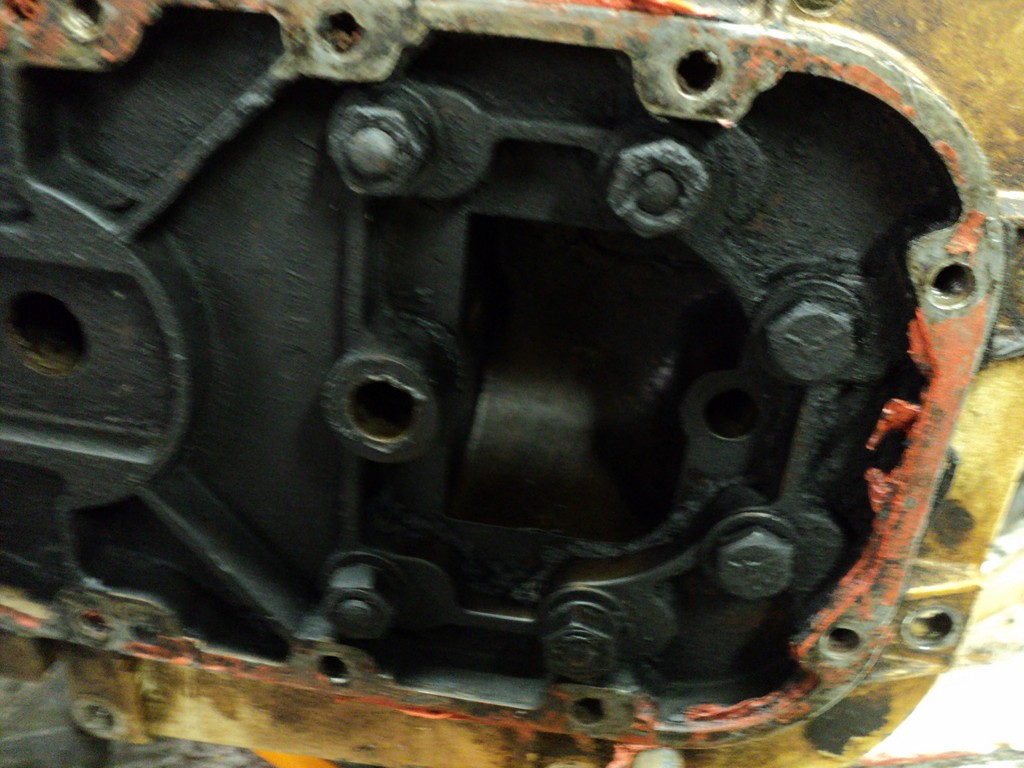
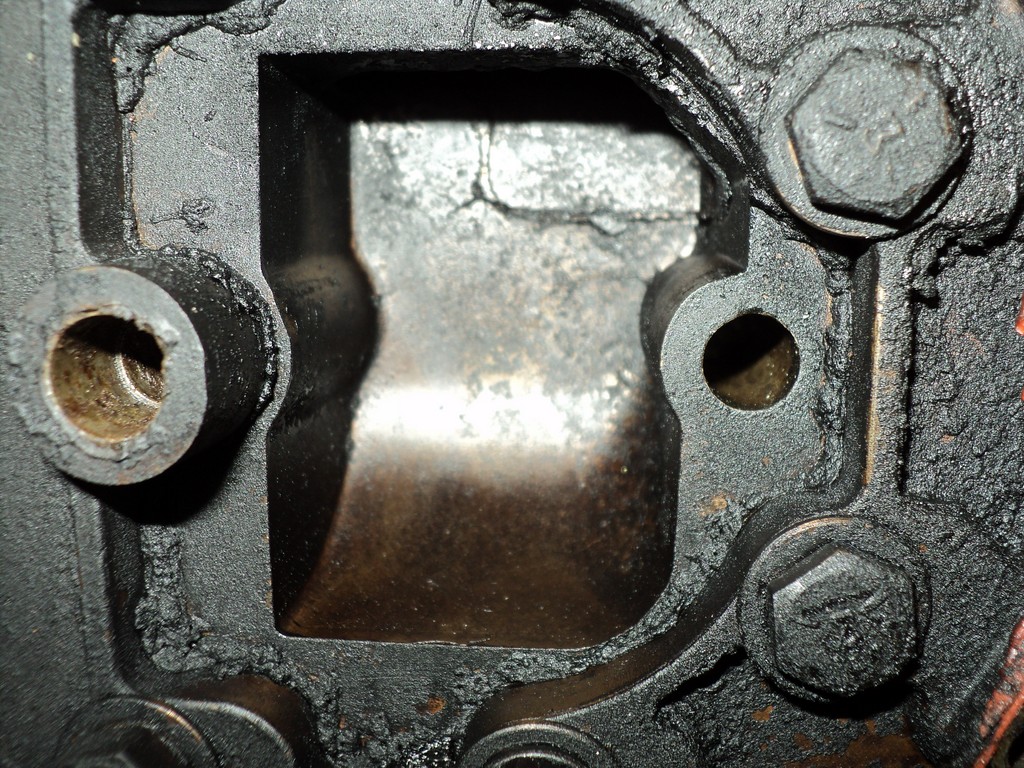
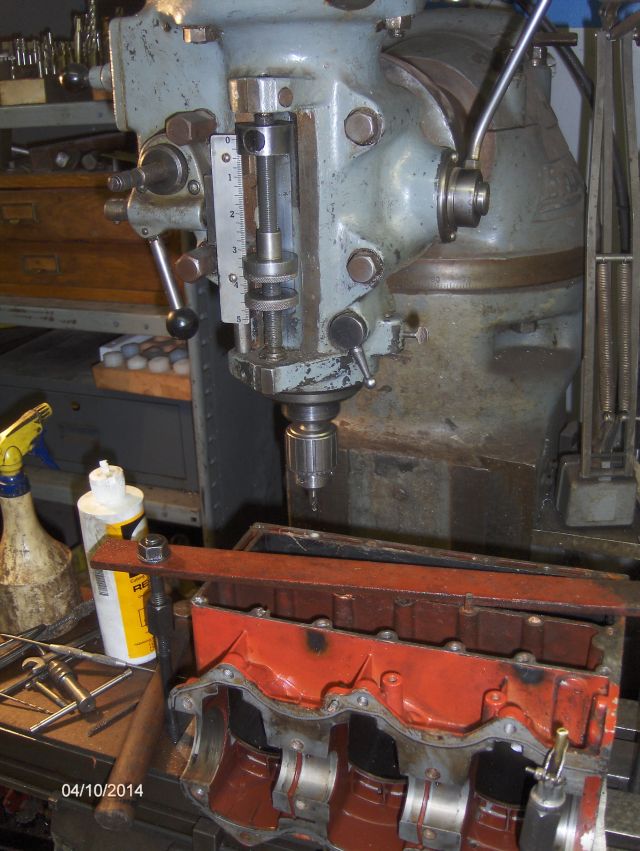
TOPIC: Tips for Removing my Powerhead
Tips for Removing my Powerhead 10 years 5 months ago #92488
|
Please Log in or Create an account to join the conversation.
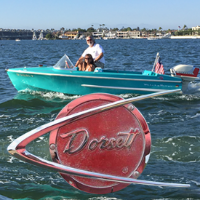
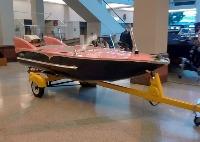
1960 Dorsett Belmont w/ 60 HP Flying Scott aka \"Whisky Tango\"
dorsettbelmont.blogspot.com/
Read my Jerky Blog at
JerkyAficionado.com
|

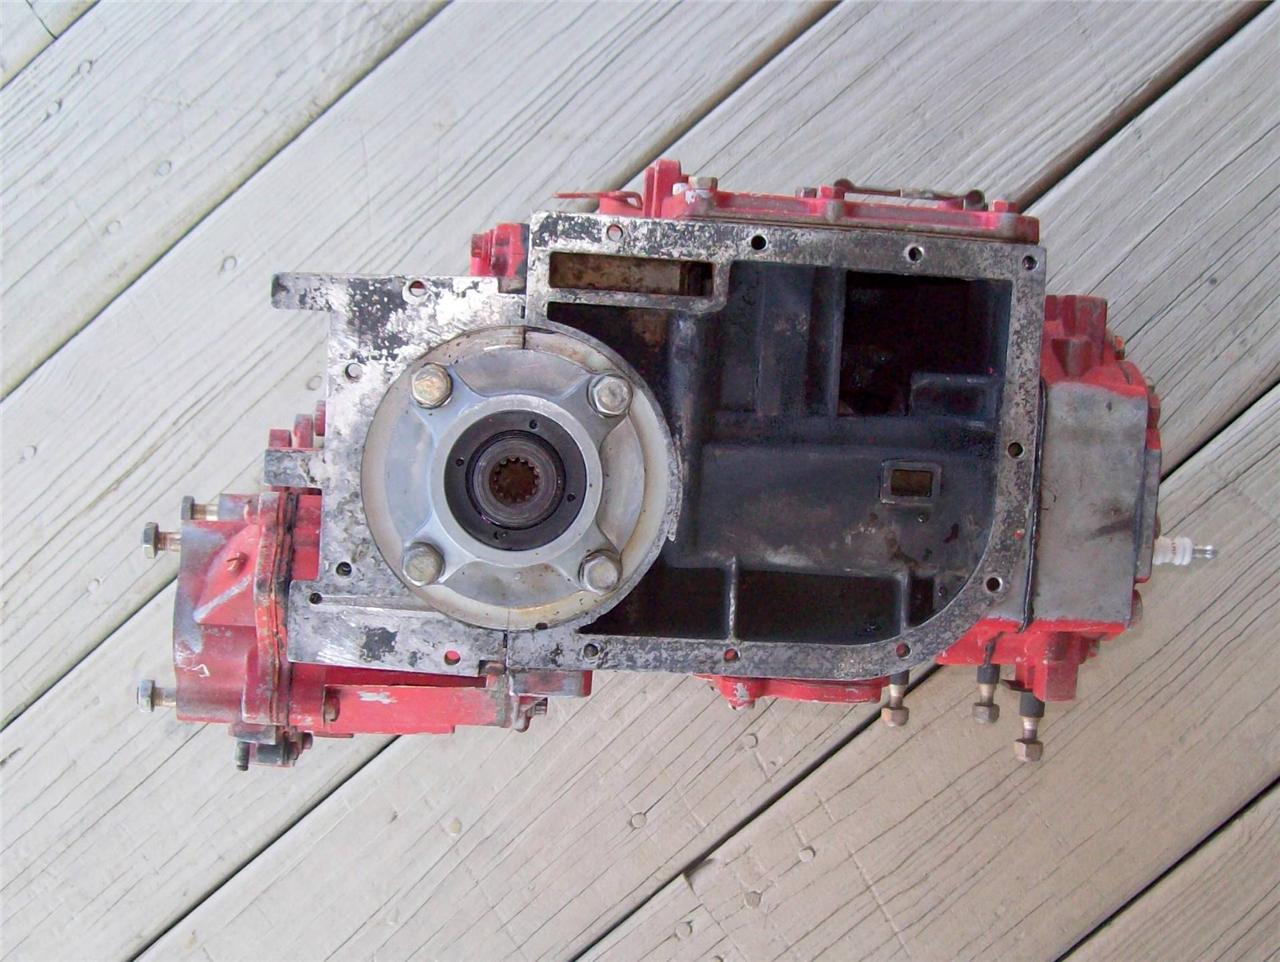
Re:Tips for Removing my Powerhead 10 years 5 months ago #92493
|
|
Please Log in or Create an account to join the conversation. |


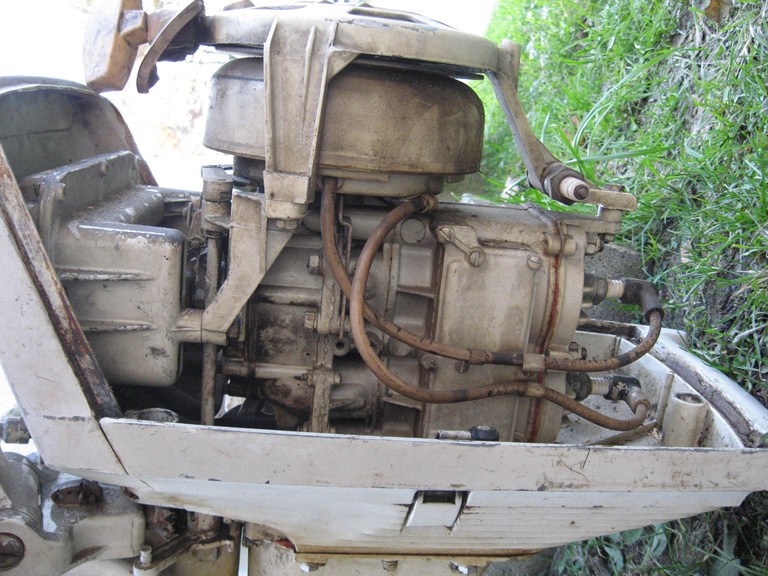
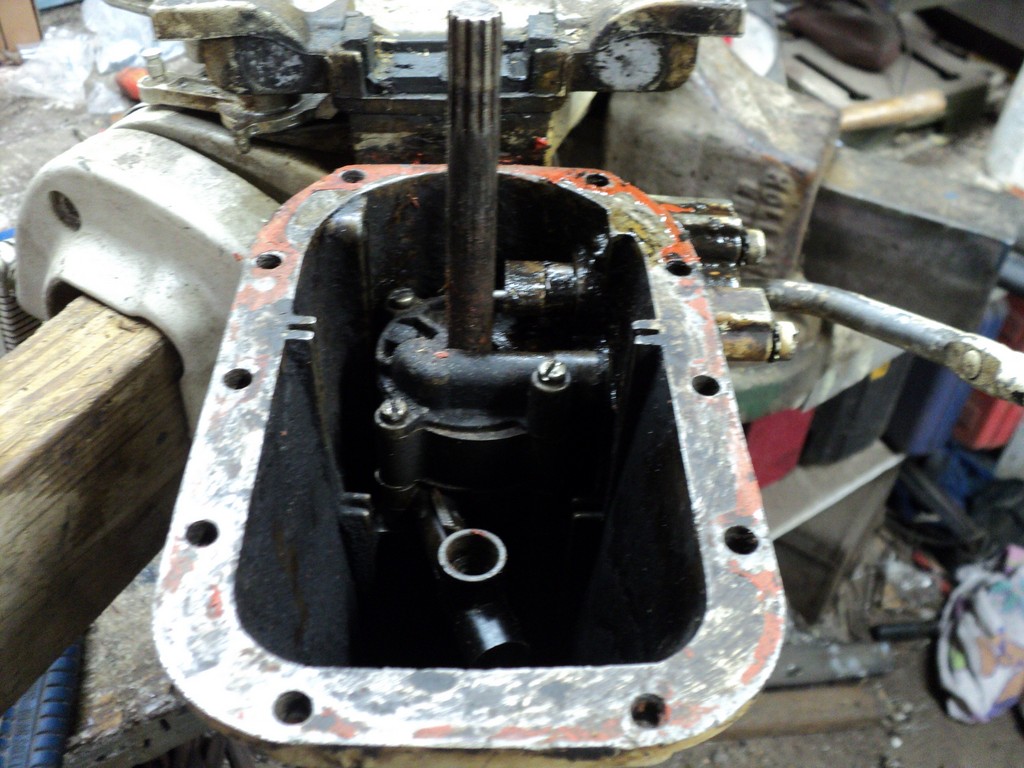
Re:Tips for Removing my Powerhead 10 years 5 months ago #92503
|
|
Please Log in or Create an account to join the conversation. |


Re:Tips for Removing my Powerhead 10 years 5 months ago #92517
|
|
Please Log in or Create an account to join the conversation. |
Re:Tips for Removing my Powerhead 10 years 5 months ago #92593
|
Please Log in or Create an account to join the conversation.
1960 Dorsett Belmont w/ 60 HP Flying Scott aka \"Whisky Tango\"
dorsettbelmont.blogspot.com/
Read my Jerky Blog at
JerkyAficionado.com
|
Tips for Removing my Powerhead 10 years 5 months ago #92594
|
|
Please Log in or Create an account to join the conversation. |
Re:Tips for Removing my Powerhead 10 years 5 months ago #92599
|
Please Log in or Create an account to join the conversation. |
Re:Tips for Removing my Powerhead 10 years 5 months ago #92601
|
|
Please Log in or Create an account to join the conversation. |
Re:Tips for Removing my Powerhead 10 years 5 months ago #92602
|
Please Log in or Create an account to join the conversation.
1960 Dorsett Belmont w/ 60 HP Flying Scott aka \"Whisky Tango\"
dorsettbelmont.blogspot.com/
Read my Jerky Blog at
JerkyAficionado.com
|
Moderators: kensikora, classicfins, bruce gerard, billr, mrusson, cc1000, MarkS, Waterwings, Nautilus, jbcurt00
Time to create page: 0.199 seconds
Donate
Please consider supporting our efforts.
Glassified Ads
1958 Skagit Sportster |
Winner Marauder - the classic 1970 runabout!( / Boats)

09-16-2024
TEE NEE TRAILER W/BEE BOAT( / Boats)
09-11-2024


FG Login

FiberGoogle
Who's Online
We have 8775 guests and no members online