These days, most hardware found on boats is either chrome plated or stainless steel. While stainless can be polished just like aluminum, chrome plating cannot.
Luckily for us, much of the hardware on many Fiberglassic boats was cast aluminum. And while stainless steel's hardness makes healing and polishing a chore, aluminum can be polished bright with relative ease.
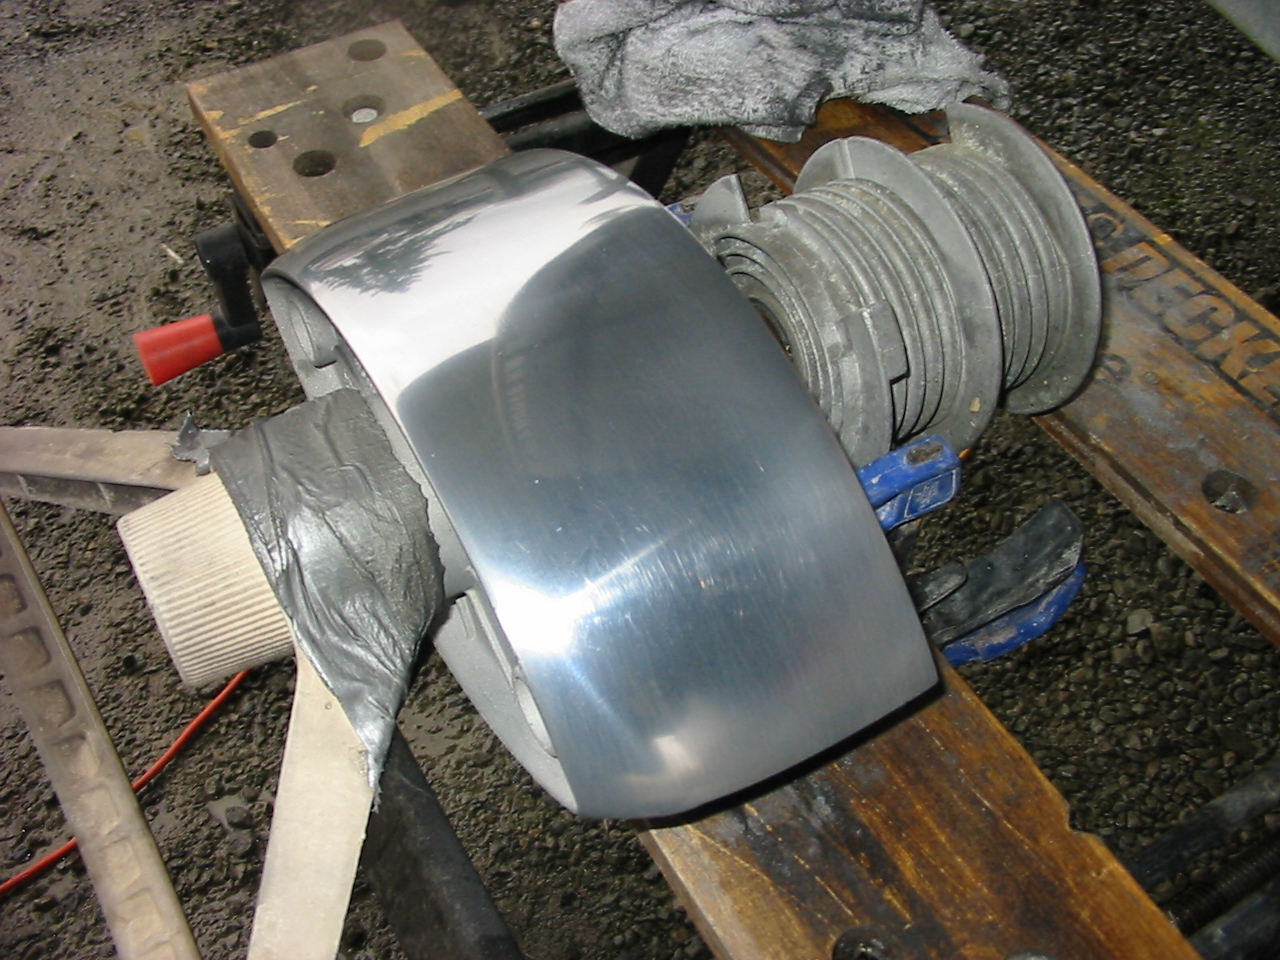
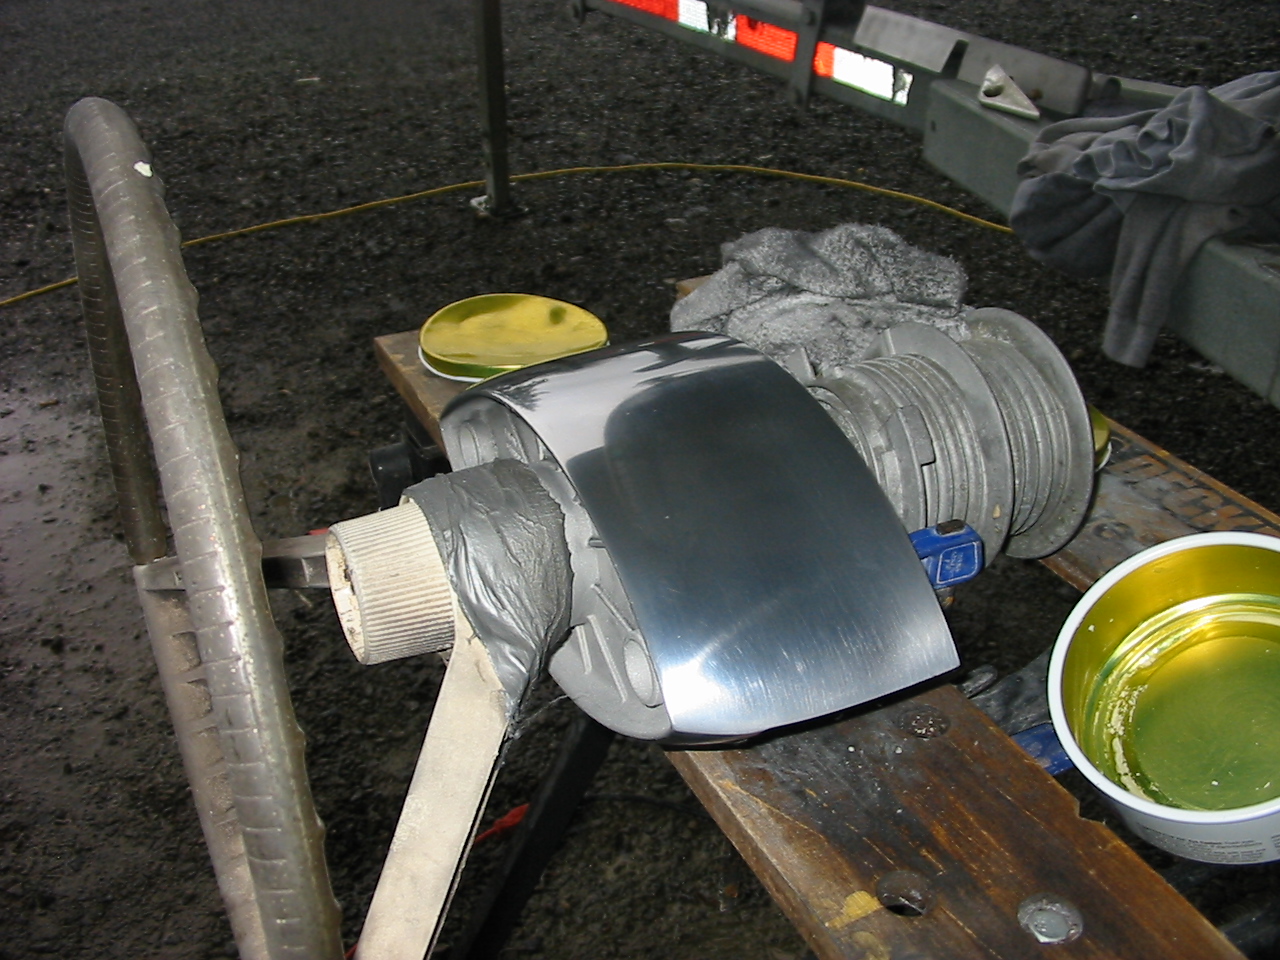
In this pictorial, We've taken the helm from a 1963 OMC, had it sandblasted to remove the old brown paint, and we're going to polish it up bright.
My apologies in advance for the lack of a good "Before" picture. Todd, who owns the working hands you see in the photos, was off and running before I could grab the camera.
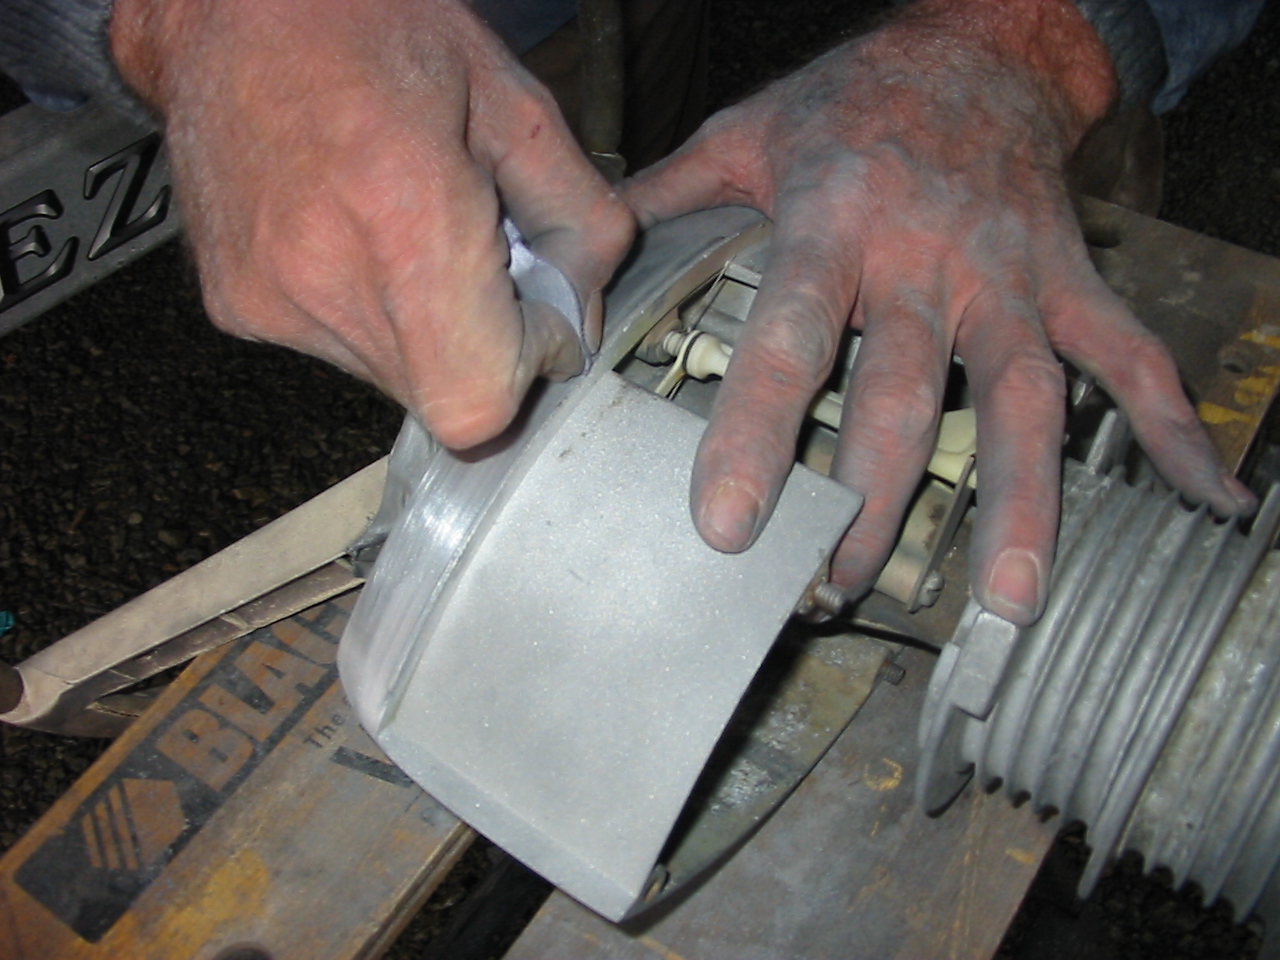
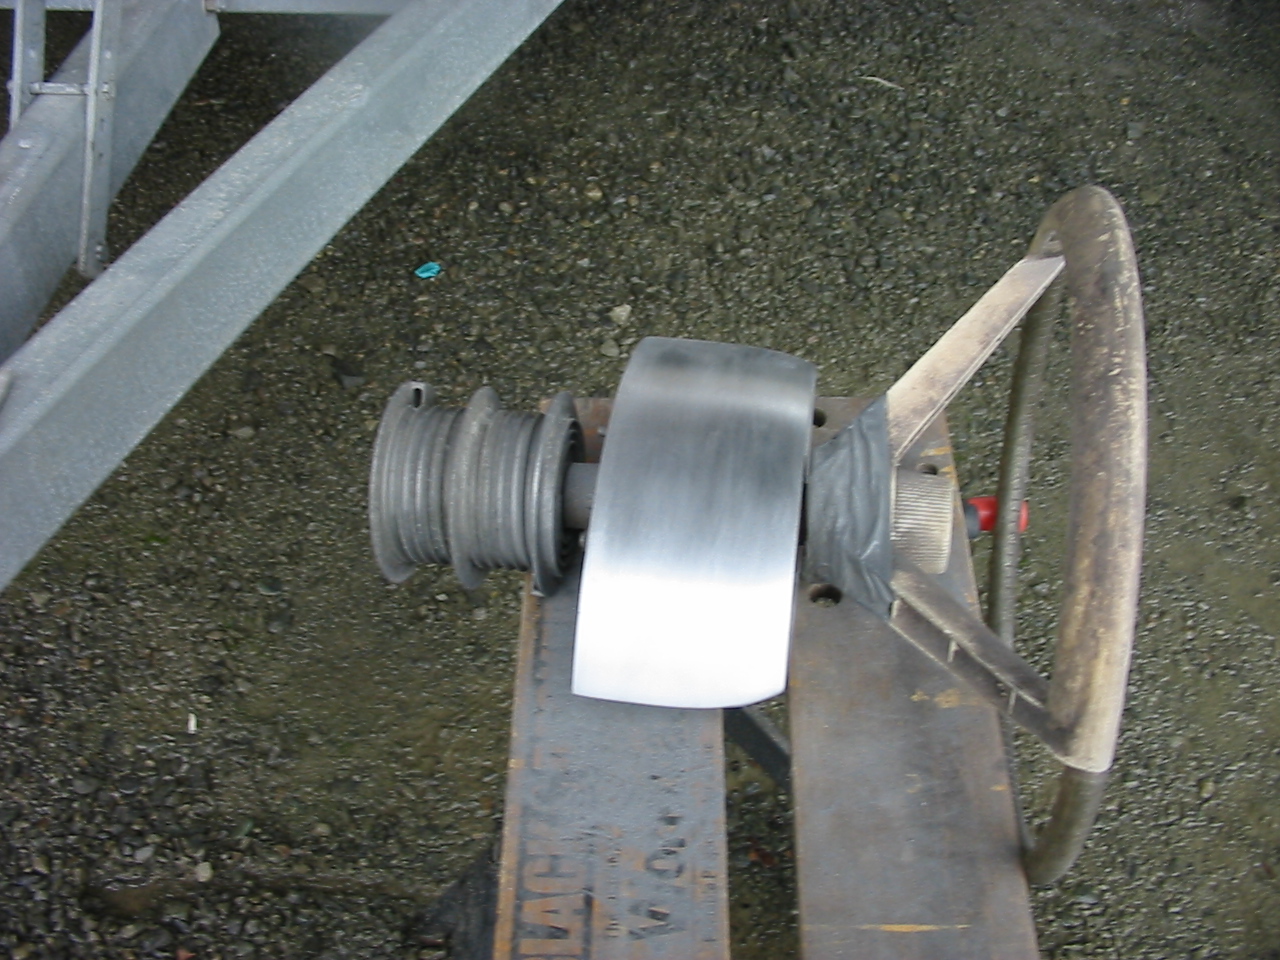
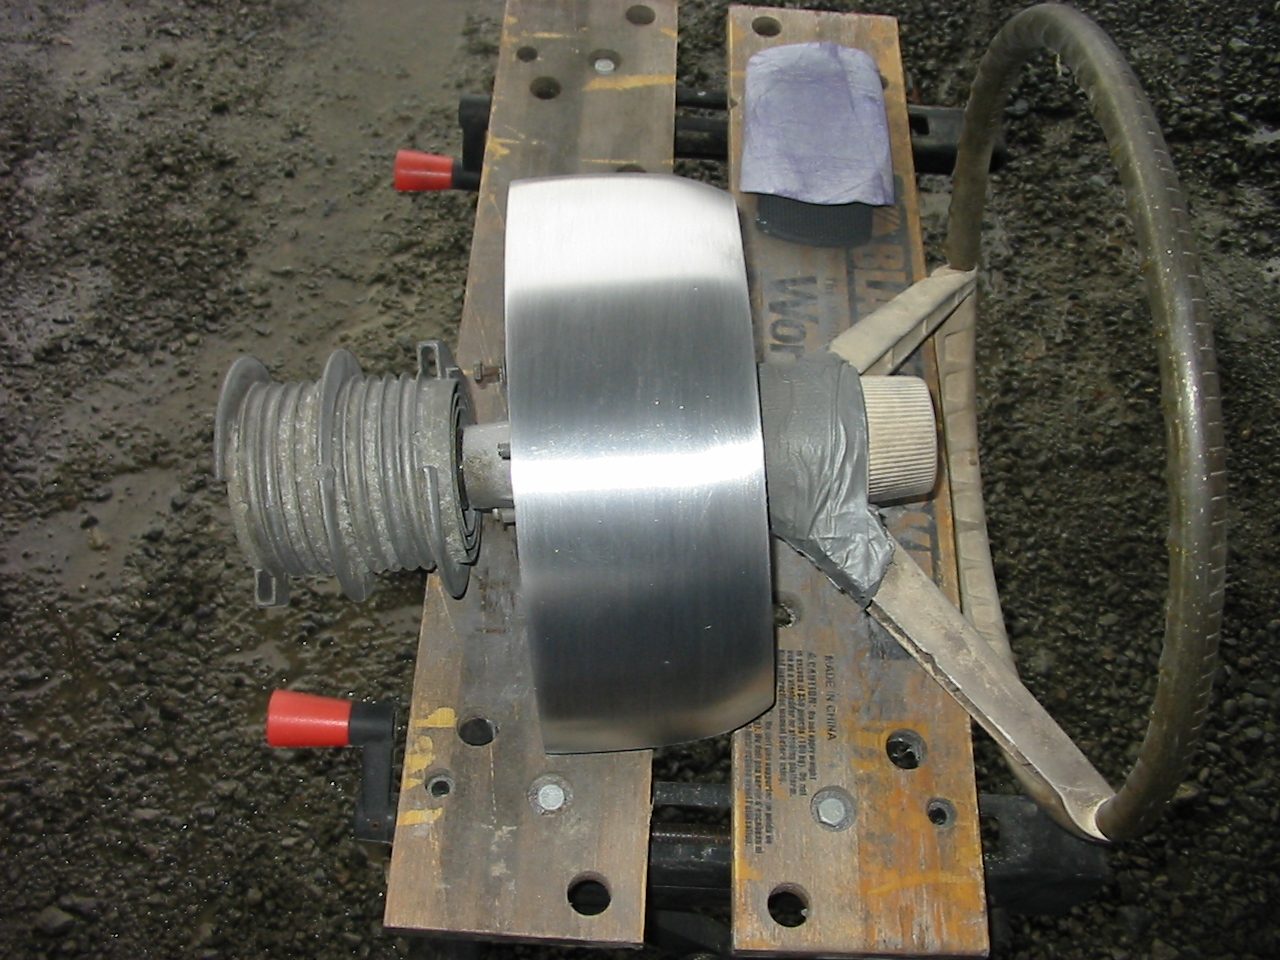
1. This first photo shows the grainy texture of the aluminum after sandblasting.
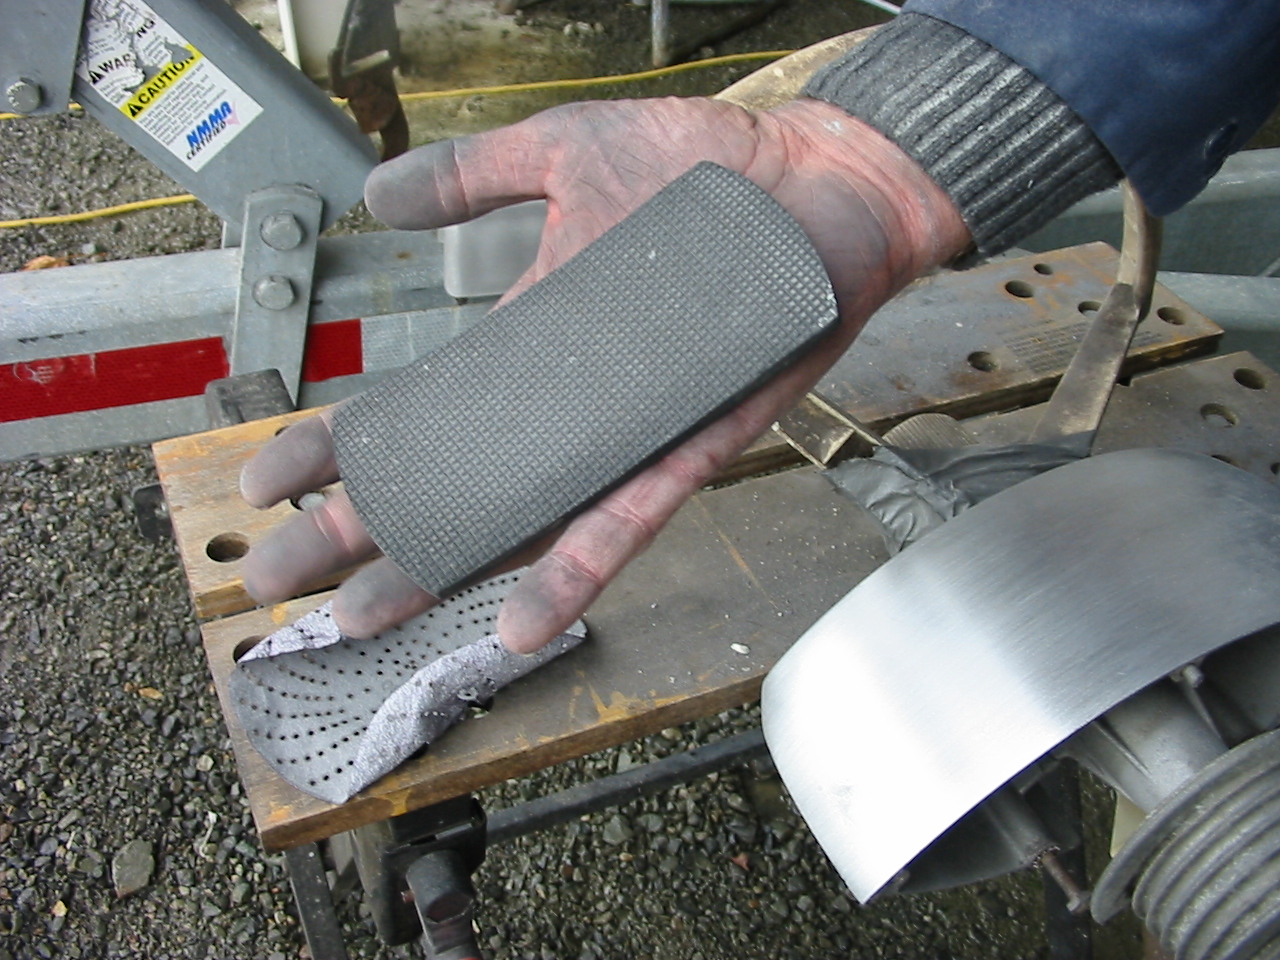
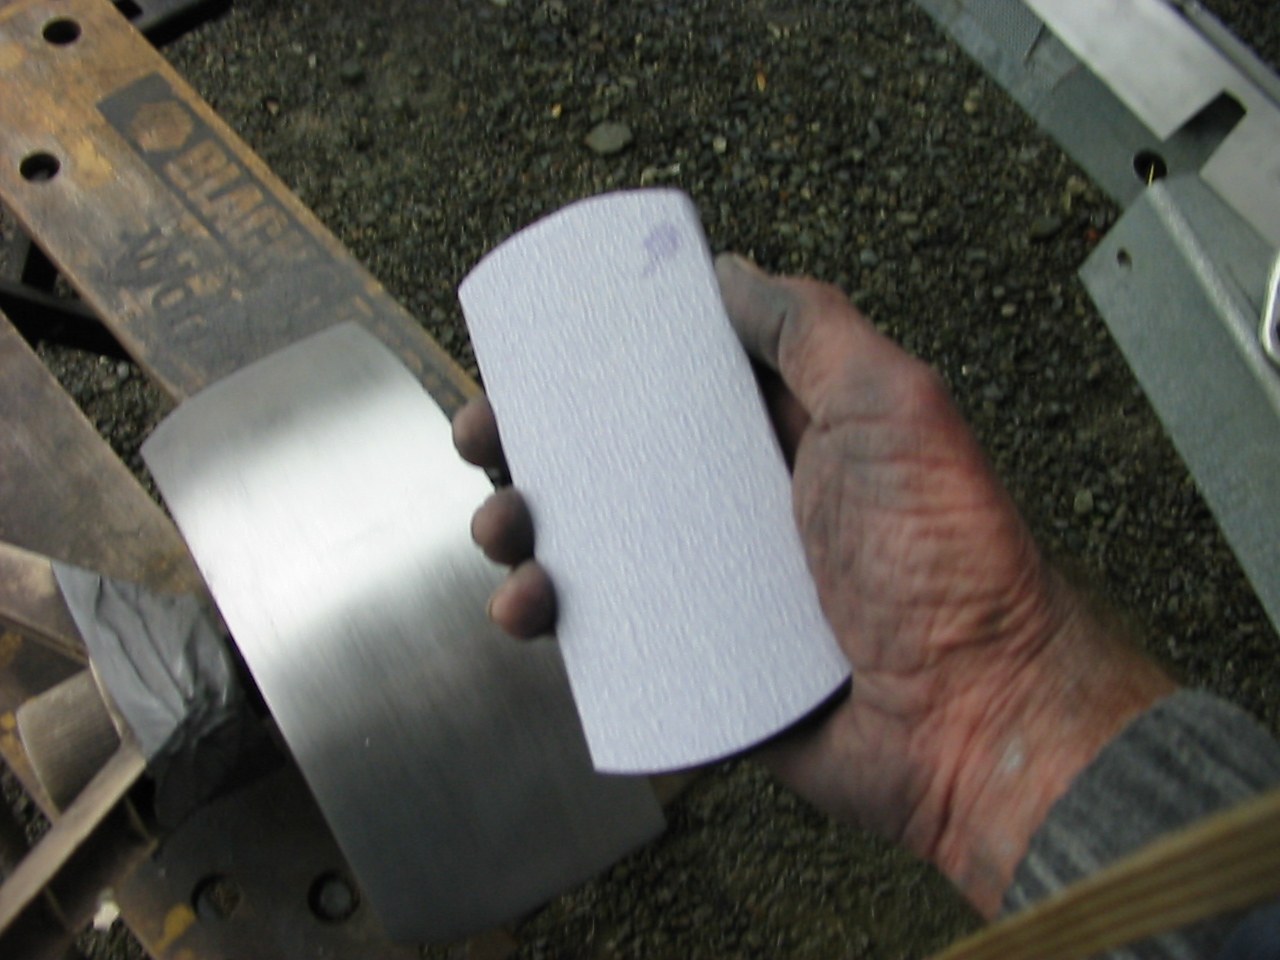
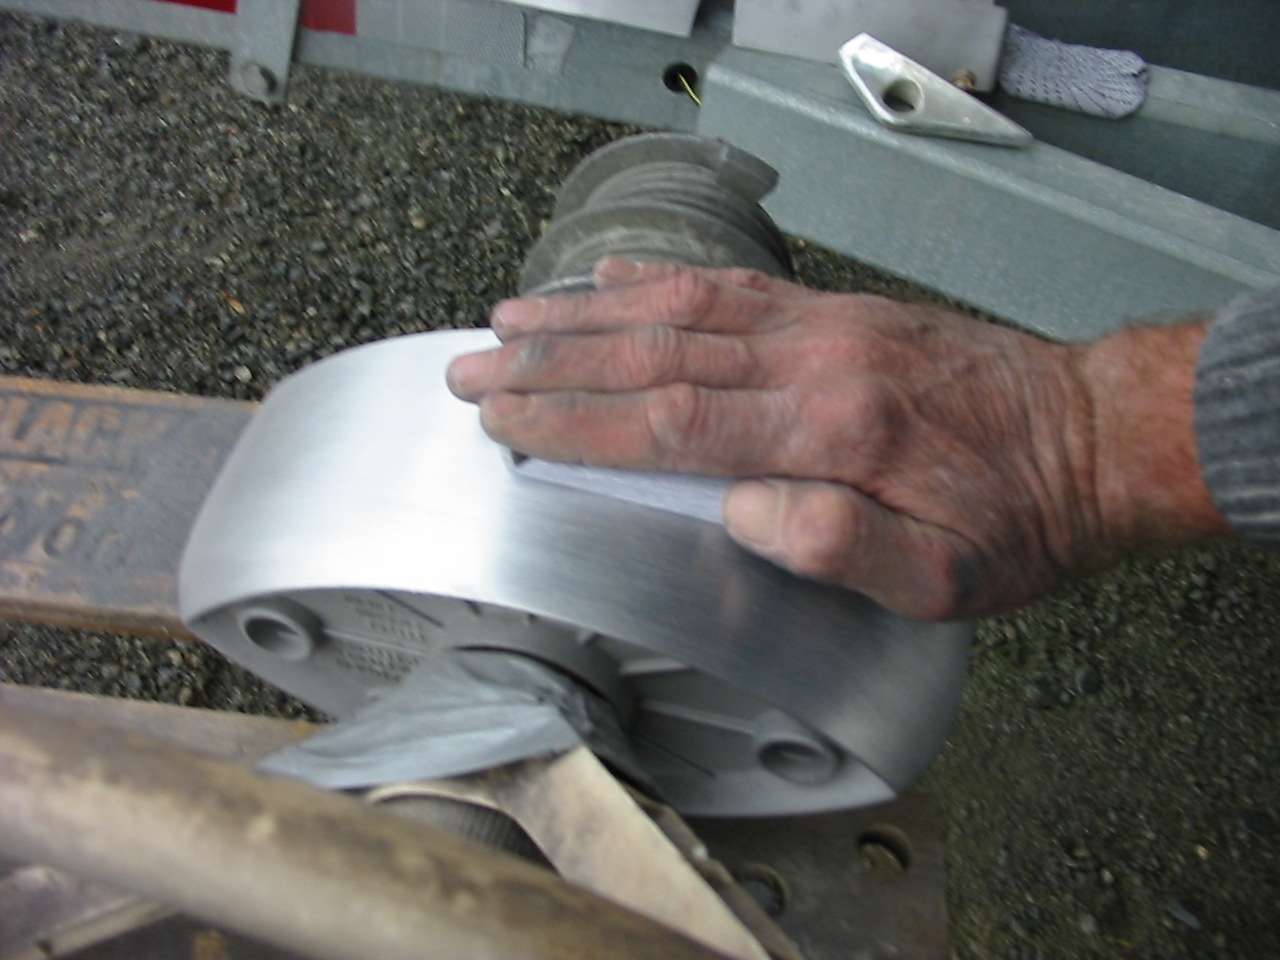
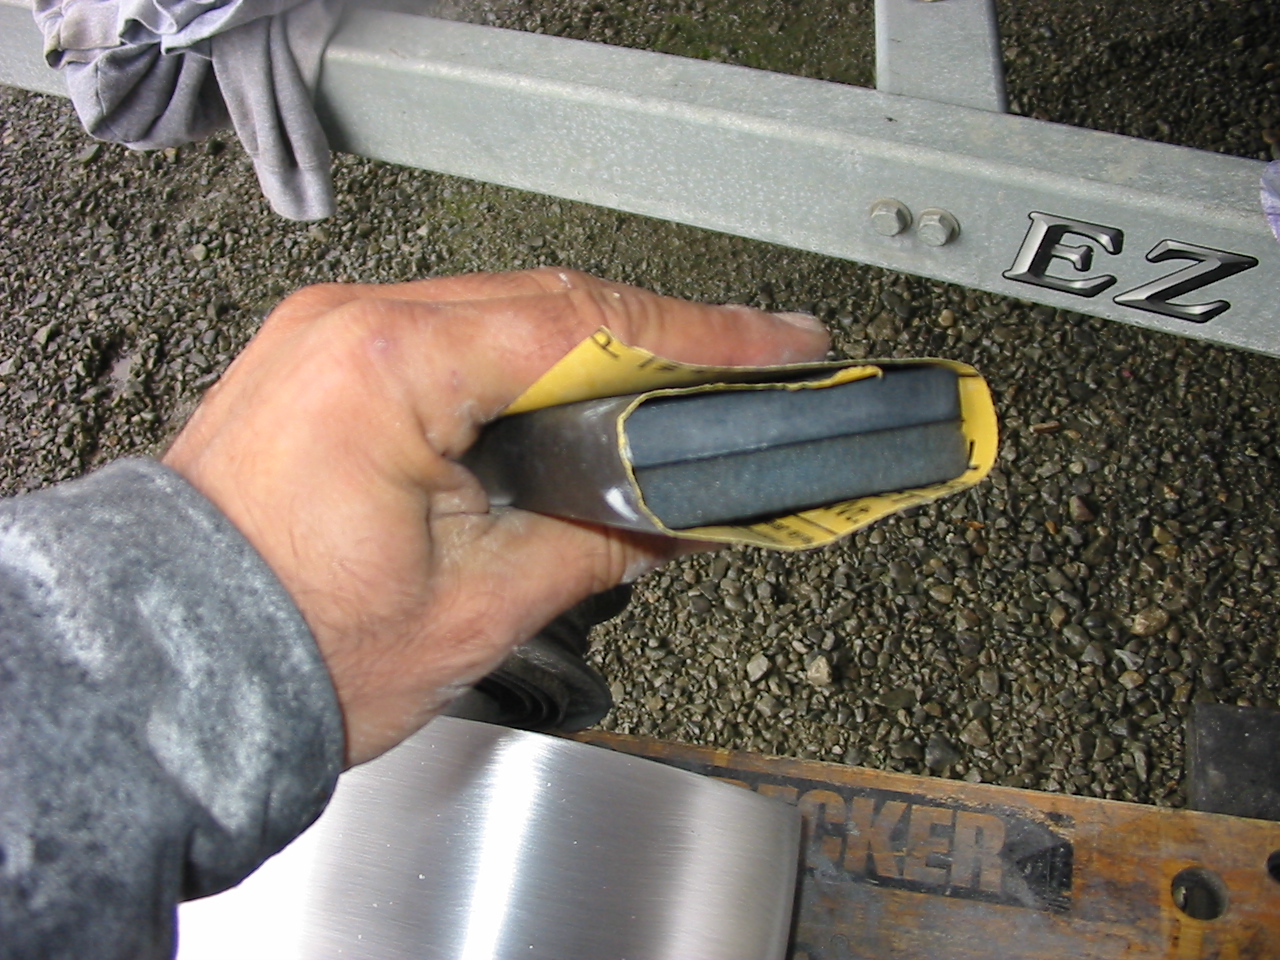
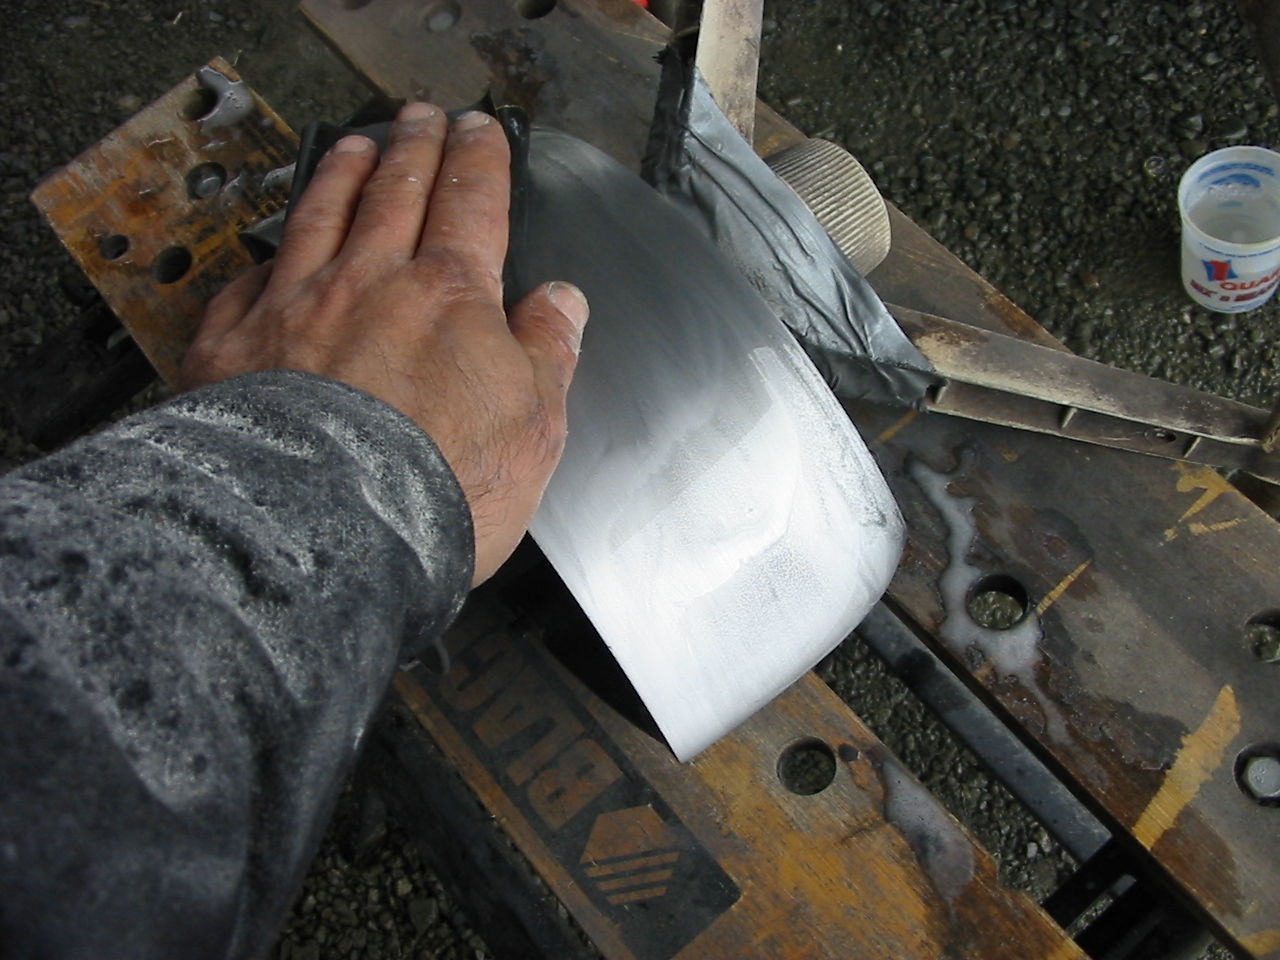
2. This is the sanding block Todd will use. It's firm enough to keep the surface fair, and it's flexible enough to conform to the curvature of the workpiece.
3. We start out with 80 grit paper to muscle through the texture left by sandblasting.
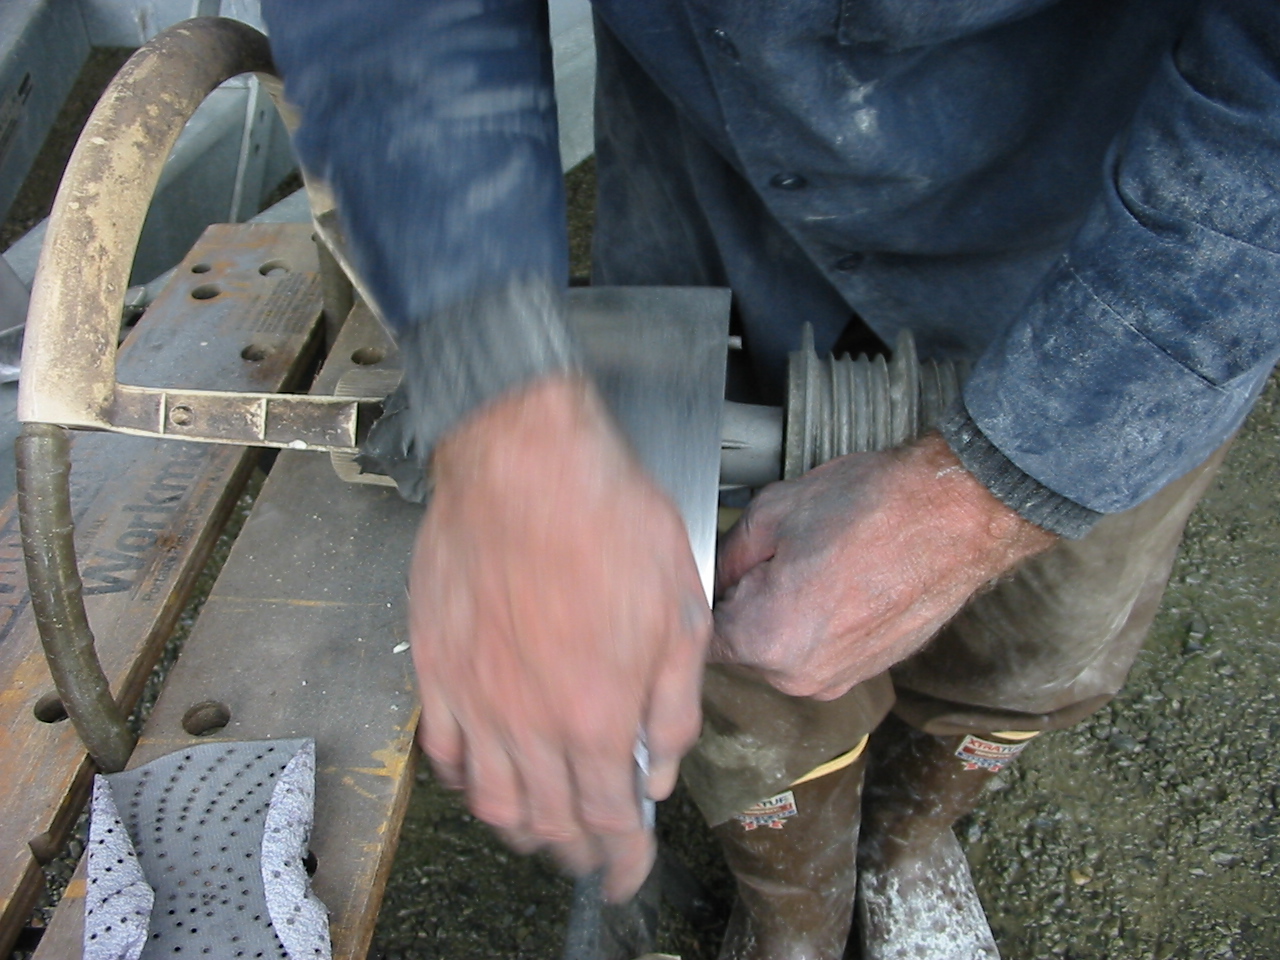
4. Throughout this whole procedure, Todd will be working with the grain of the workpiece
5. The first round of sanding takes the longest. All of the pitting and nicks from decades of exposure needs to disappear before moving on to the next step. It took Todd 2 hours of hand sanding to get the surface smooth.
6. After 80 grit.
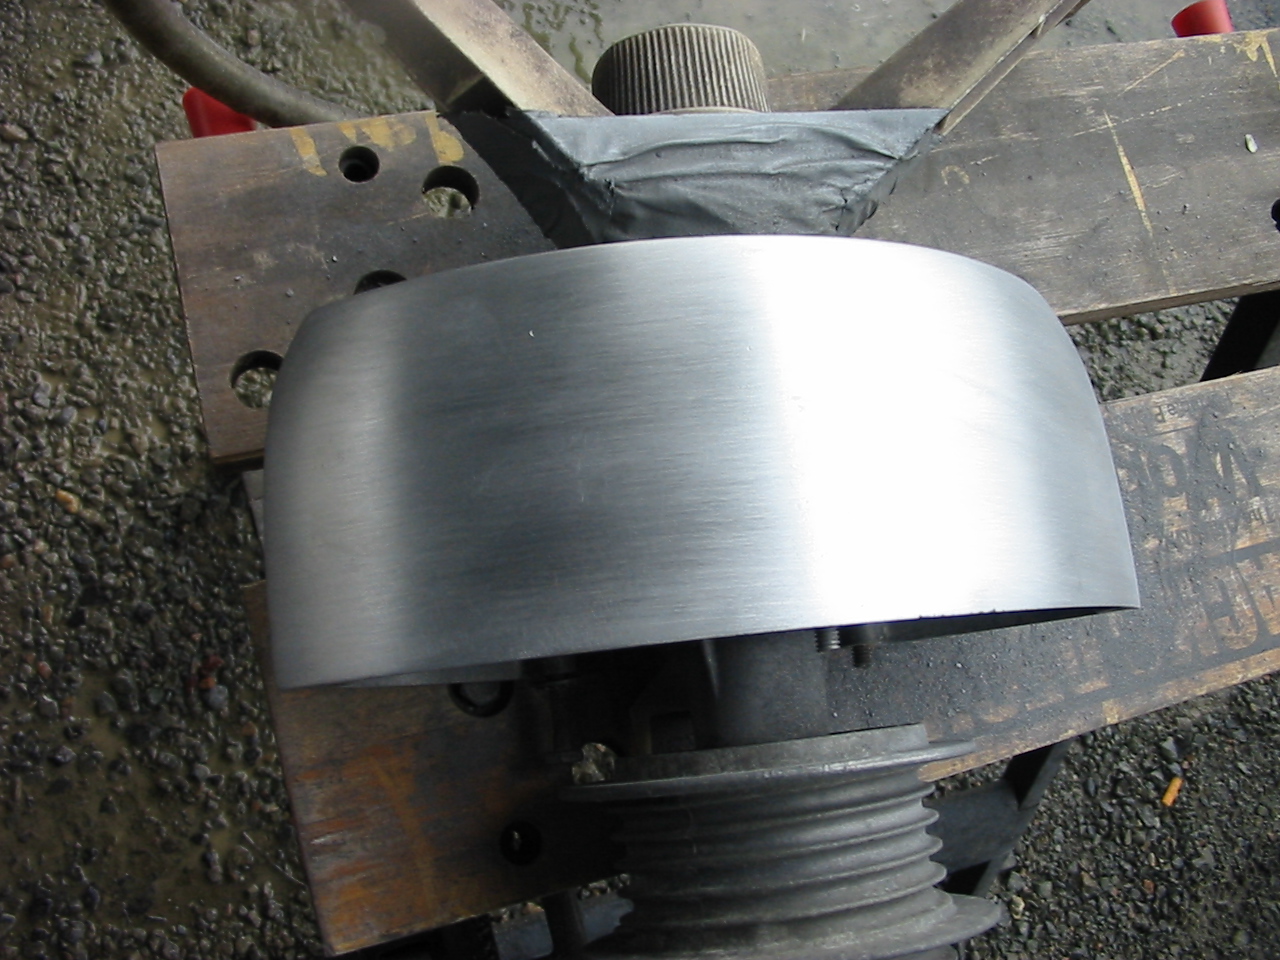
7. The next step was 150 grit to remove the 80 grit scratches.
8. Then 220 grit...
9. ...then 320 grit.
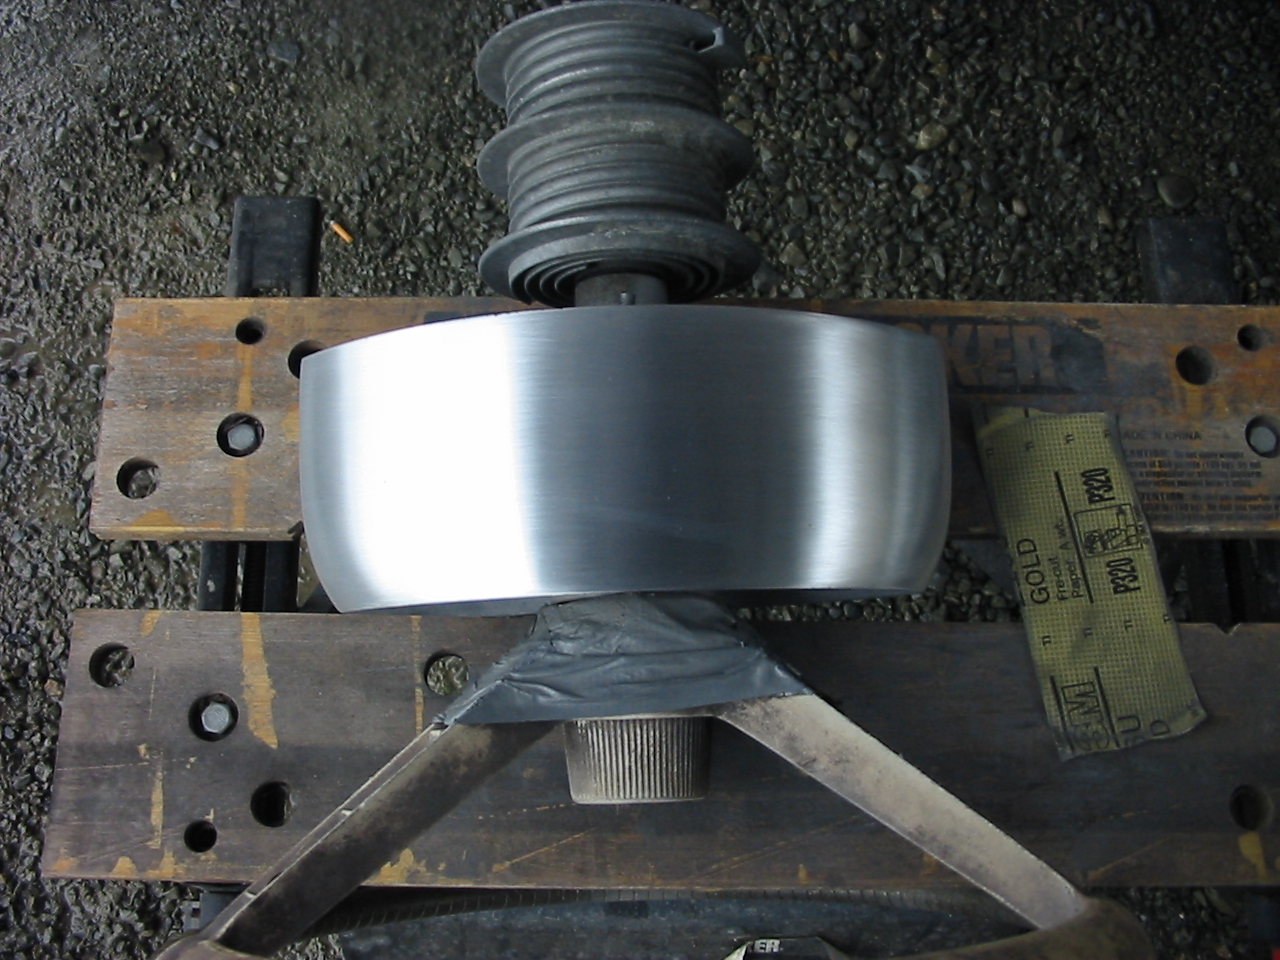
10. Now the surface is healed (no more pitting and only fine sanding scratches.
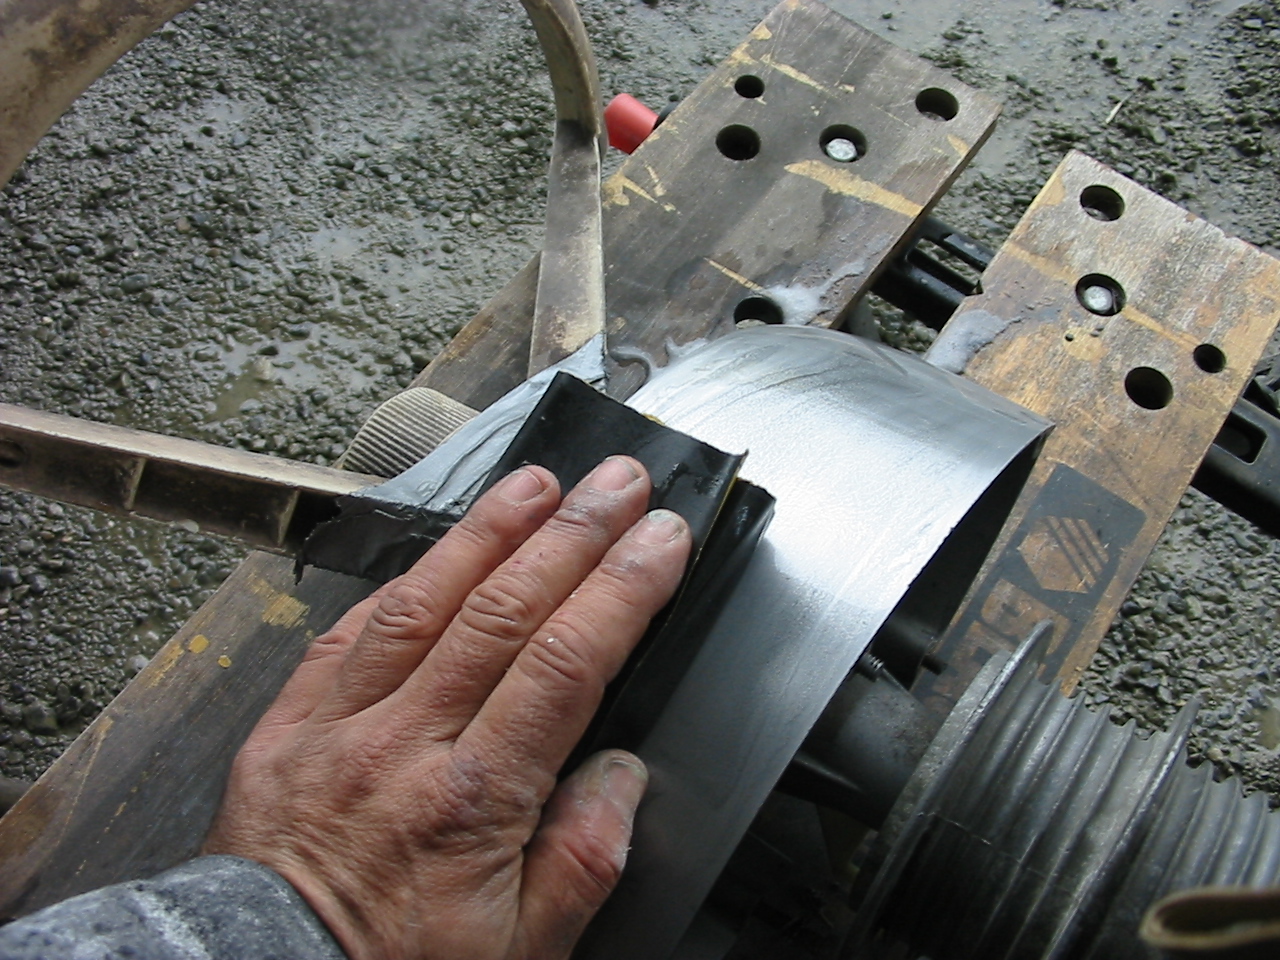
11. The next step is wet sanding. For this step we're going to change sanding pads. Instead of a firm pad, Todd moves to a soft sanding sponge backed by a firmer pad. The sponge will ensure total surface contact with the paper. The firm pad behind it will minimize the finger grooves that can transfer through the soft pad.
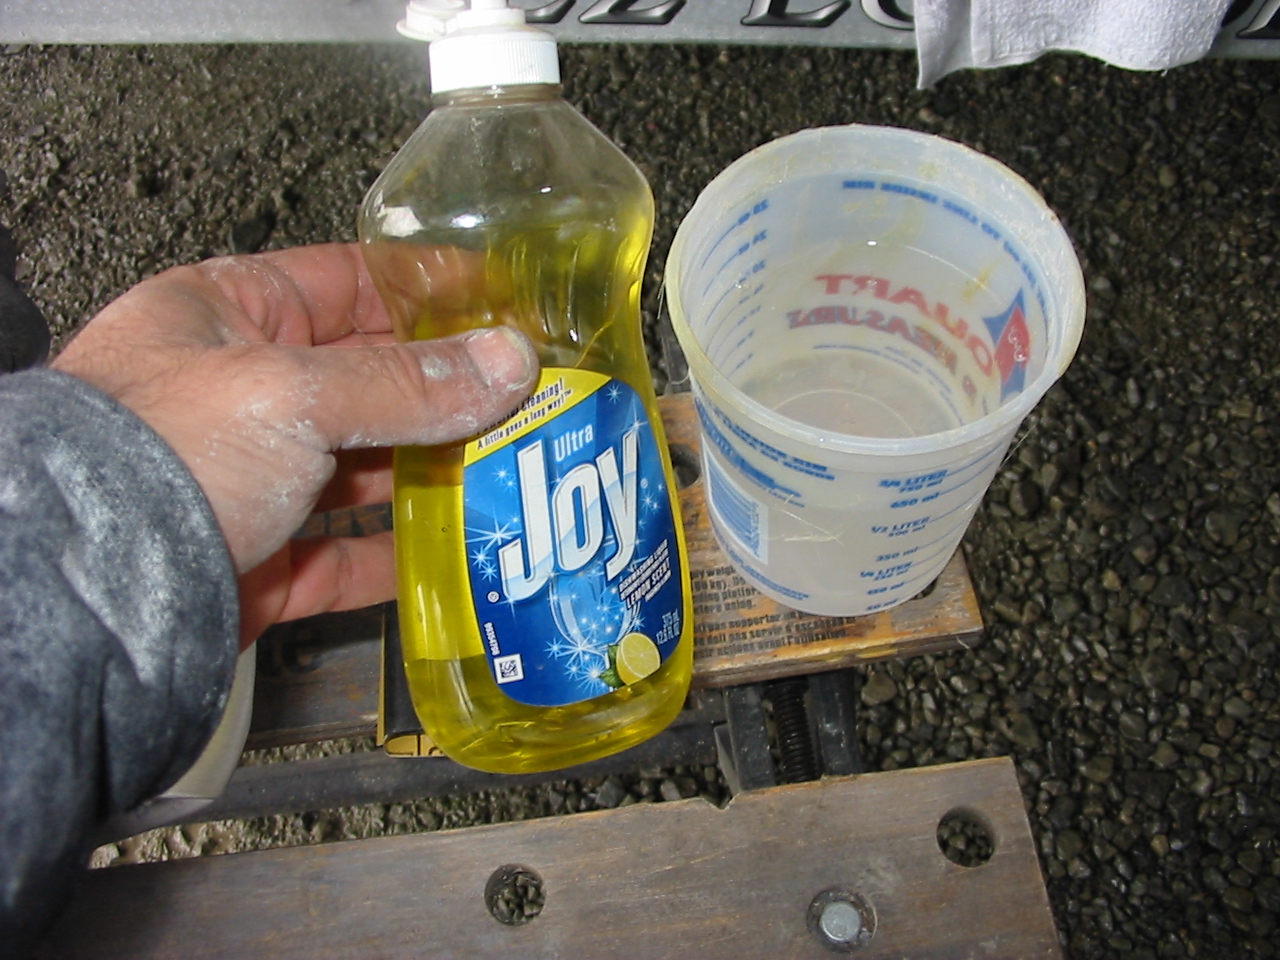
12. Adding a couple drops of dish soap to the water will help lubricate the paper.
13. Wet sanding with 600 grit.
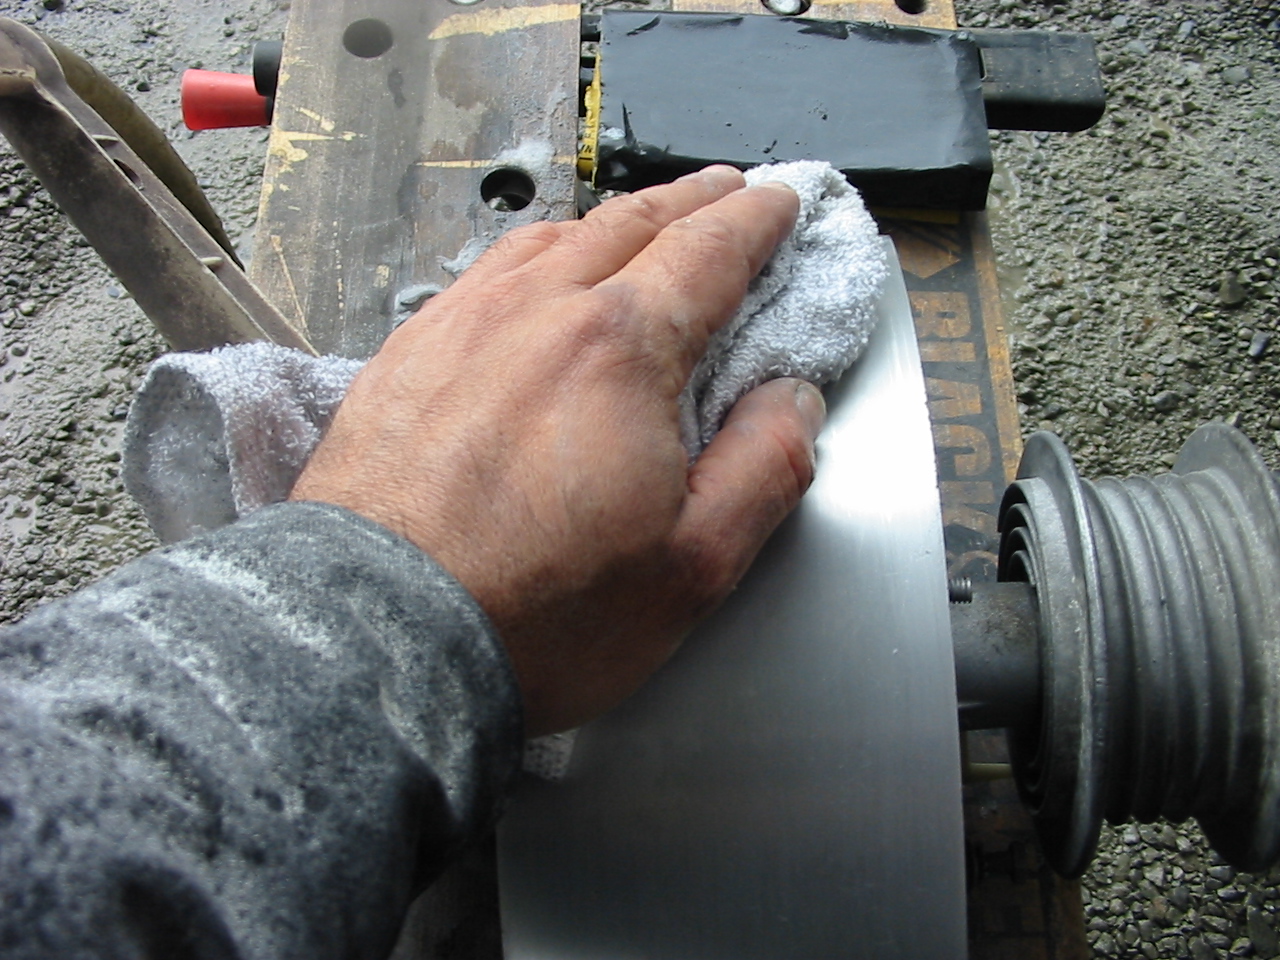
14. Wiping an inspecting the surface frequently will help you know when to move on to a finer grit.
15. Now 1000 grit.
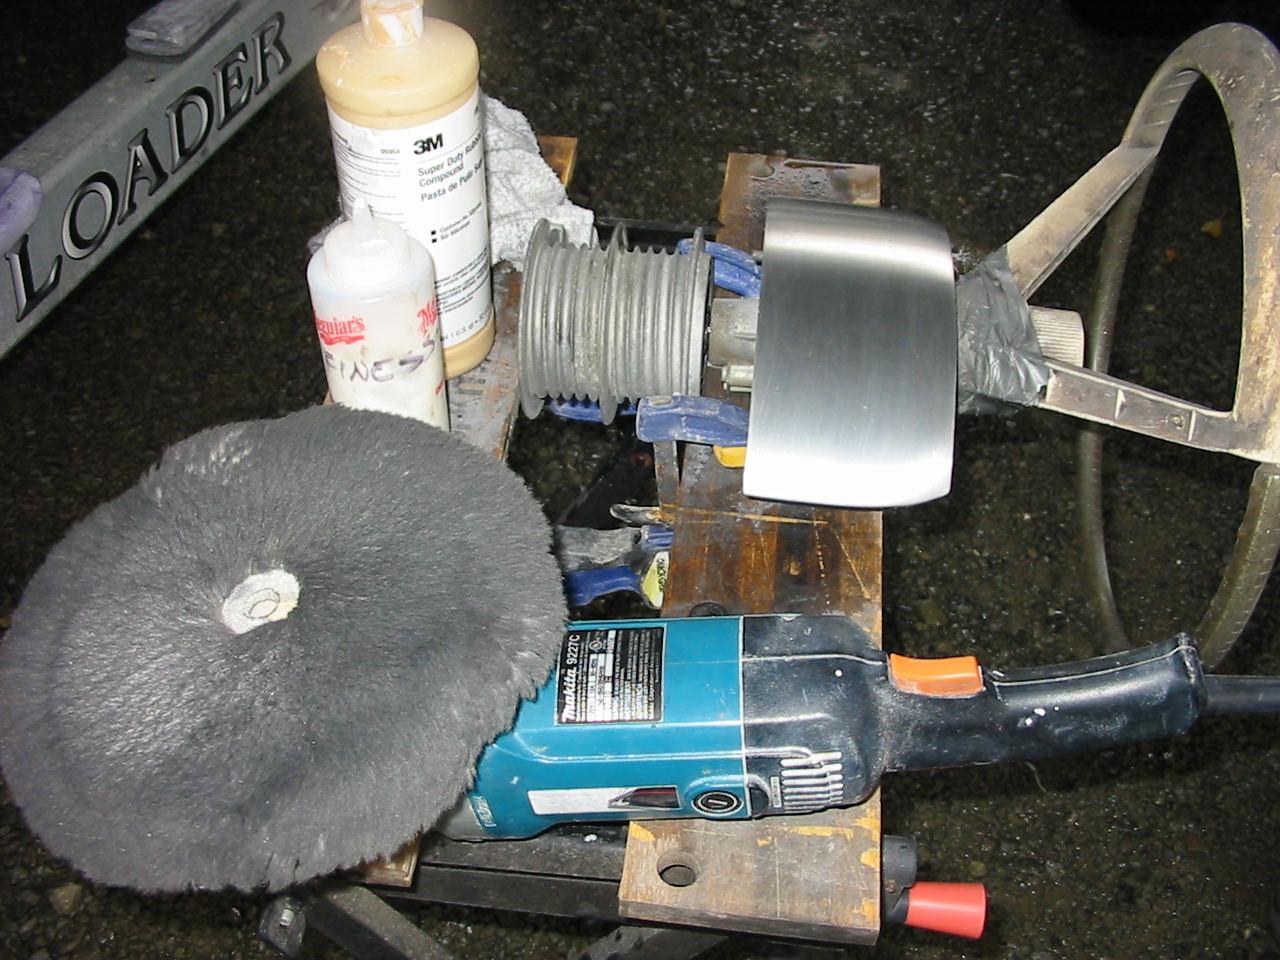
16. For the next step, I use materials that are already on hand. Some aggressive rubbing compound followed by a finishing glaze will have the same effect as using 1500 and 2000 grit paper.
For polishing metal, I use a compounding pad that is no longer suitable for polishing gelcoat. Since the aluminum is much harder than gelcoat, the short nap of the old compounding pad is still OK for polishing metal. (Gelcoat requires a fluffier pad to reduce the heat built by friction).
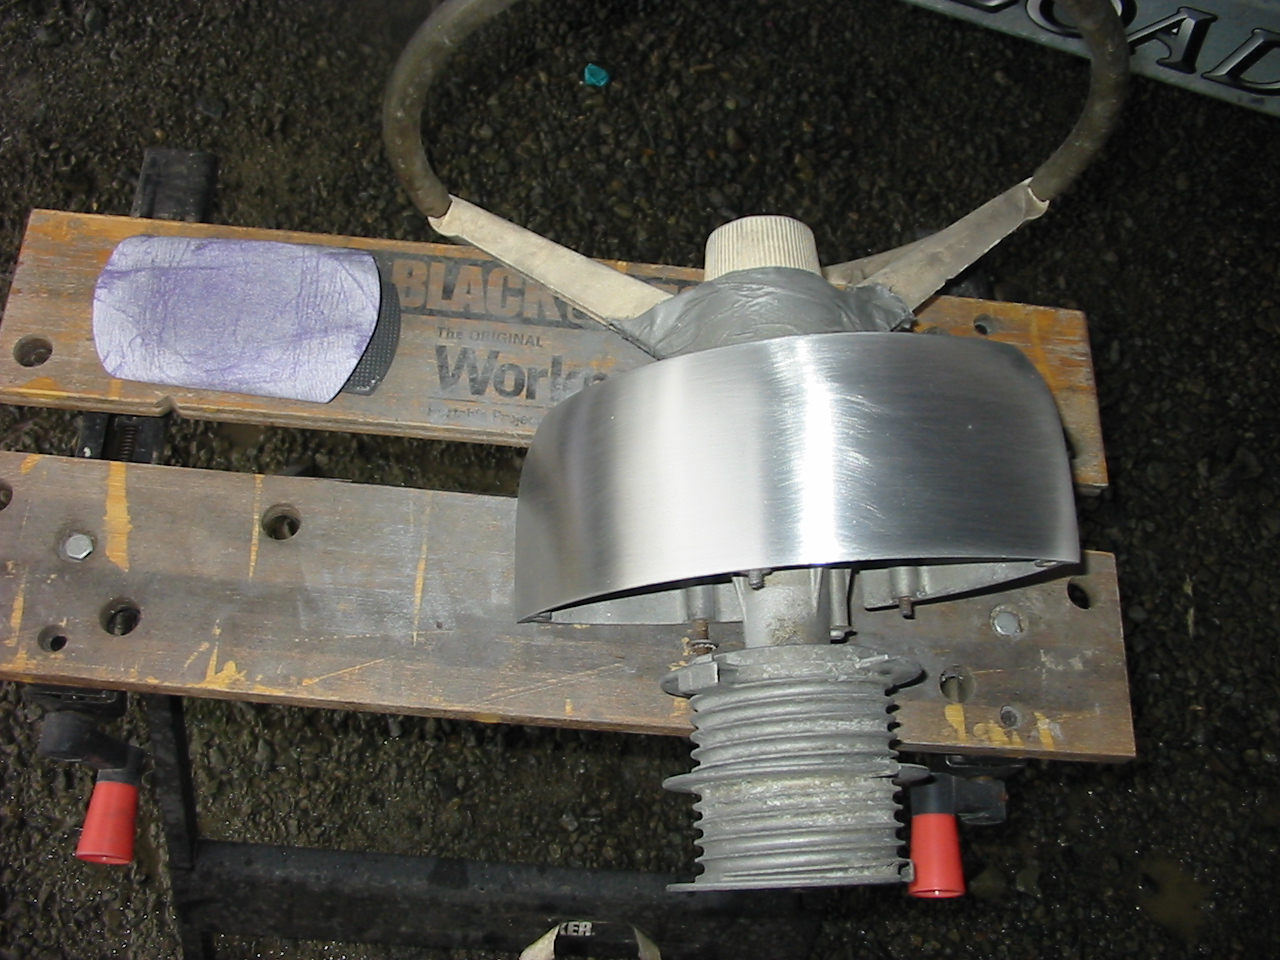
17. The suface after it has been compounded and glazed (the glaze is just 3M Finesse-it)
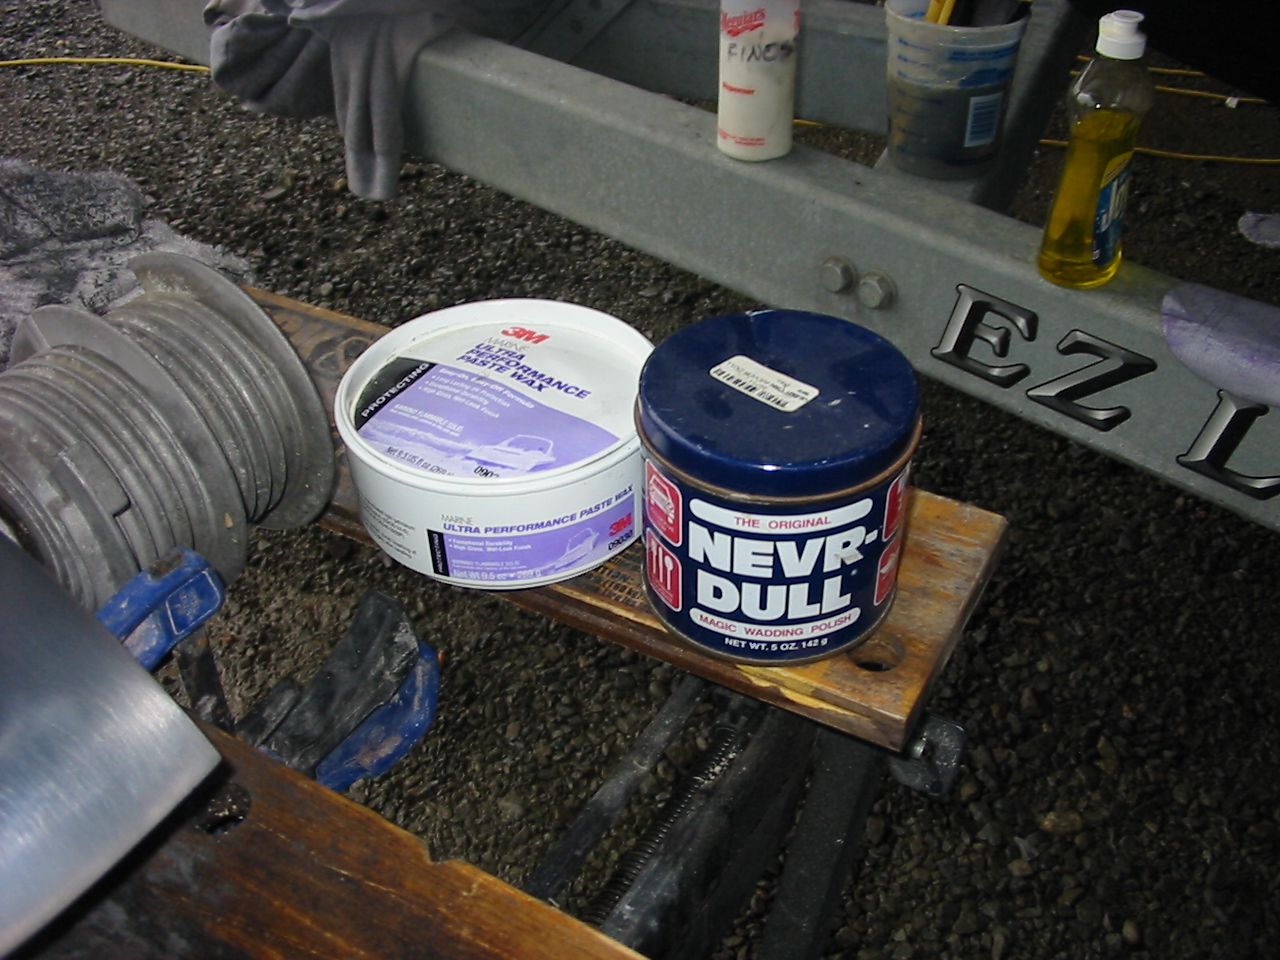
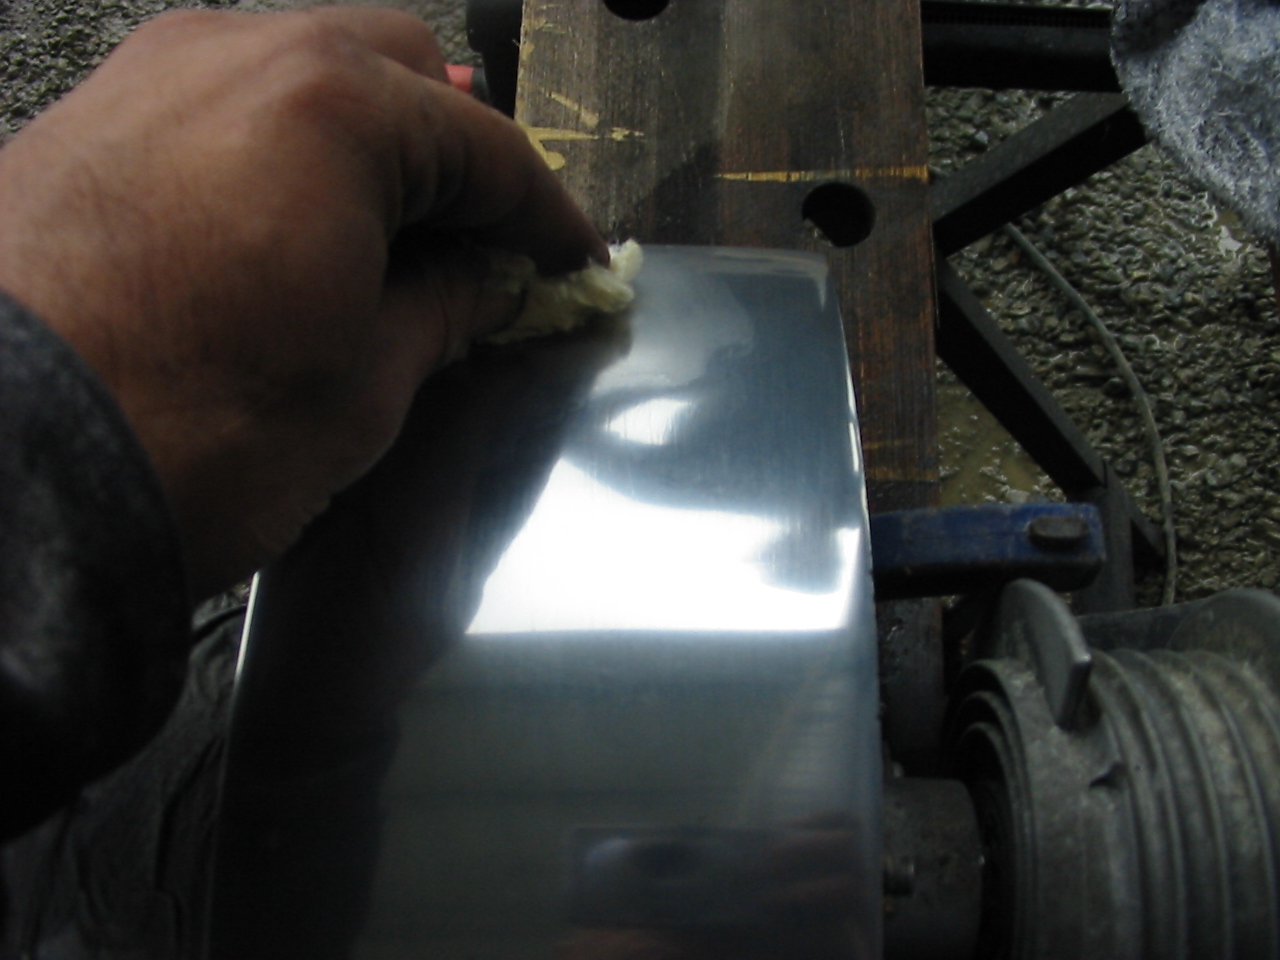
18. A coat of metal polish...
19. ...Followed by a coat of wax...
20. ...seals the aluminum and protects it from oxidation.


