Welcome, Guest
Username: Password: Remember me
  • Page:
  • 1

TOPIC: Gelcoat Repair Pictorial

Gelcoat Repair Pictorial 14 years 2 months ago #18382

The following is a photo tutorial on gelcoat repair. All boats have nicks, dings, gouges, and other flaws in the surface. This procedure is the same for small repairs and large repairs. For more in depth information, you can check out the research/restoration tab in the top right corner of this screen.

I also want to take this time to introduce you all to Courtney. She spent the last three years as a mold technician for Bayliner Boats. She polished the molds, repaired them, and help build the plugs for boats up to 65'. She loves working on boats and I'm lucky to have her on the team.

So without further ado...


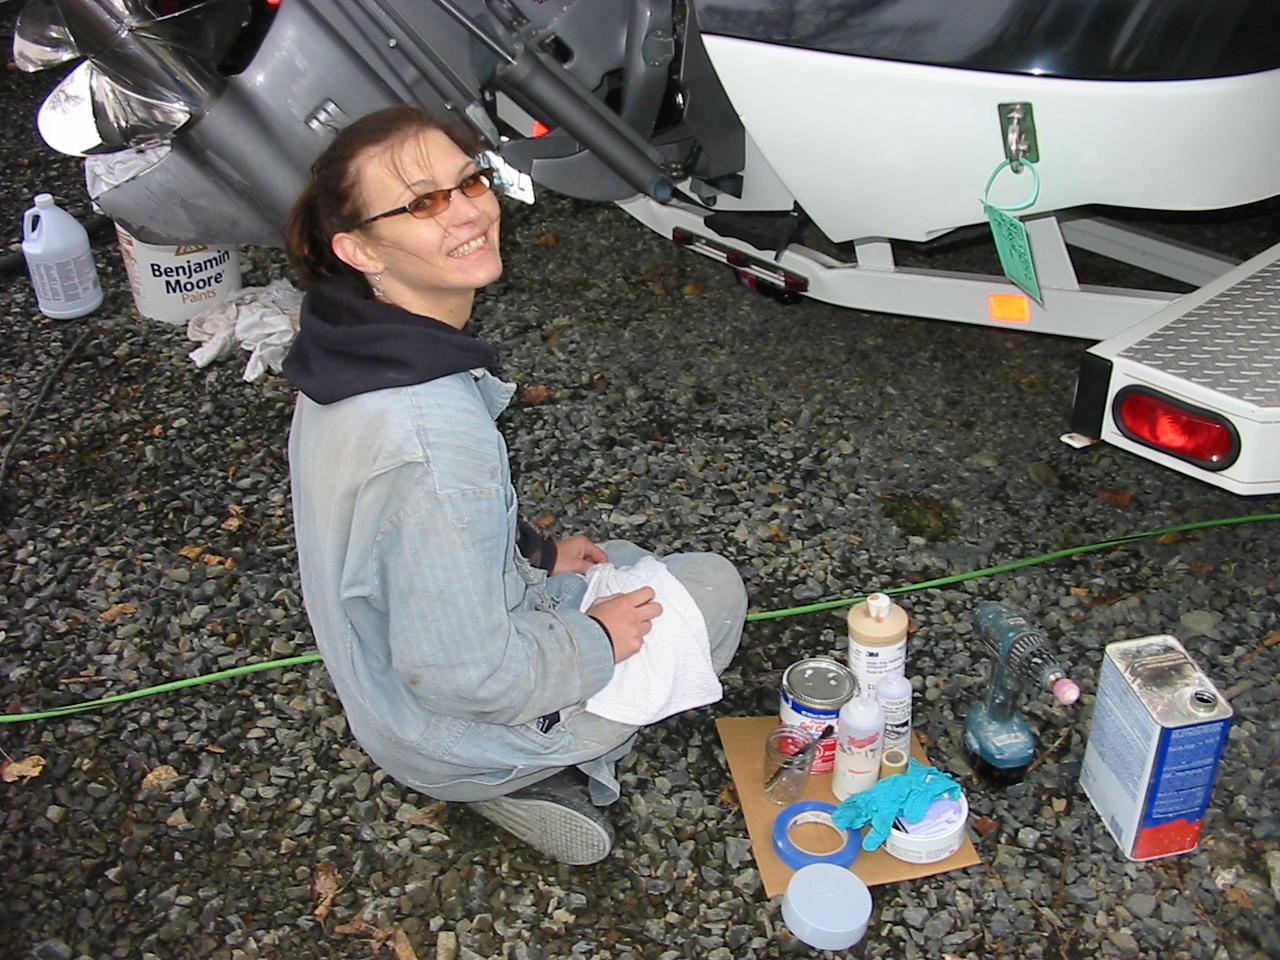
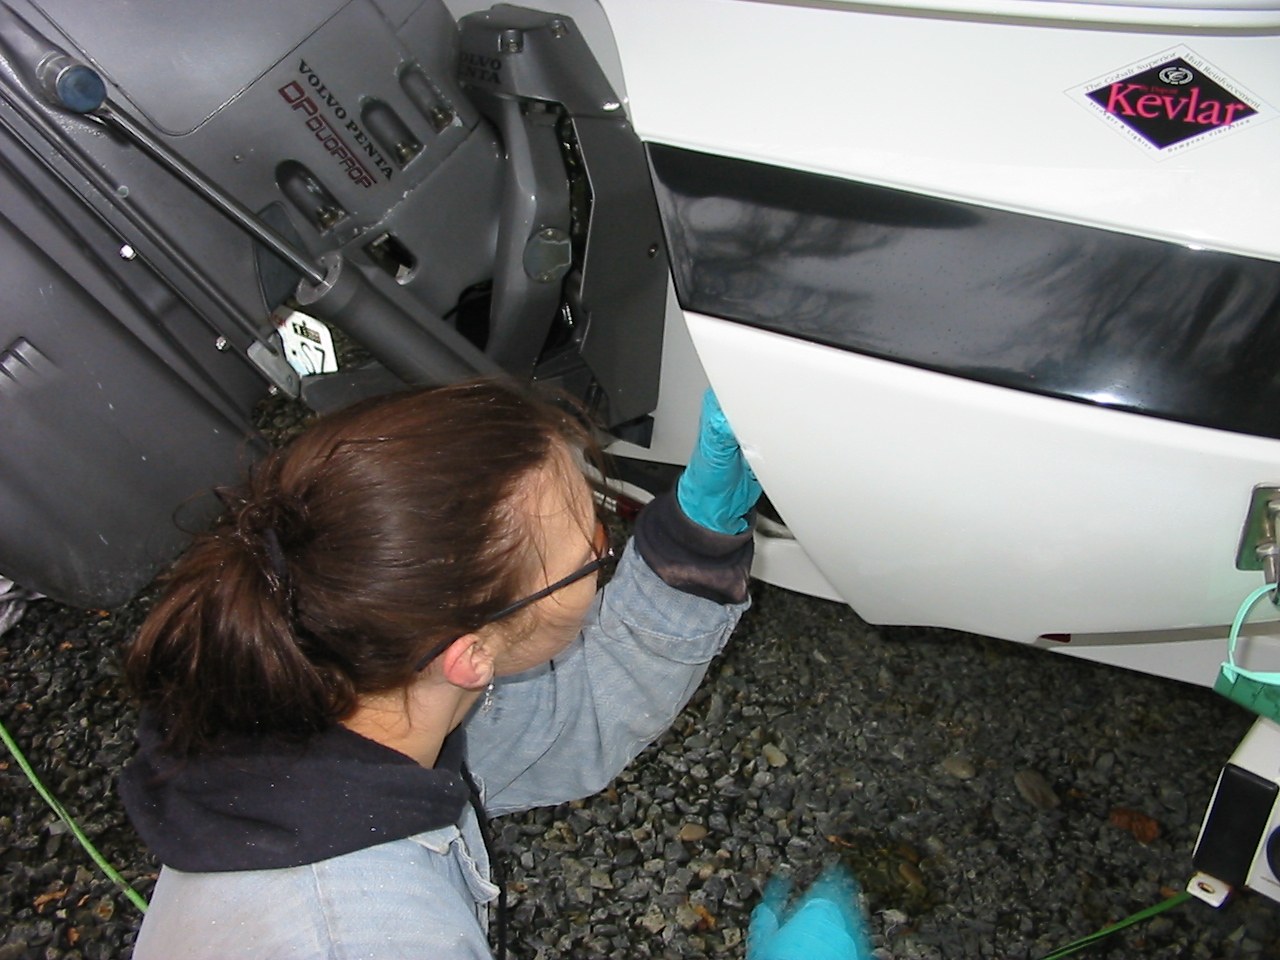
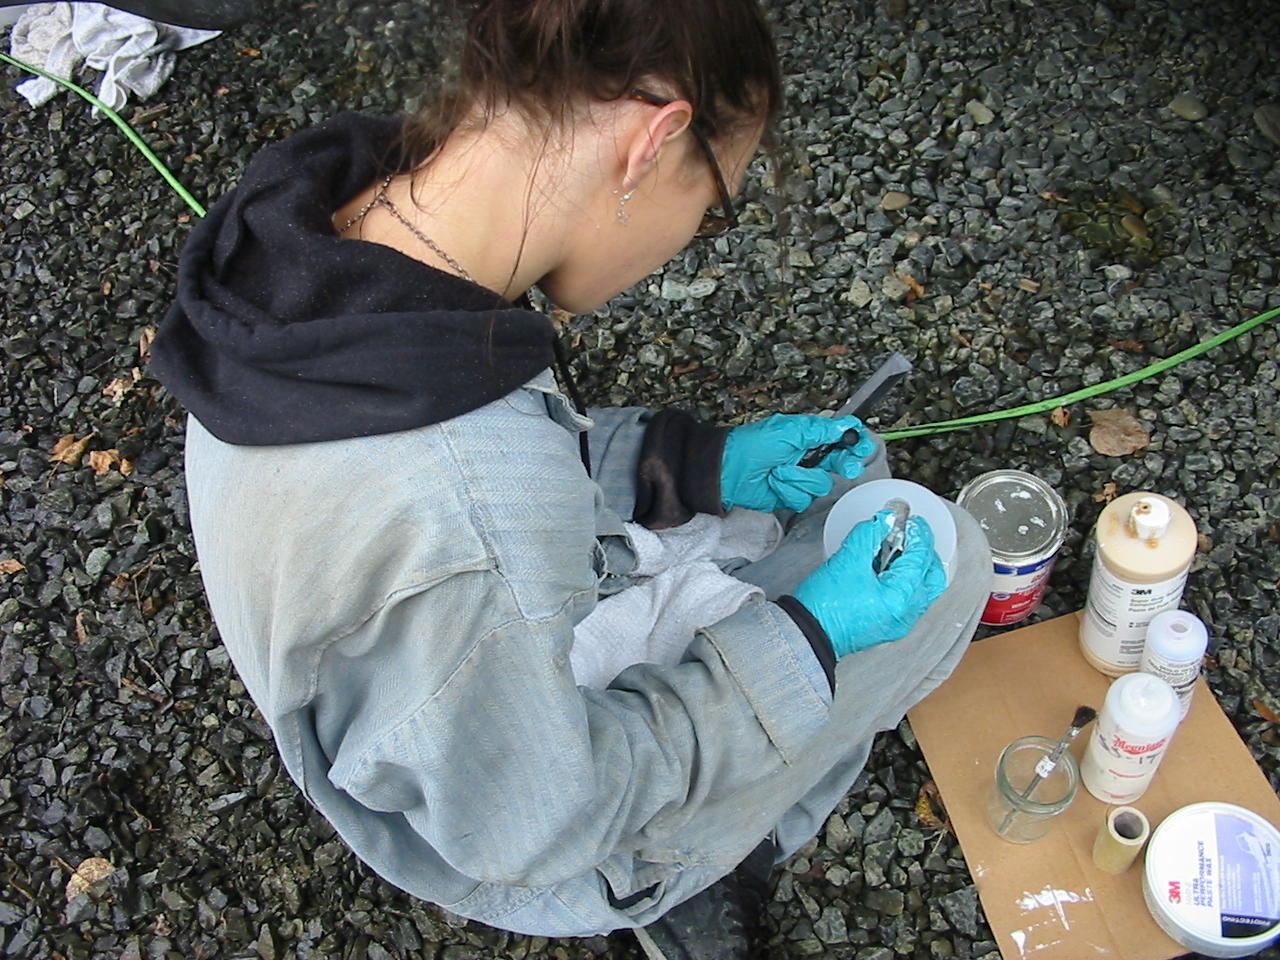
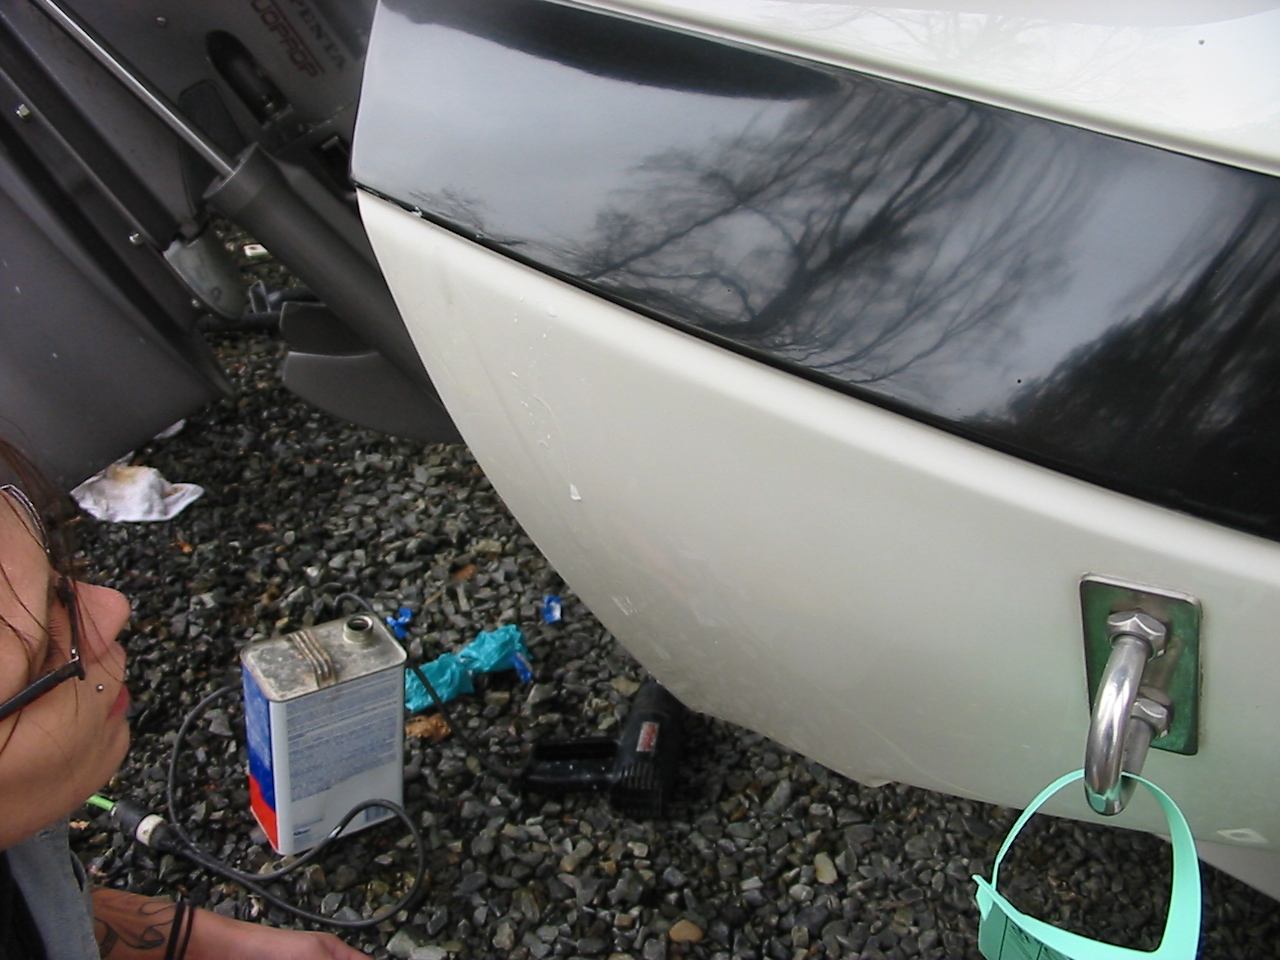
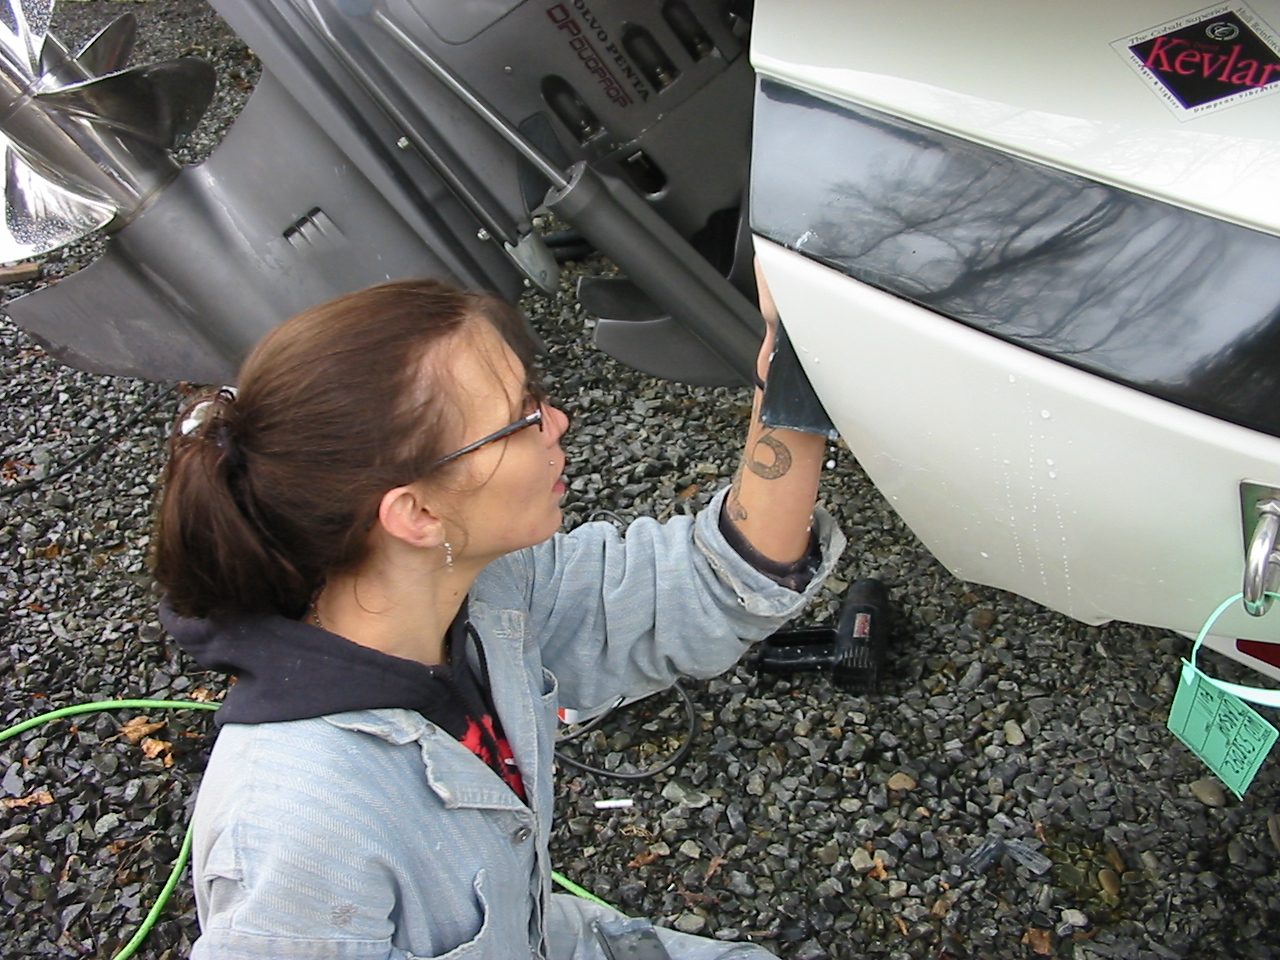
1. Courtney and the materials she'll be using.


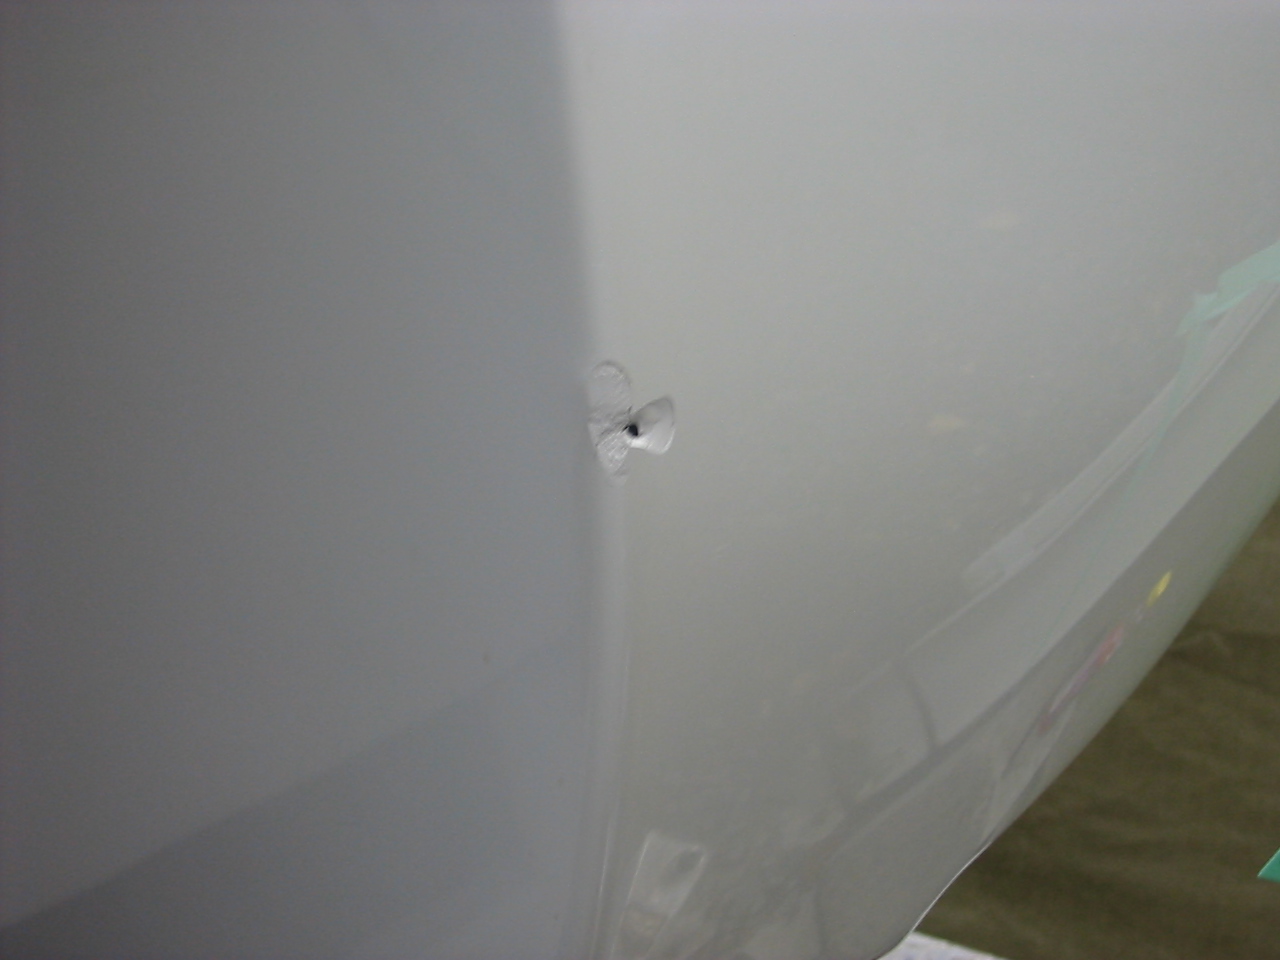
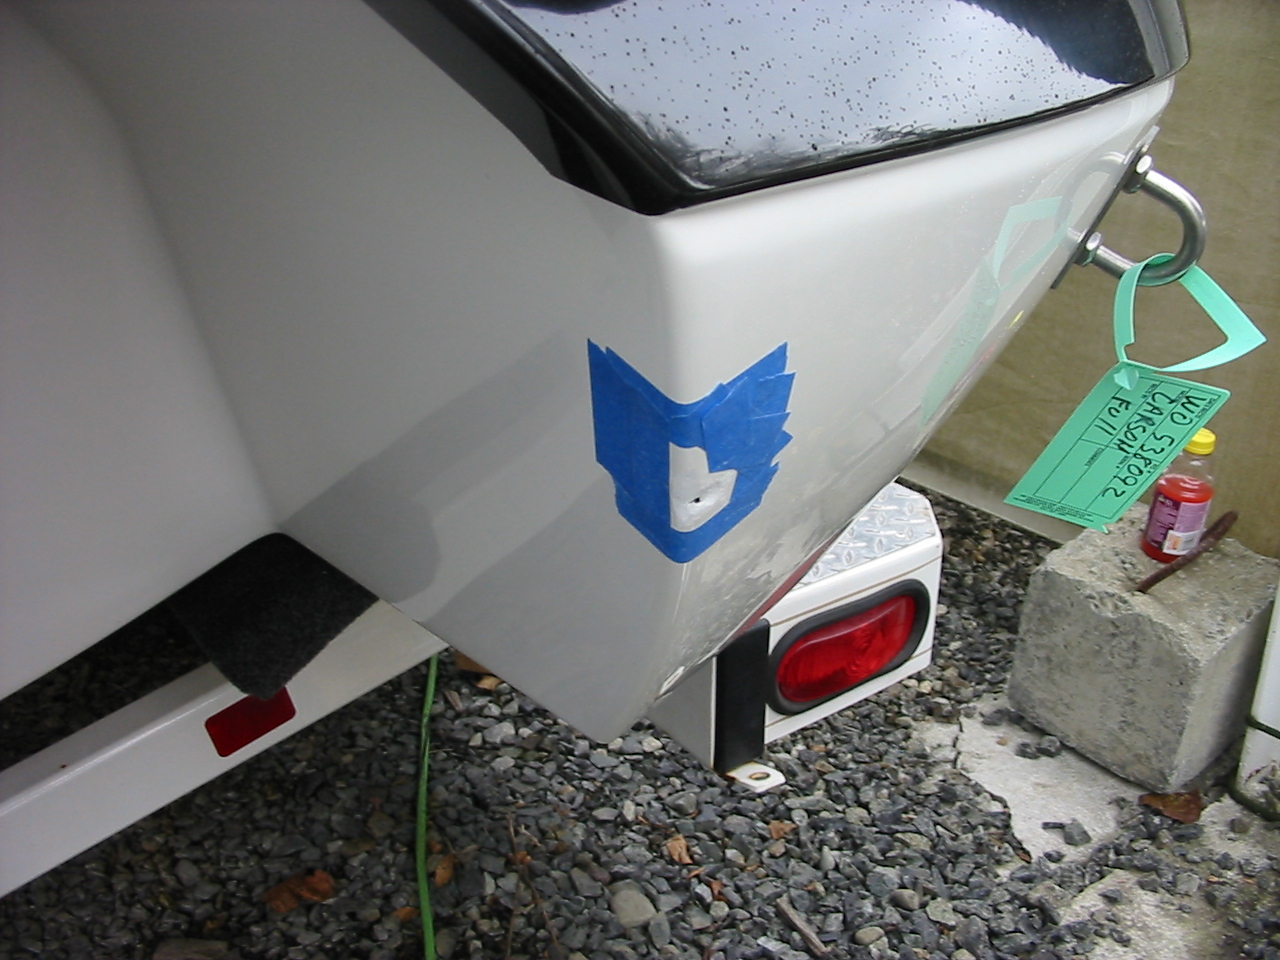
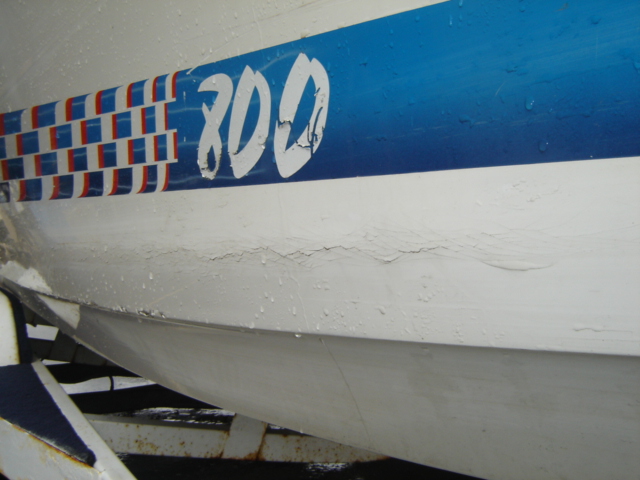
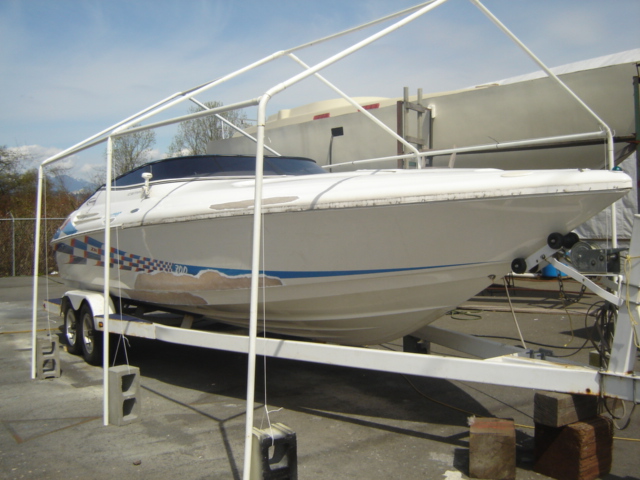
2. The damaged gelcoat.


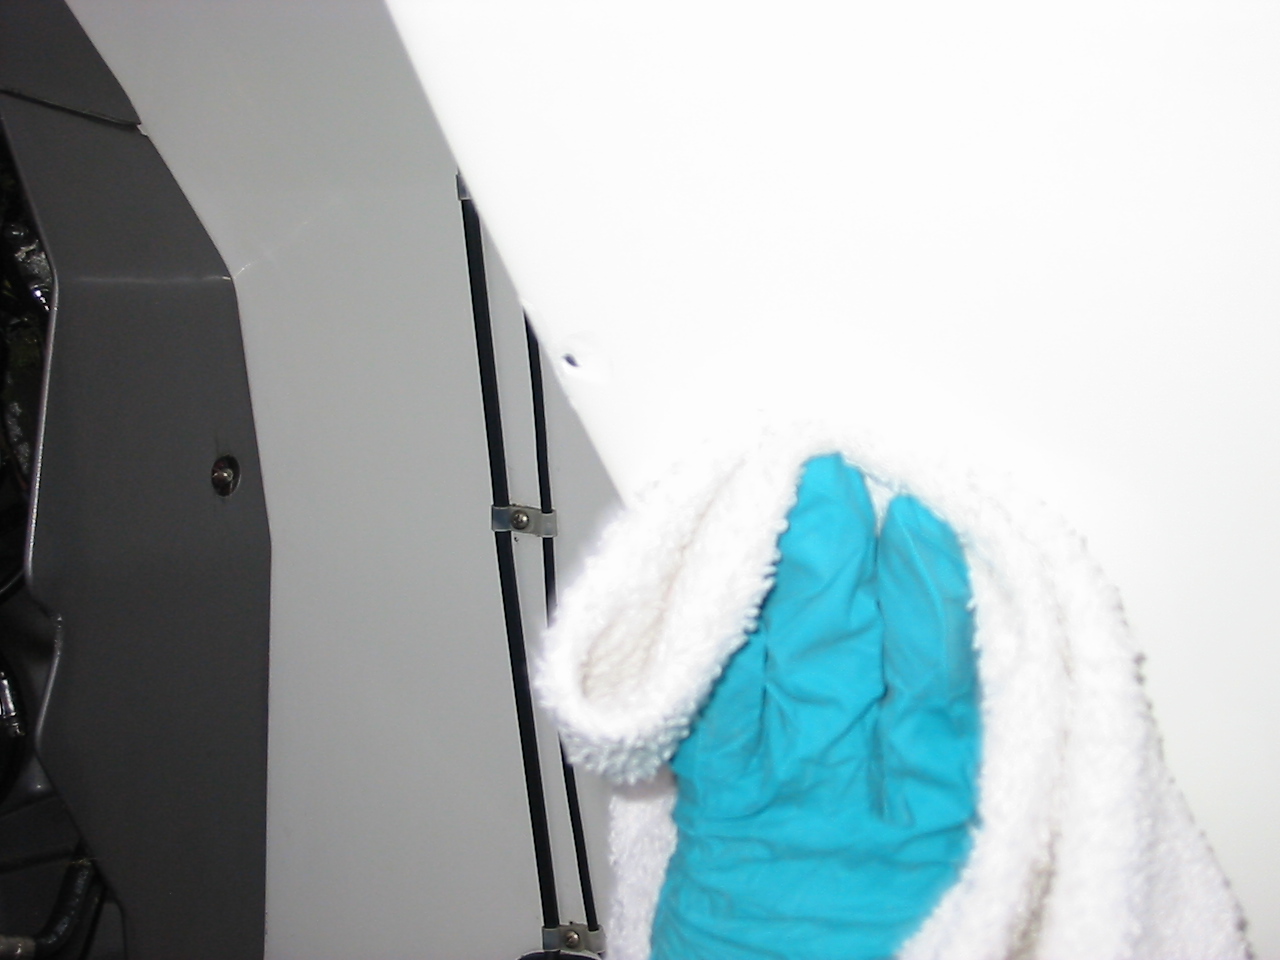
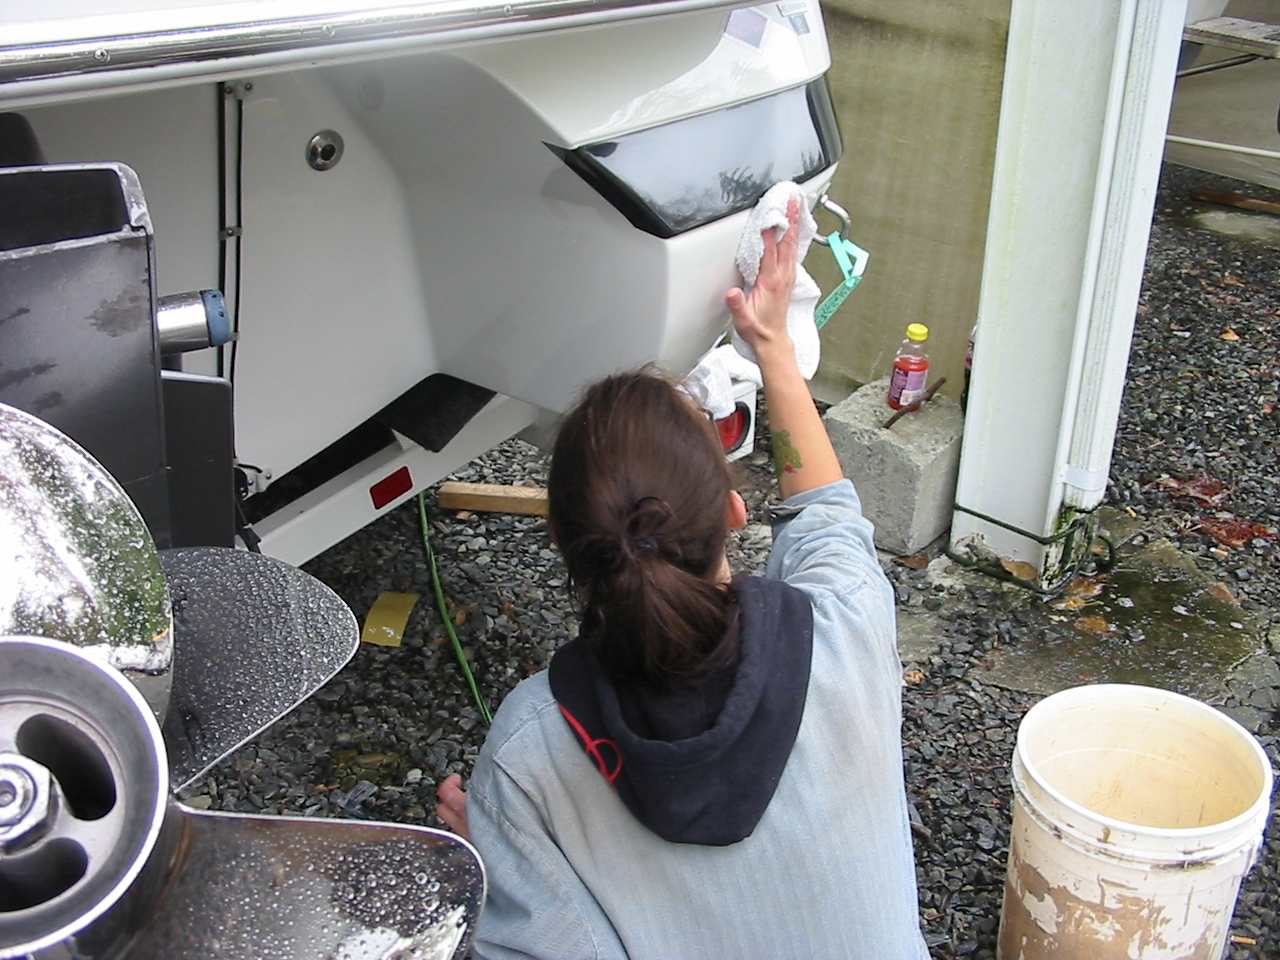
3. The first step is to clean the surface area with denatured alcohol.


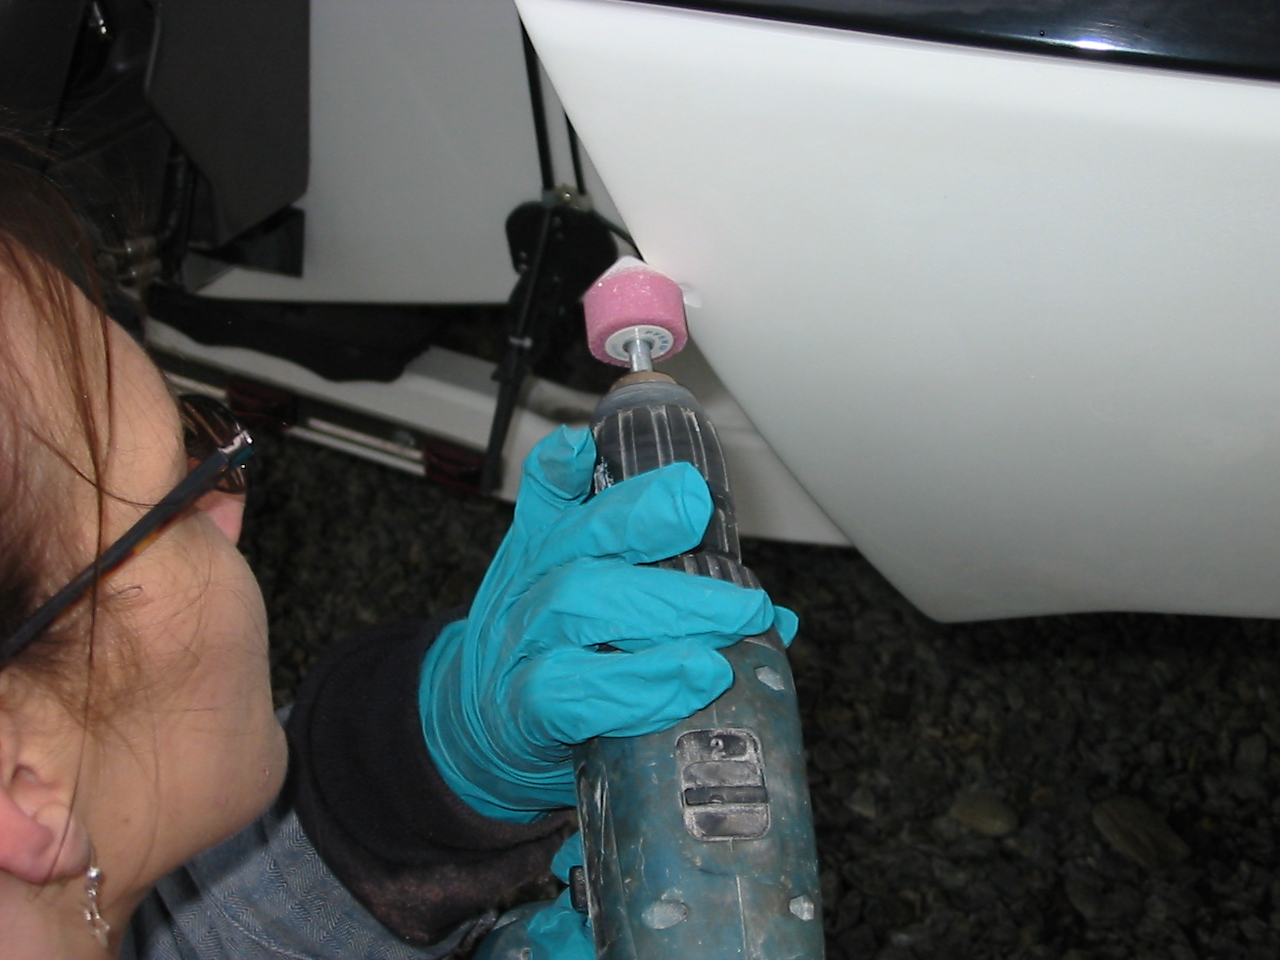
4. Using a grinding bit to smooth out the rough edges of the damaged area.


5. Inspecting the area to make sure the surface is good and smooth.


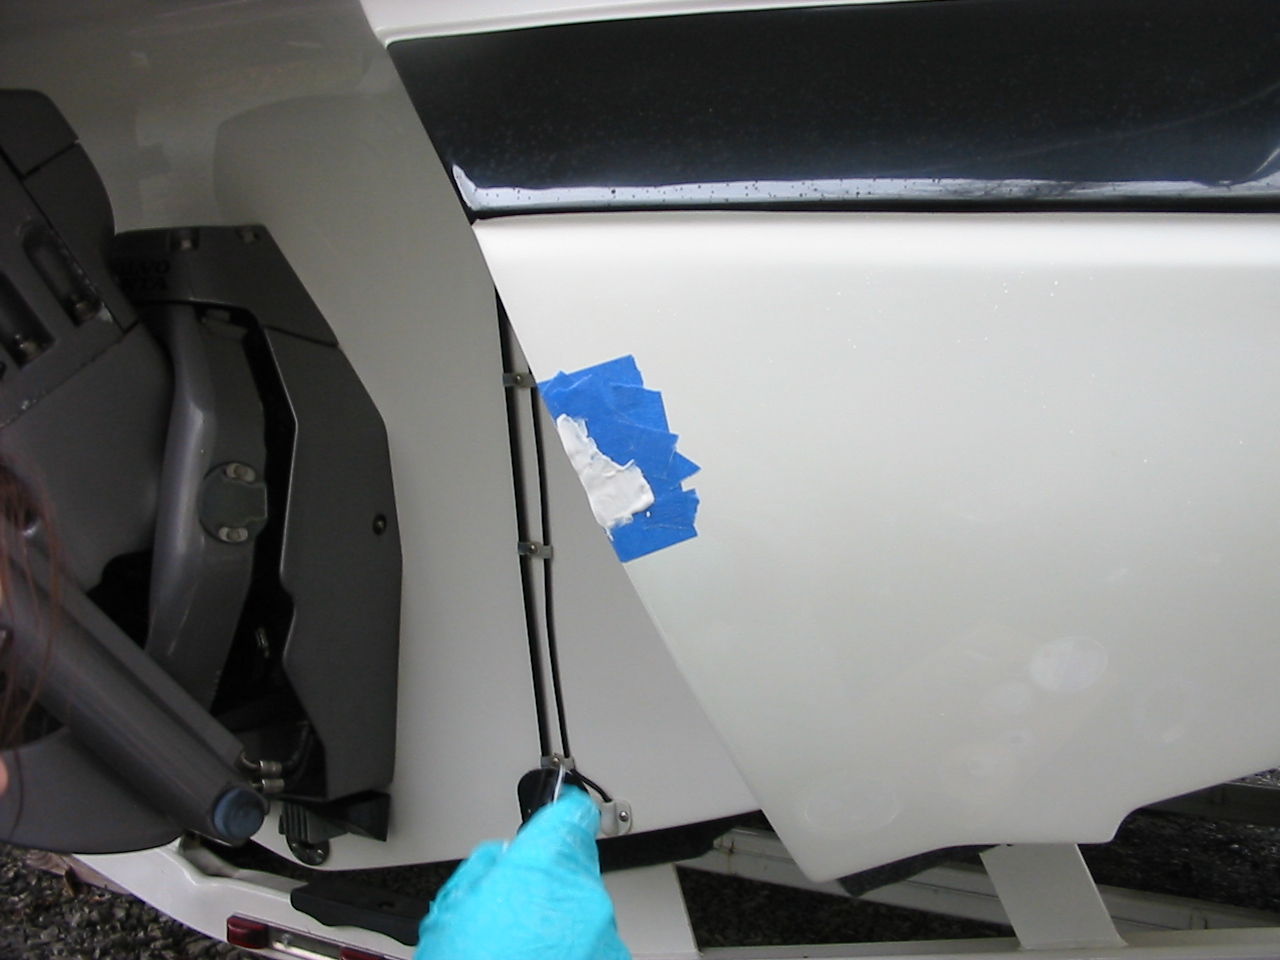
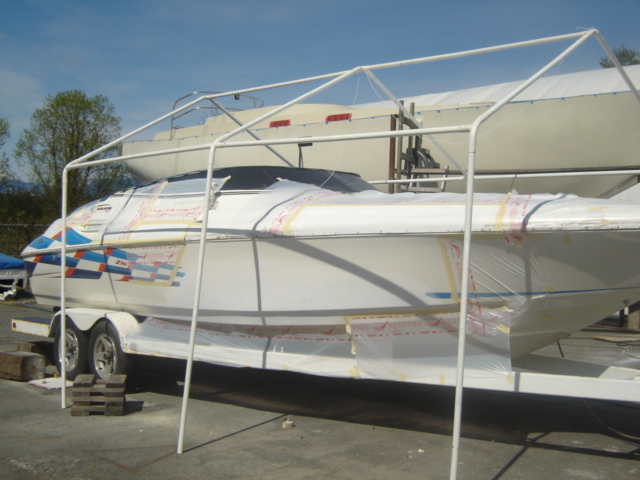
6. Tape protects the surrounding area.


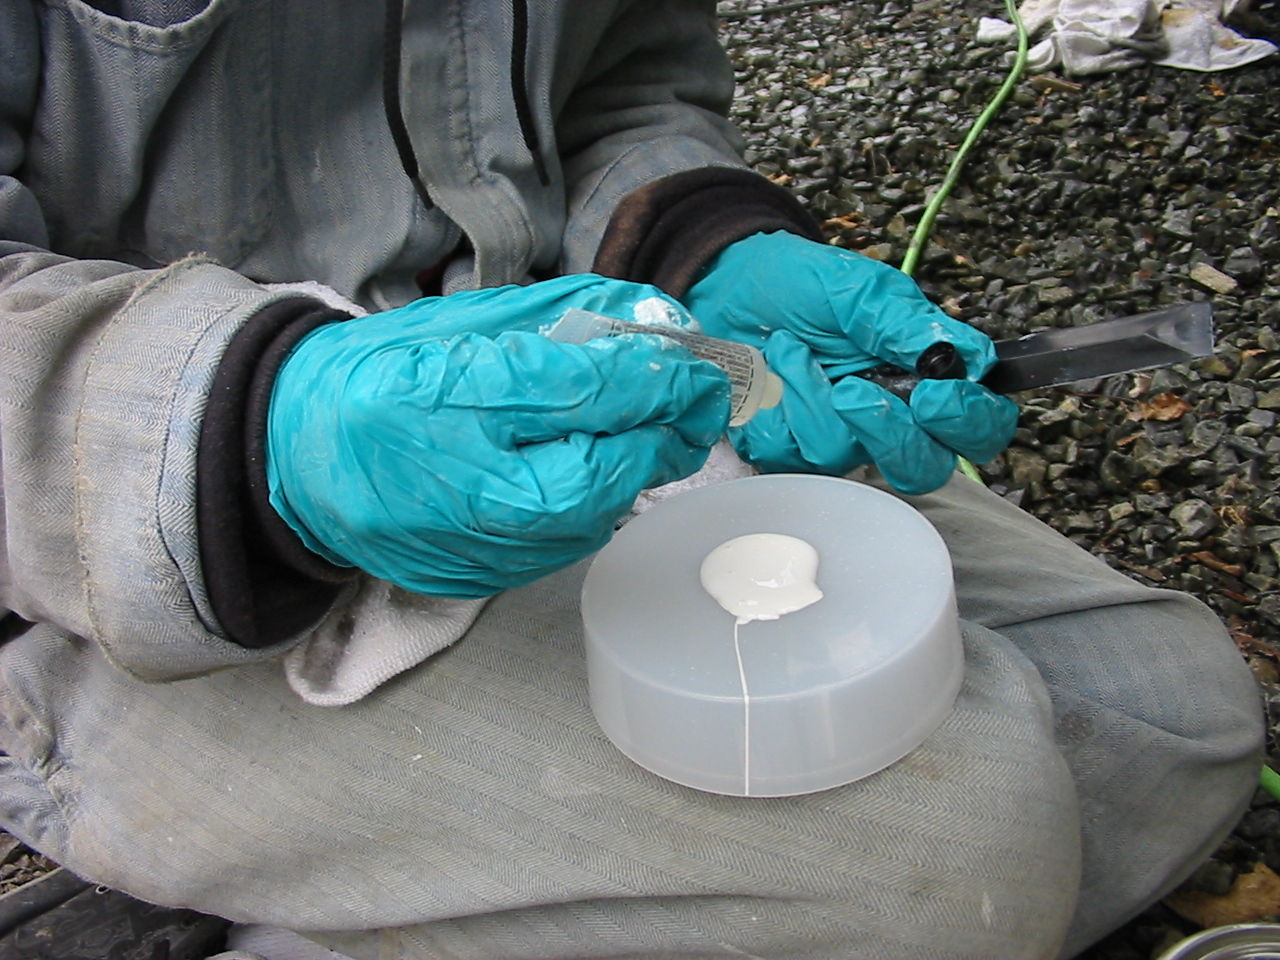
7. Mixing the gelcoat.


8. Catalyzing the gelcoat. In this case, because it was cold, she added three drops rather than two. This makes the gelcoat kick quicker.


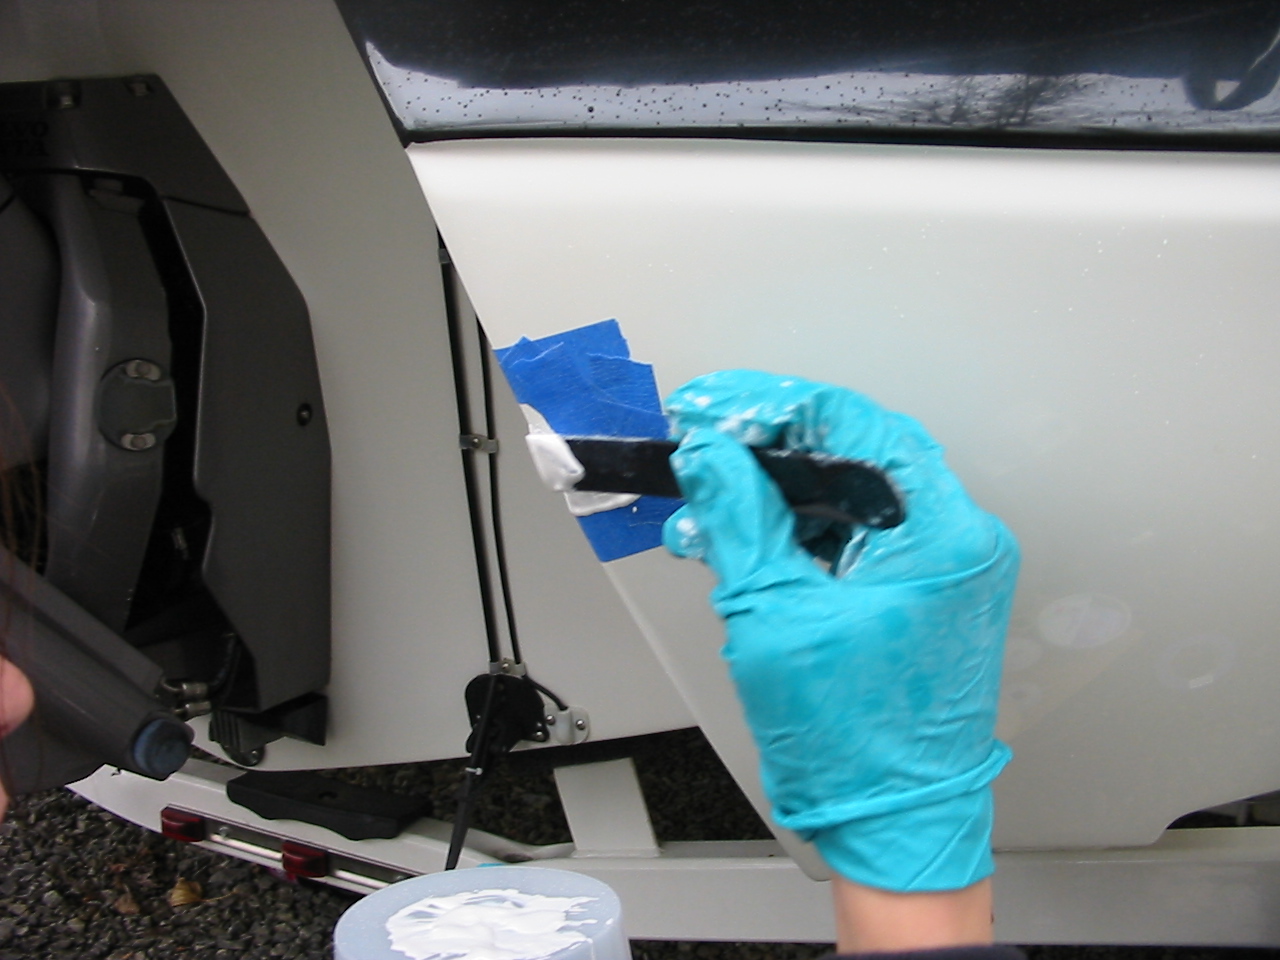
9. Applying the gelcoat to the repair.


10. Gelcoat


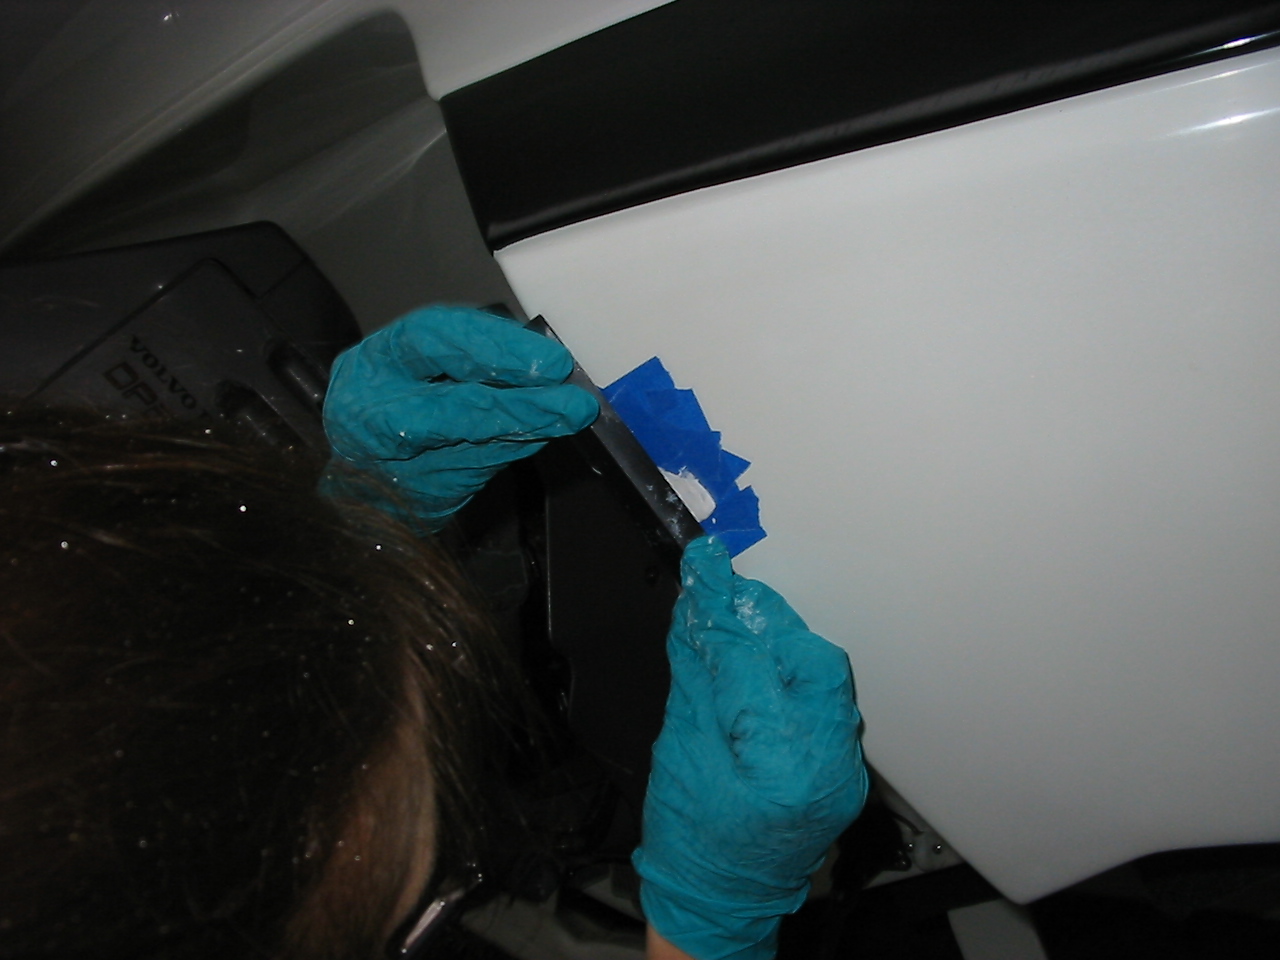
11. Using a non-porous spreader, Courtney ensures the repair is completely filled.


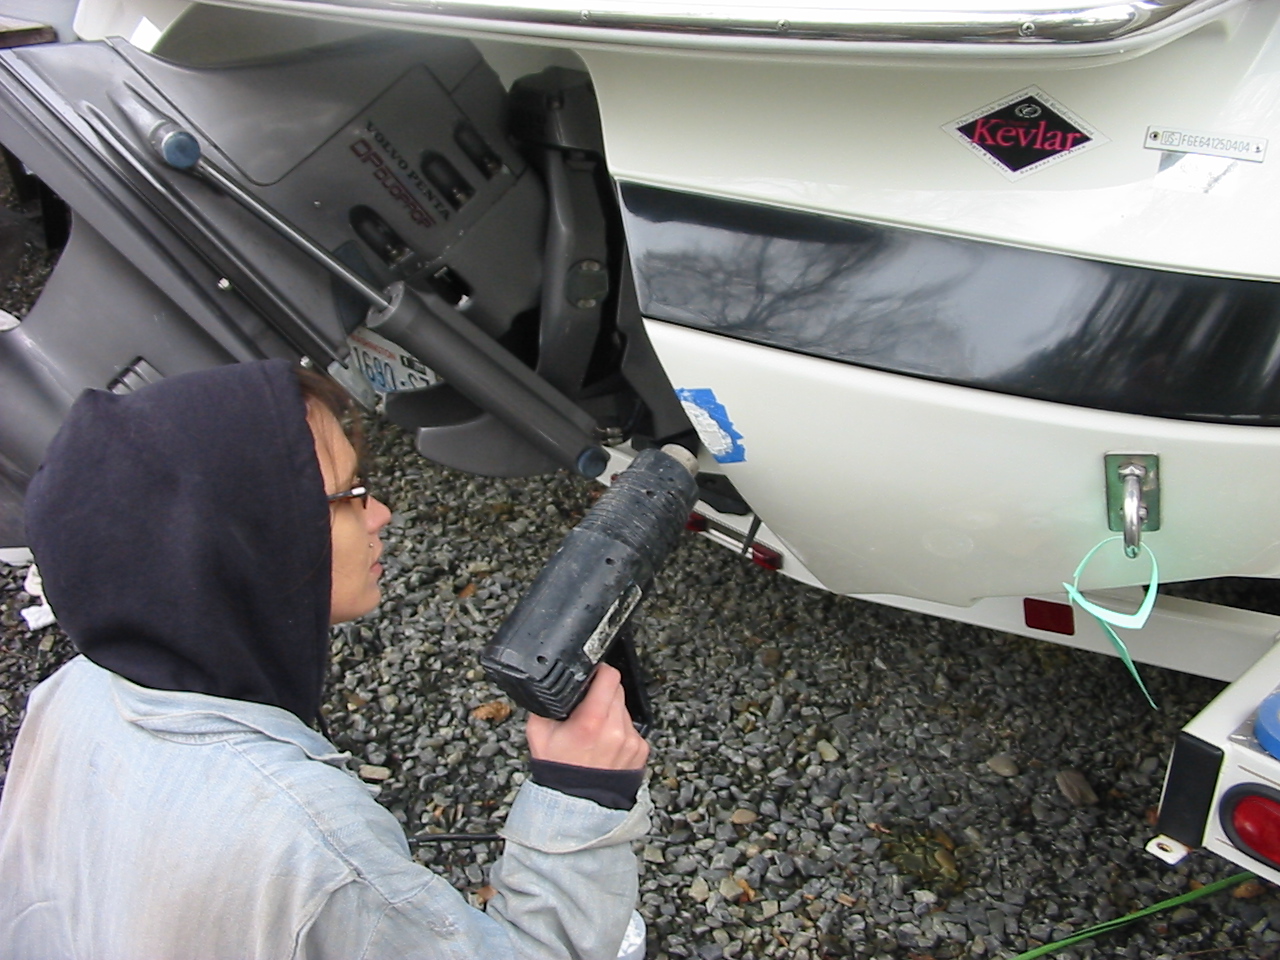
12. She uses a heat gun on the lowest setting to help get the gelcoat to kick.


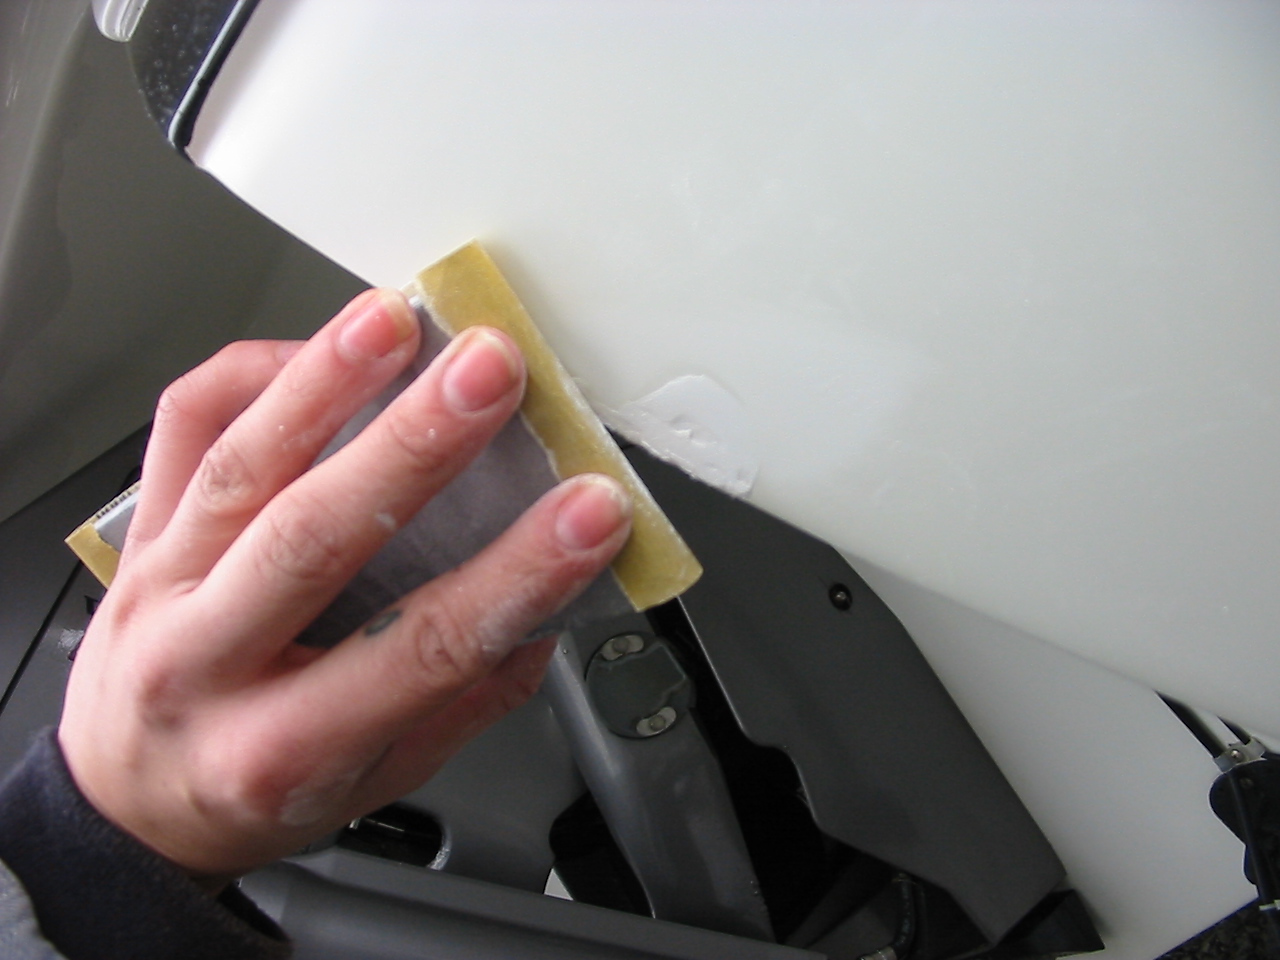
13. Once the gelcoat has kicked (cured), she sands the area smooth with 220 grit sand paper and a firm sanding pad.


14. Inspecting the sanded gelcoat to make sure there are no voids or pinholes. If there are, then a second application of gelcoat is necessary. Because she's a pro, there aren't any.


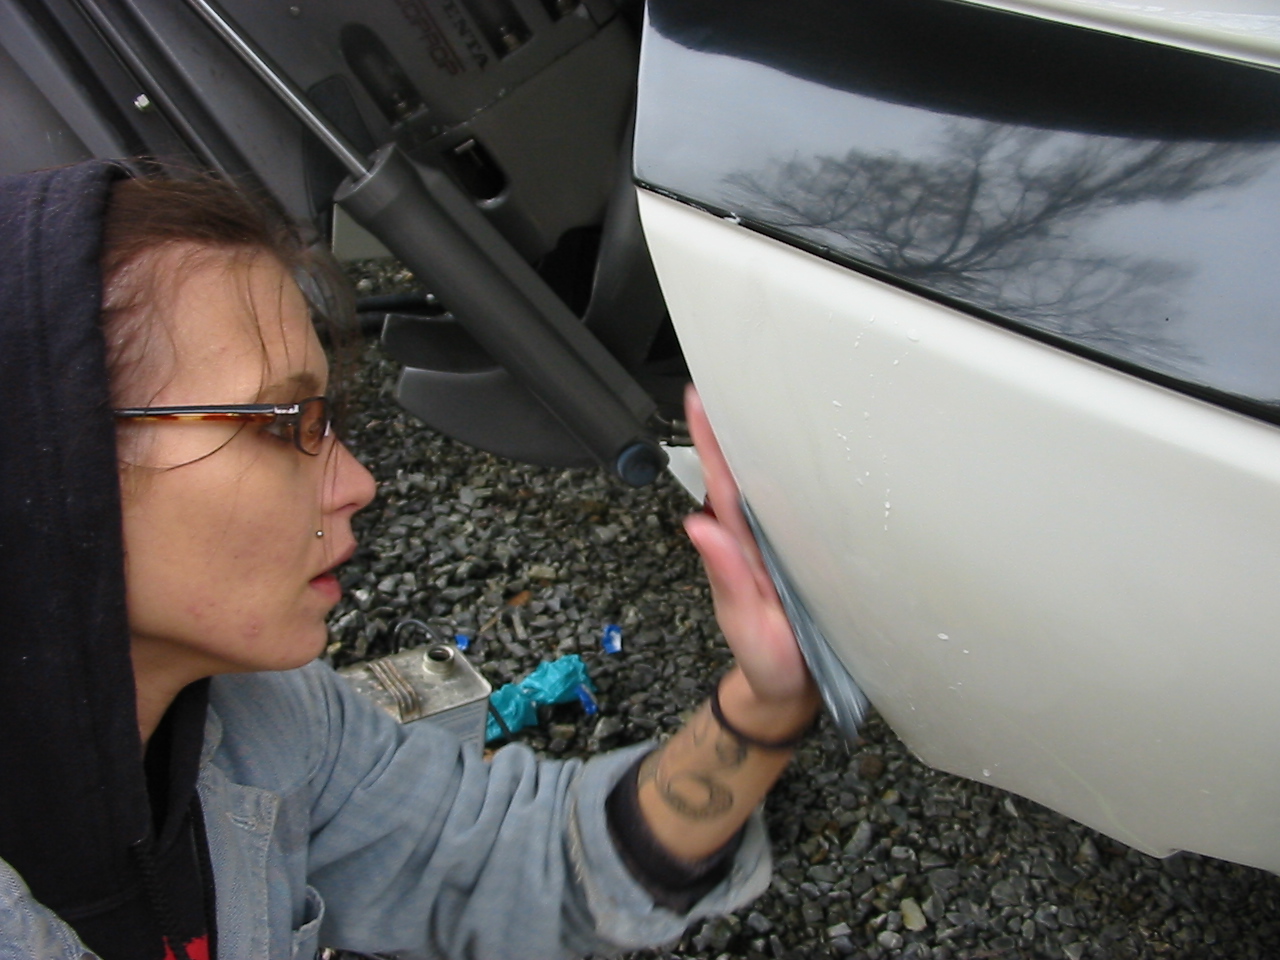
15. Wet sanding the repair with 600 grit to remove the 220 grit scratches.


16. Cleaning off the slurry from wet sanding and making sure there are no sanding scratches left from the coarser paper.


17. Wet sanding with 1000 grit.


18. More inspection. (check at every step).


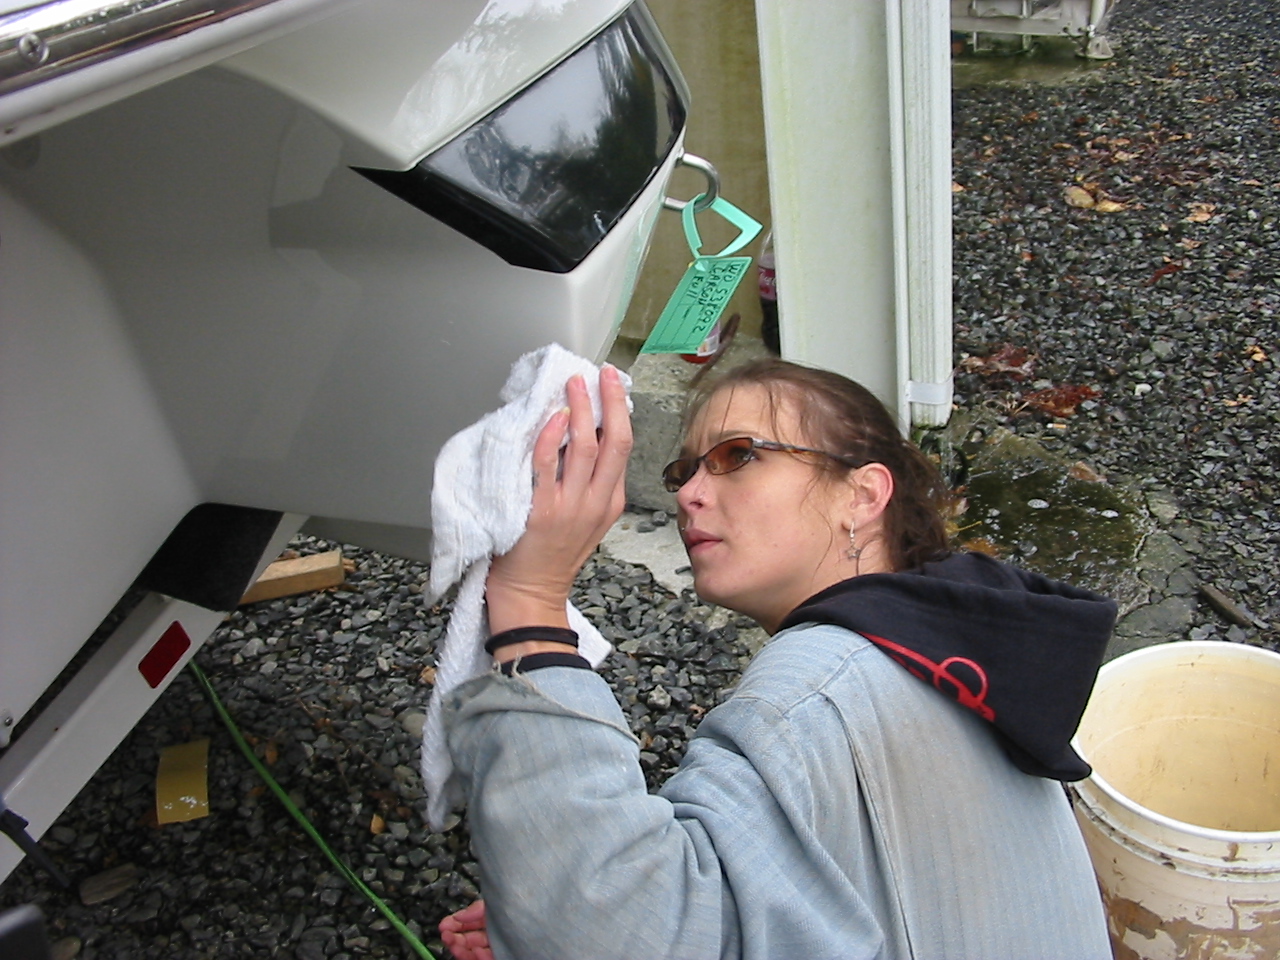
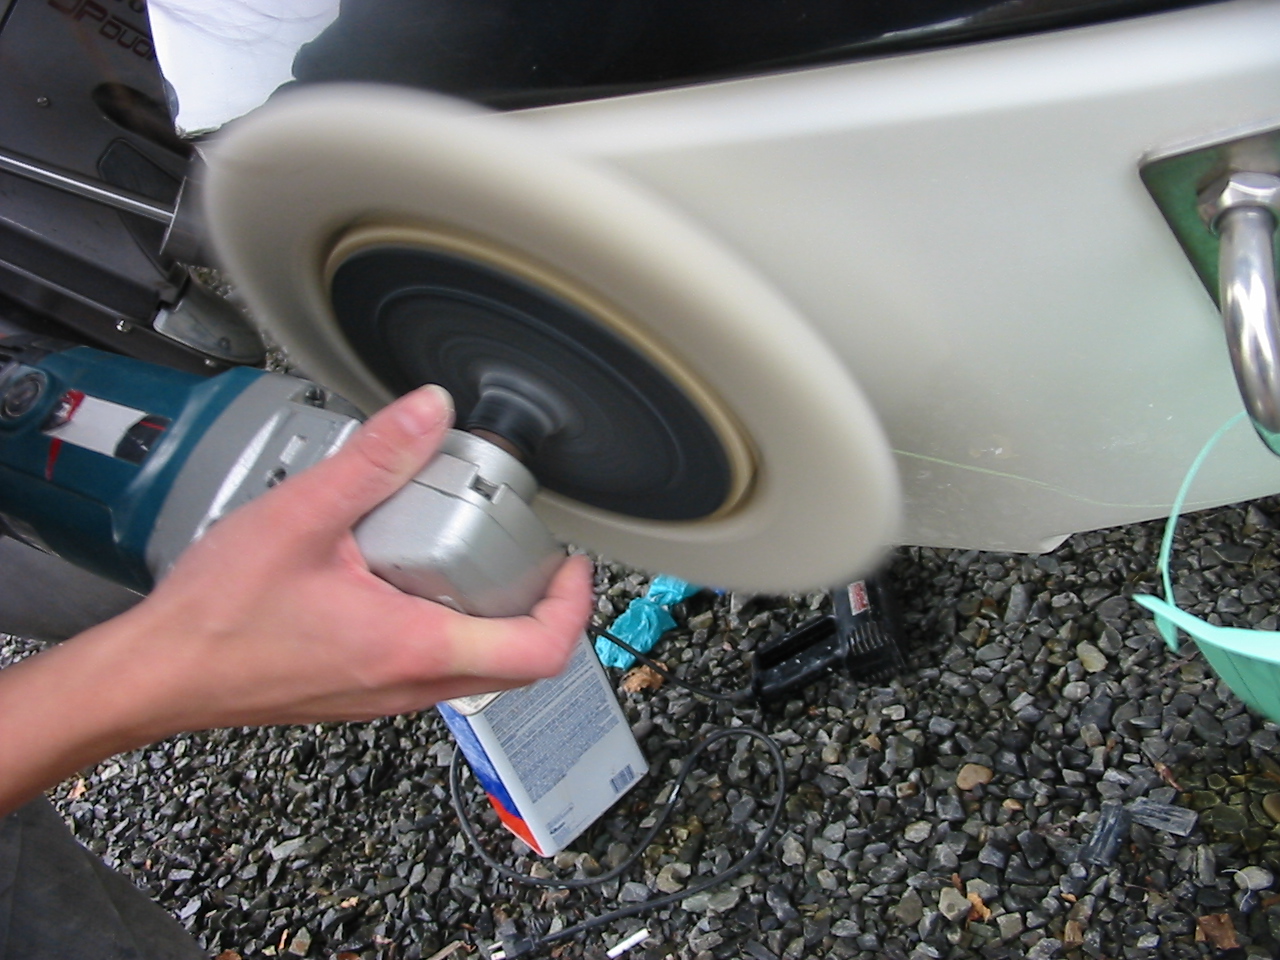
19. Buffing out the repair with rubbing compound.


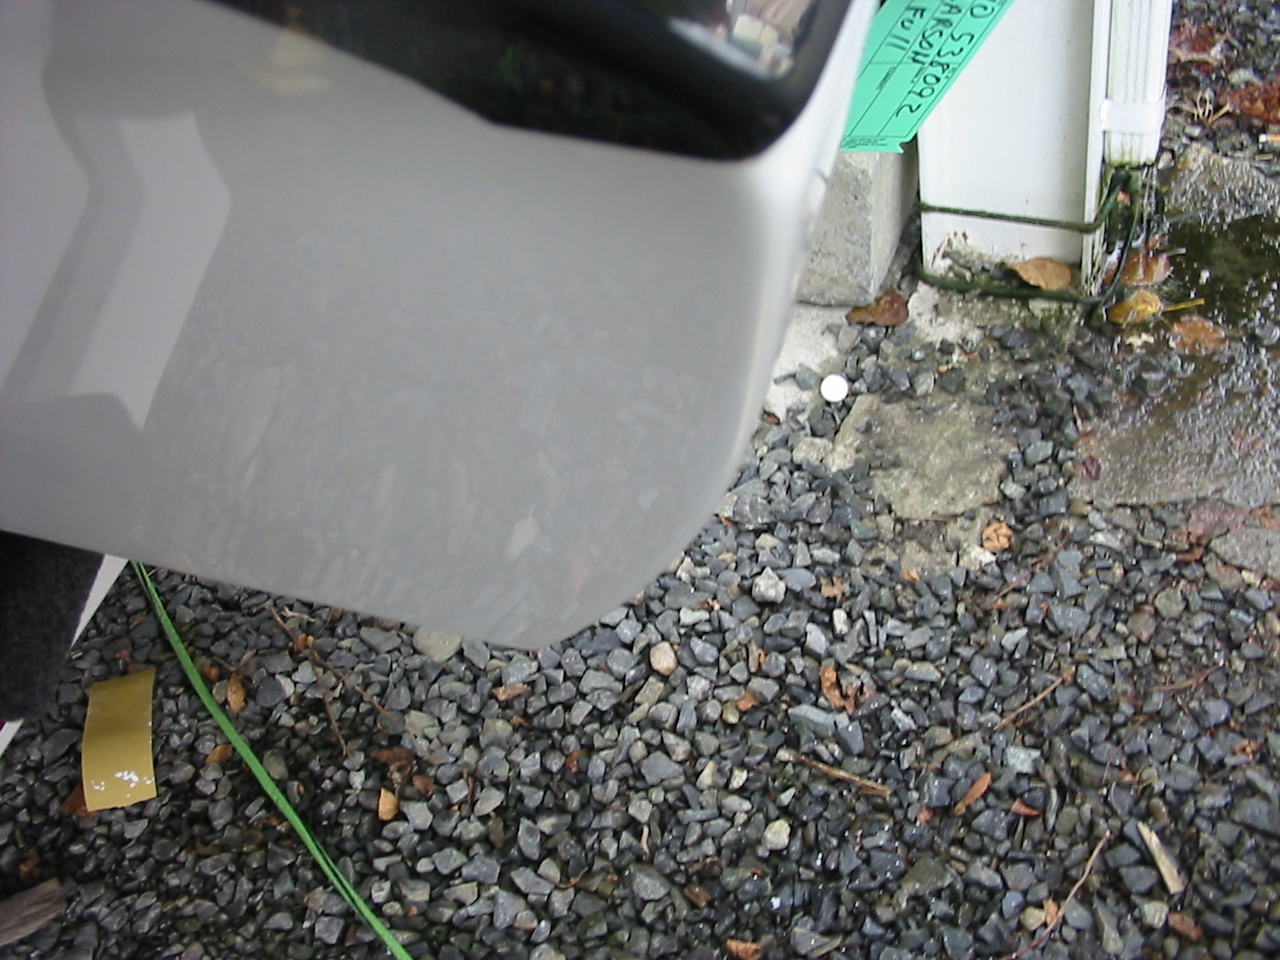
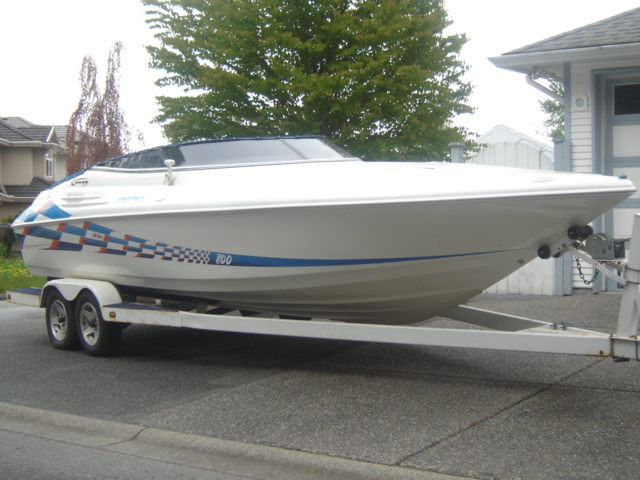
20. The finished repair, polished and waxed, is now invisible.

Please Log in or Create an account to join the conversation.

Re:Gelcoat Repair Pictorial 14 years 2 months ago #18385

  • boats
  • Offline
  • Fresh Boarder
  • Fresh Boarder
  • Posts: 26
  • Karma: 3
  • Thank you received: 0
Another awesome tutorial. Thanks again Jamil. And it looks like you've got another superstar working with you.

Please Log in or Create an account to join the conversation.

Re:Gelcoat Repair Pictorial 14 years 2 months ago #18388

  • Neil
  • Neil's Avatar
  • Offline
  • Platinum Boarder
  • Platinum Boarder
  • Posts: 1997
  • Karma: 65
  • Thank you received: 1
Looks fantastic. We all get those little bumps and bruises.
With Courtney's ability, I am wondering if she has a classic that she can bring back to perfect and proudly call her own?
That too, would make a very interesting thread for teaching.
Neil

Please Log in or Create an account to join the conversation.

Neil and Mary Ousnamer

Re:Gelcoat Repair Pictorial 14 years 2 months ago #18391

Excellent tutorial Jamil! I'm with Neil. I think courtney needs to find a classic of her own and show us her skills. ;)

Bob

Please Log in or Create an account to join the conversation.

Re:Gelcoat Repair Pictorial 14 years 2 months ago #18397

Question - I've always sprayed polyvinyl alcohol on the gelcoat to make it cure right. Since I've never not used it, I cannot say it's required, but I thought it was. Either that or wax in the gelcoat. Did you used gelcoat with wax in it or have I been wrong about needing the polyvinyl alcohol?

I'm getting ready to do a whole boat, my new-to-me Falls Flyer, so I better learn to do it right.

Nice repair, by the way.

Please Log in or Create an account to join the conversation.

Re:Gelcoat Repair Pictorial 14 years 2 months ago #18406

Austin Sailor,

You are 100% correct. There was a PVA step that I didn't show in the photos. It was because the camera needed batteries and it was lunch time. In the middle of all that, taking a picture of either applying or removing PVA simply didn't get taken.

I thought about adding a sidenote about it, but decided against it since many store-bought gelcoat repair kits have wax added to them.

So, for all others, here is a step that we'll call step #12 1/2. After the gelcoat kicks, (Becomes hard but the surface remains tacky), the surface of the gelcoat needs to be sealed off from the air. This is because gelcoat is air-inhibited. In a nutshell, gelcoat will never fully cure when it's exposed to the air.

PVA stands for polyvinyl alcohol. It is a liquid plastic. When it's either sprayed or brushed onto something, it cures into a plastic coating that protects the surface from exposure to air.

For small repairs, I just brush it on with an acid brush (a small utilitarian brush that is disposable). For large gelcoat repair jobs, it's easier to spray it on evenly.

Many ready-to-use gelcoat products have wax added to them. What happens is, when the gelcoat begins to cure, the wax floats to the surface and creates an airtight barrier which allows the gelcoat below to reach full cure.

PVA is used when gelcoat has no wax added to it. If you're not sure if the gelcoat you bought for your repair has wax in it or not, go ahead and buy a bottle of PVA (it's about $10). Adding it on top of gelcoat with wax added isn't going to hurt anything.

The trick to gelcoat repair is knowing when to add the PVA. When the gelcoat has "kicked" it should be able to pass the fingerprint test. You should be able to press you your finger, good and hard, into the new gelcoat and, while it may be sticky to the touch, your fingerprint should not reshape the gelcoat.

Once it's passed that test, go ahead and either brush or spray on some PVA and wait a few hours. It washes off with water, then you can start sanding.

Please Log in or Create an account to join the conversation.

Re:Gelcoat Repair Pictorial 14 years 2 months ago #18409

  • Bigfoot
  • Bigfoot's Avatar
  • Offline
  • Expert Boarder
  • Expert Boarder
  • Posts: 282
  • Karma: 22
  • Thank you received: 0
Thanks again. You are , hmm...Whats the word? Oh yeah, Awesome, lol, Mike

Please Log in or Create an account to join the conversation.

Re:Gelcoat Repair Pictorial 14 years 2 months ago #18411

Nice job, basic step by step. Easy to follow and informative. Have you ever used a marine shaver? If so, what are your thoughts and or recommendations. Thanks.

Please Log in or Create an account to join the conversation.

Re:Gelcoat Repair Pictorial 14 years 2 months ago #18412

this is the hardest gel coat repair i have done.try to match the air brush paint job was not easy either.

Please Log in or Create an account to join the conversation.

Re:Gelcoat Repair Pictorial 14 years 2 months ago #18417

  • bobo
  • bobo's Avatar
  • Offline
  • Gold Boarder
  • Gold Boarder
  • Posts: 549
  • Karma: 22
  • Thank you received: 0
Thanks that was great ..Ive done tons of Body Work on cars but never boats ..Anybody got a good link on Fiberglassing Floors and Transoms ??

Please Log in or Create an account to join the conversation.

Re:Gelcoat Repair Pictorial 14 years 2 months ago #18431

bobo,i think on the home page is another great tutorial by jamil on that.

Please Log in or Create an account to join the conversation.

\"too soon old,too late smart\" my pap

Twenty years from now you will be more disappointed by the things that you didn’t do than by the ones you did do. So throw off the bowlines. Sail away from the safe harbor. Catch the trade winds in your sails. Explore. Dream. Discover.“

---Mark Twain

Re:Gelcoat Repair Pictorial 14 years 2 months ago #18440

Really great informative stuff! Jamil, Thanks for sharing all this including the other publications you have on fiberglass repair on this site.

Please Log in or Create an account to join the conversation.

Re:Gelcoat Repair Pictorial 14 years 2 months ago #18476

Neil, Bob,

As for Courtney restoring her own boat, I think that's a great idea. We're all a bit busy around here with other people's boats at the moment, but she certainly has the skills to do a great job.

Maybe when we clear some space out of the yard, we can find her a good candidate for a personal project.

In the meantime, we can look forward to some more tutorials/pictorials showcasing her talents.

She's new to the world of Fiberglassics, but being young and creative, I think opens the door to unique restorations and customizations.

Jamil

Please Log in or Create an account to join the conversation.

Re:Gelcoat Repair Pictorial 14 years 2 months ago #18479

Jamil,
Can't wait to see it.

Bob

Please Log in or Create an account to join the conversation.

Re:Gelcoat Repair Pictorial 14 years 2 months ago #18481

  • Neil
  • Neil's Avatar
  • Offline
  • Platinum Boarder
  • Platinum Boarder
  • Posts: 1997
  • Karma: 65
  • Thank you received: 1
Jamil
If I were closer I would gift her one of my boats and then set back and watch her go.
Neil

Please Log in or Create an account to join the conversation.

Neil and Mary Ousnamer

Re:Gelcoat Repair Pictorial 14 years 2 months ago #18482

I have a 1978 Tiara that has holes in the gelcoat where transducers where added, and removed. I would like to fill them. The gelcoat is not white though. How do you match the color of off white coats?

Please Log in or Create an account to join the conversation.

Re:Gelcoat Repair Pictorial 14 years 2 months ago #18483

carpenterken,

First, look here for repairing the holes left by the transducers...
www.fiberglassics.com/glassic-forums/main-forum/repairing-fiberglass#17399

Second, call Spectrum Colors at 800 754 5516 and give them the make, year, and HIN. If the color is in their database, they'll mix up a quart of factory matched color and send it to you (about $70.

If a factory color match is unimportant or unobtainable, you can buy gelcoat tints where ever you buy your gelcoat and try to match it yourself.

Please Log in or Create an account to join the conversation.

Re:Gelcoat Repair Pictorial 14 years 2 months ago #18484

Thank you for the link, and number. My holes are just from the screws (not very big).

Please Log in or Create an account to join the conversation.

Re:Gelcoat Repair Pictorial 14 years 2 months ago #18485

Is the article on the home page part of a book that can be purchased? If so, where would I buy it?

Please Log in or Create an account to join the conversation.

Re:Gelcoat Repair Pictorial 14 years 2 months ago #18491

Austin Sailor,

The whole book is available under the research/restoration tab in the top right corner of the page.

It's divided into three parts:

Fiberglass repair and fabrication
Floors, Stringers, and Transoms
Refinishing

Part two still hasn't been finished (I have to write the "floors" section still).

You can print it directly from Fiberglassics or you can copy and paste the text into a writing program and print it out that way.

Jamil

P.S. Neil, that's a very nice gesture. +1

Please Log in or Create an account to join the conversation.

Re:Gelcoat Repair Pictorial 14 years 2 months ago #18492

Nice walk through & great pictures. Sometimes a Nib File works best for leveling the surface of a small gelcoat repair. Sanding the area on older boats can be risky if the gelcoat is thin, as it is easily sanded through exposing the glass surounding the patch. Color matching is especially difficult on vintage boats that have aged gelcoat.

Please Log in or Create an account to join the conversation.

Re:Gelcoat Repair Pictorial 14 years 2 months ago #18549

  • boats
  • Offline
  • Fresh Boarder
  • Fresh Boarder
  • Posts: 26
  • Karma: 3
  • Thank you received: 0
Oops.

Please Log in or Create an account to join the conversation.

  • Page:
  • 1
Time to create page: 0.222 seconds

Donate

Please consider supporting our efforts.

Glassified Ads

WANTED 1962 BUEHLER STERNPOLE
( / Wanted)

noimage
01-13-2025

1956 Lonestar Meteor
( / Boats)

1956 Lonestar Meteor
12-24-2024

Mercury outboard
( / Engines)

noimage
11-03-2024

FG Login

FiberGoogle

Who's Online

We have 7033 guests and one member online