Welcome, Guest
Username: Password: Remember me
  • Page:
  • 1
  • 2

TOPIC: Returning member...1960 Tomahawk restoration

Returning member...1960 Tomahawk restoration 5 years 9 months ago #139029

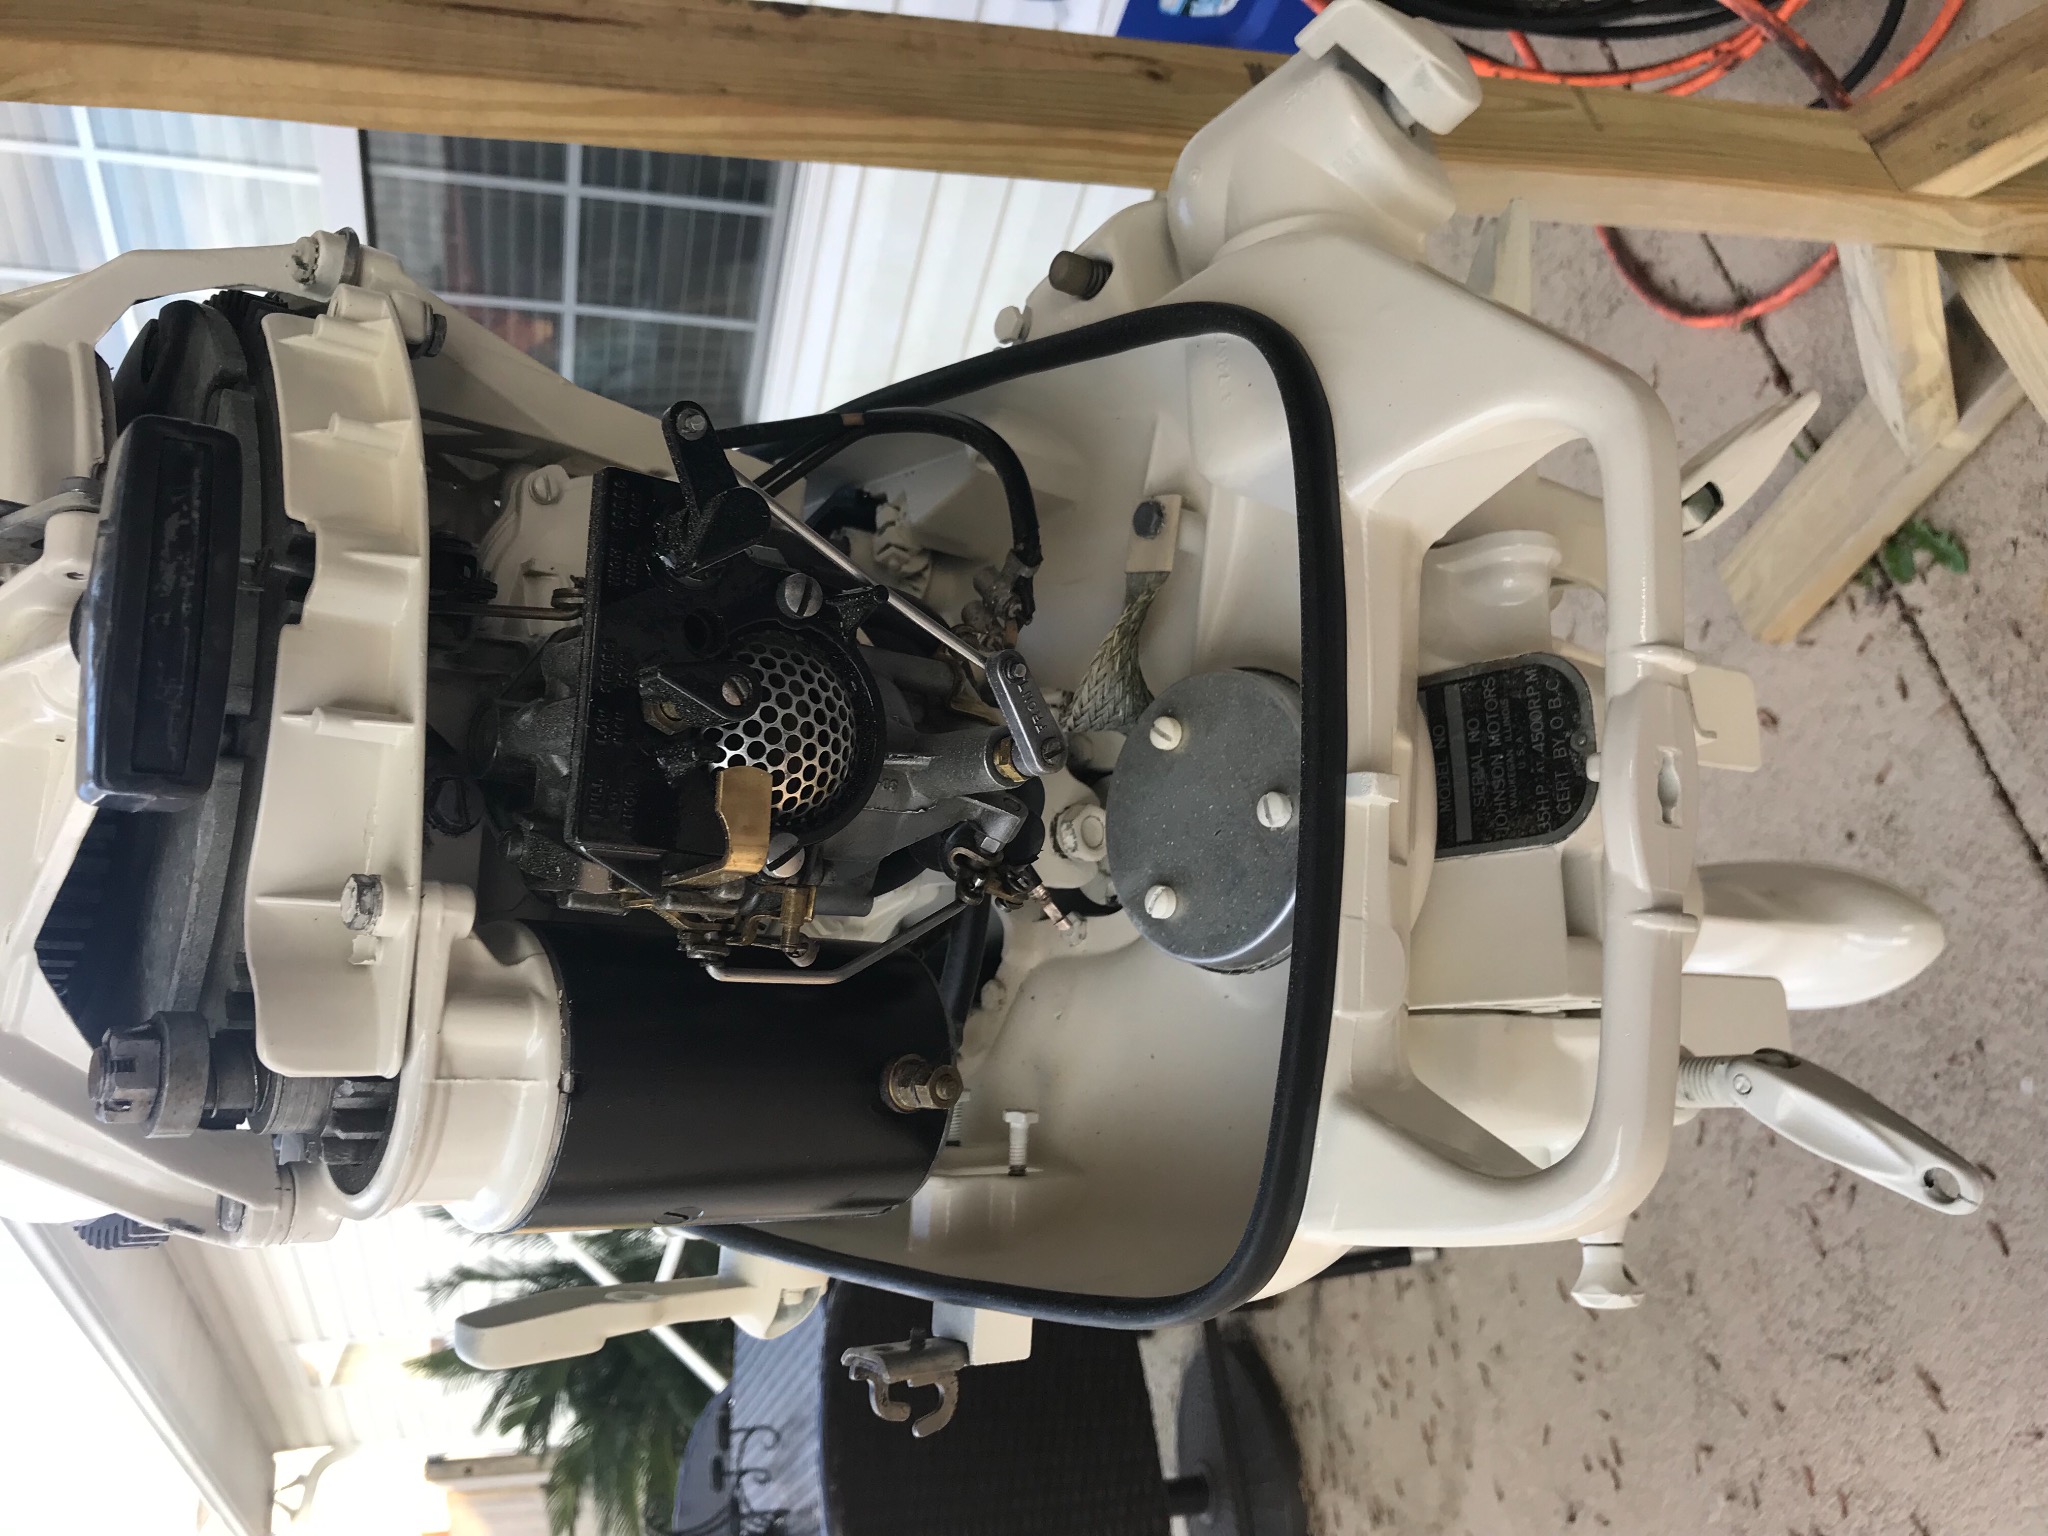
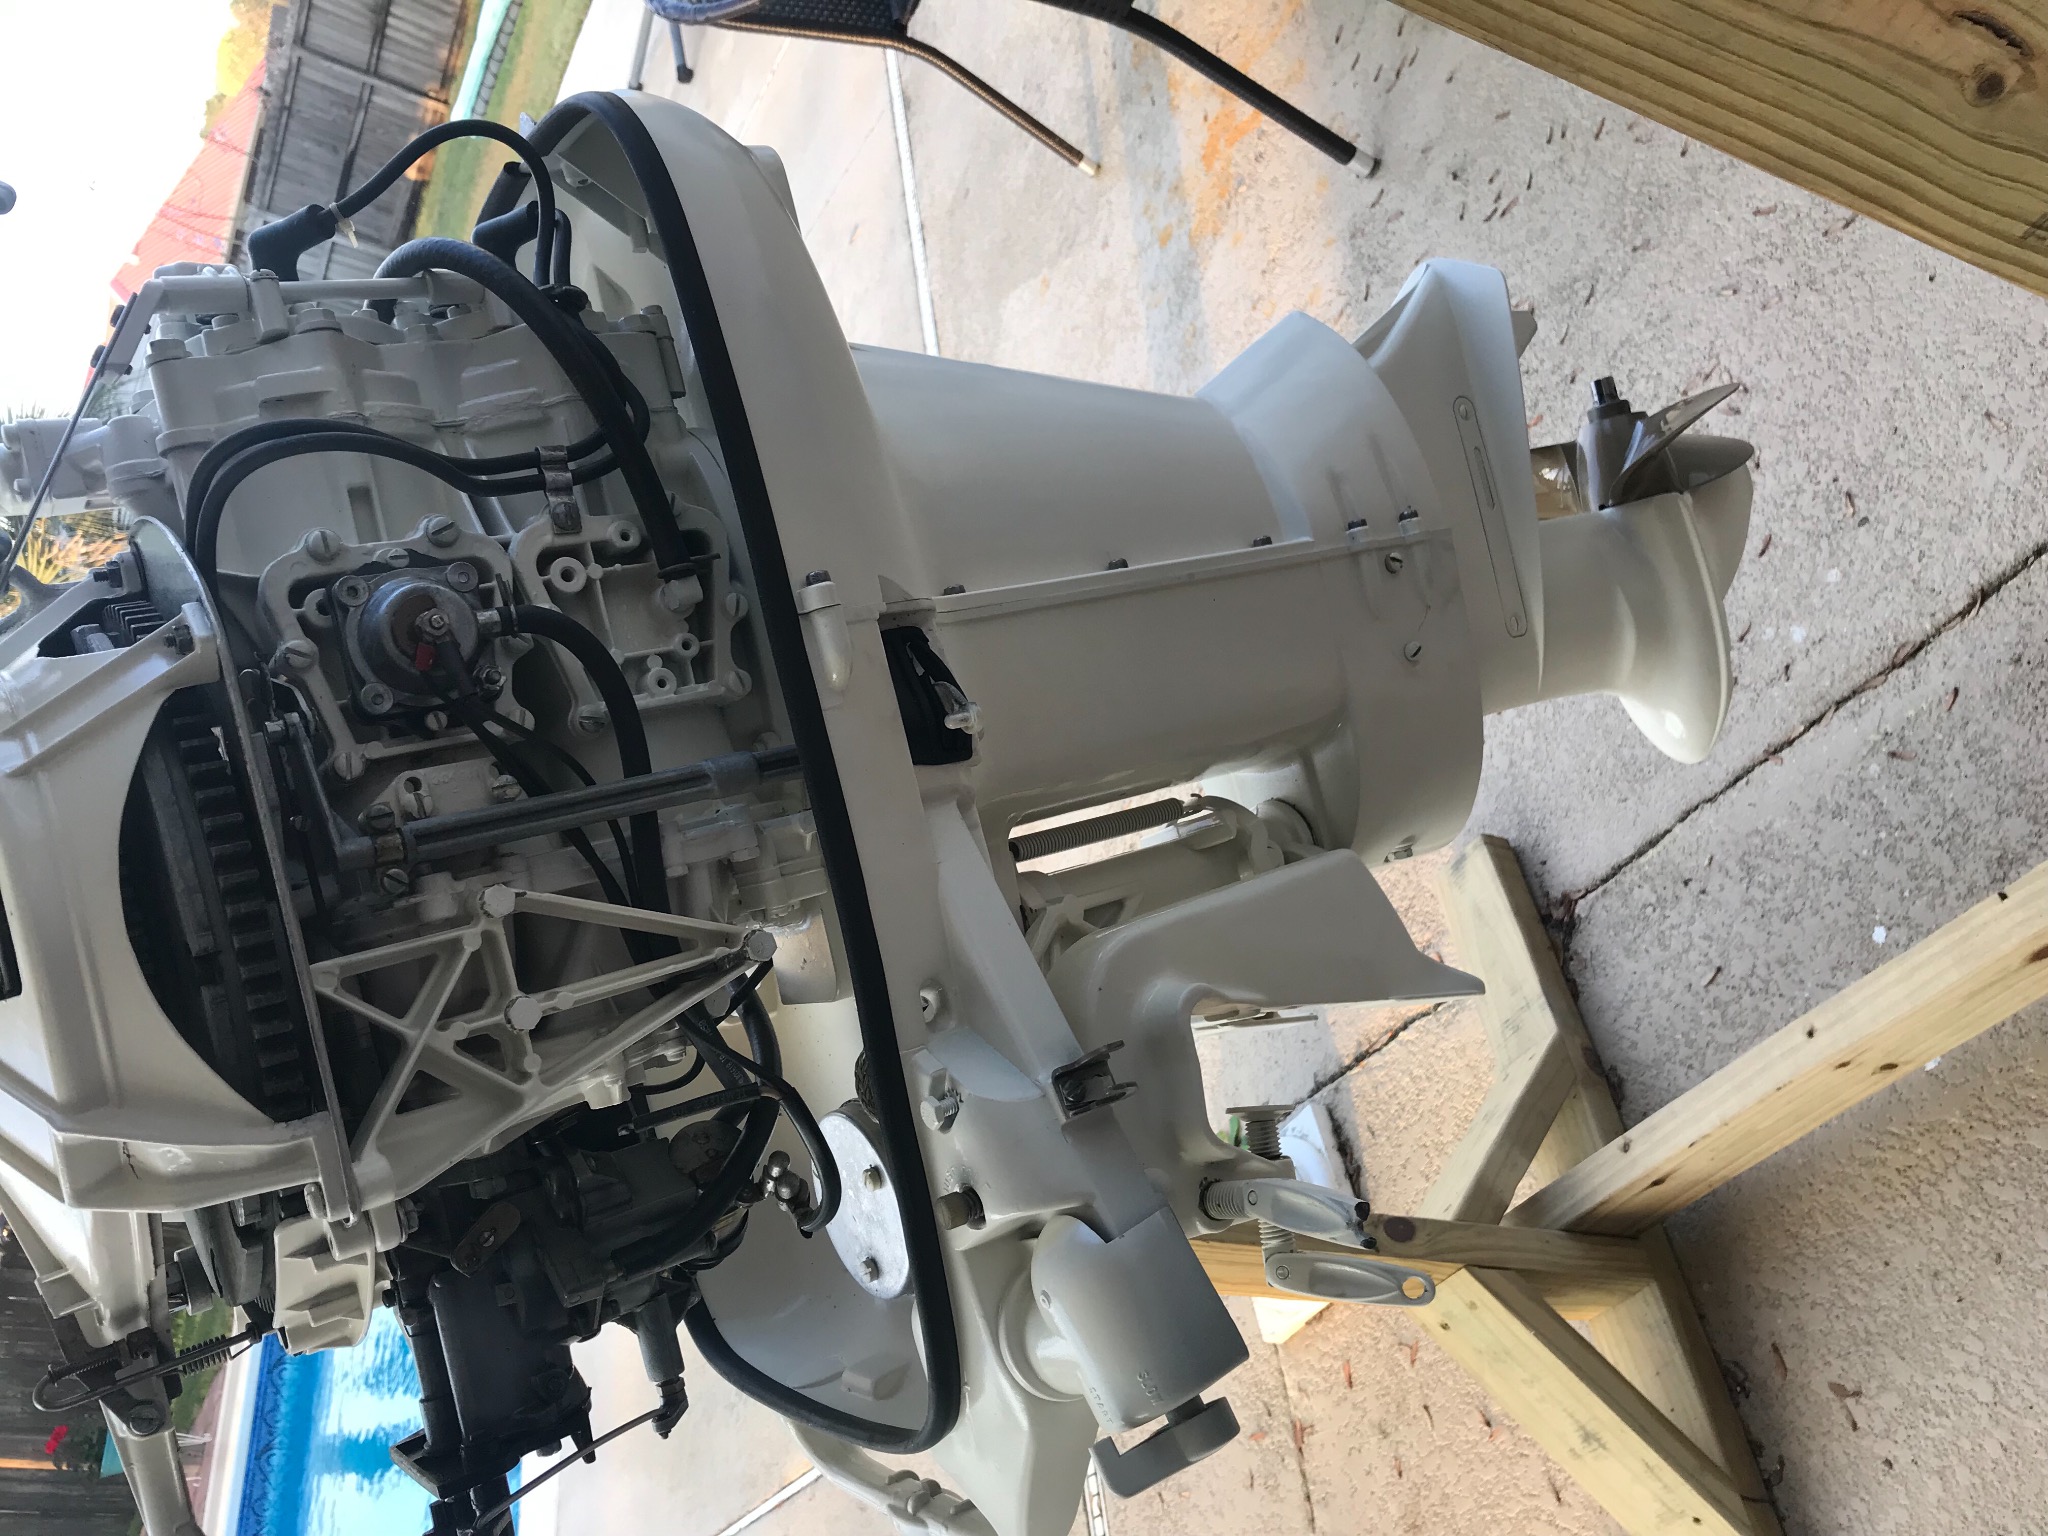
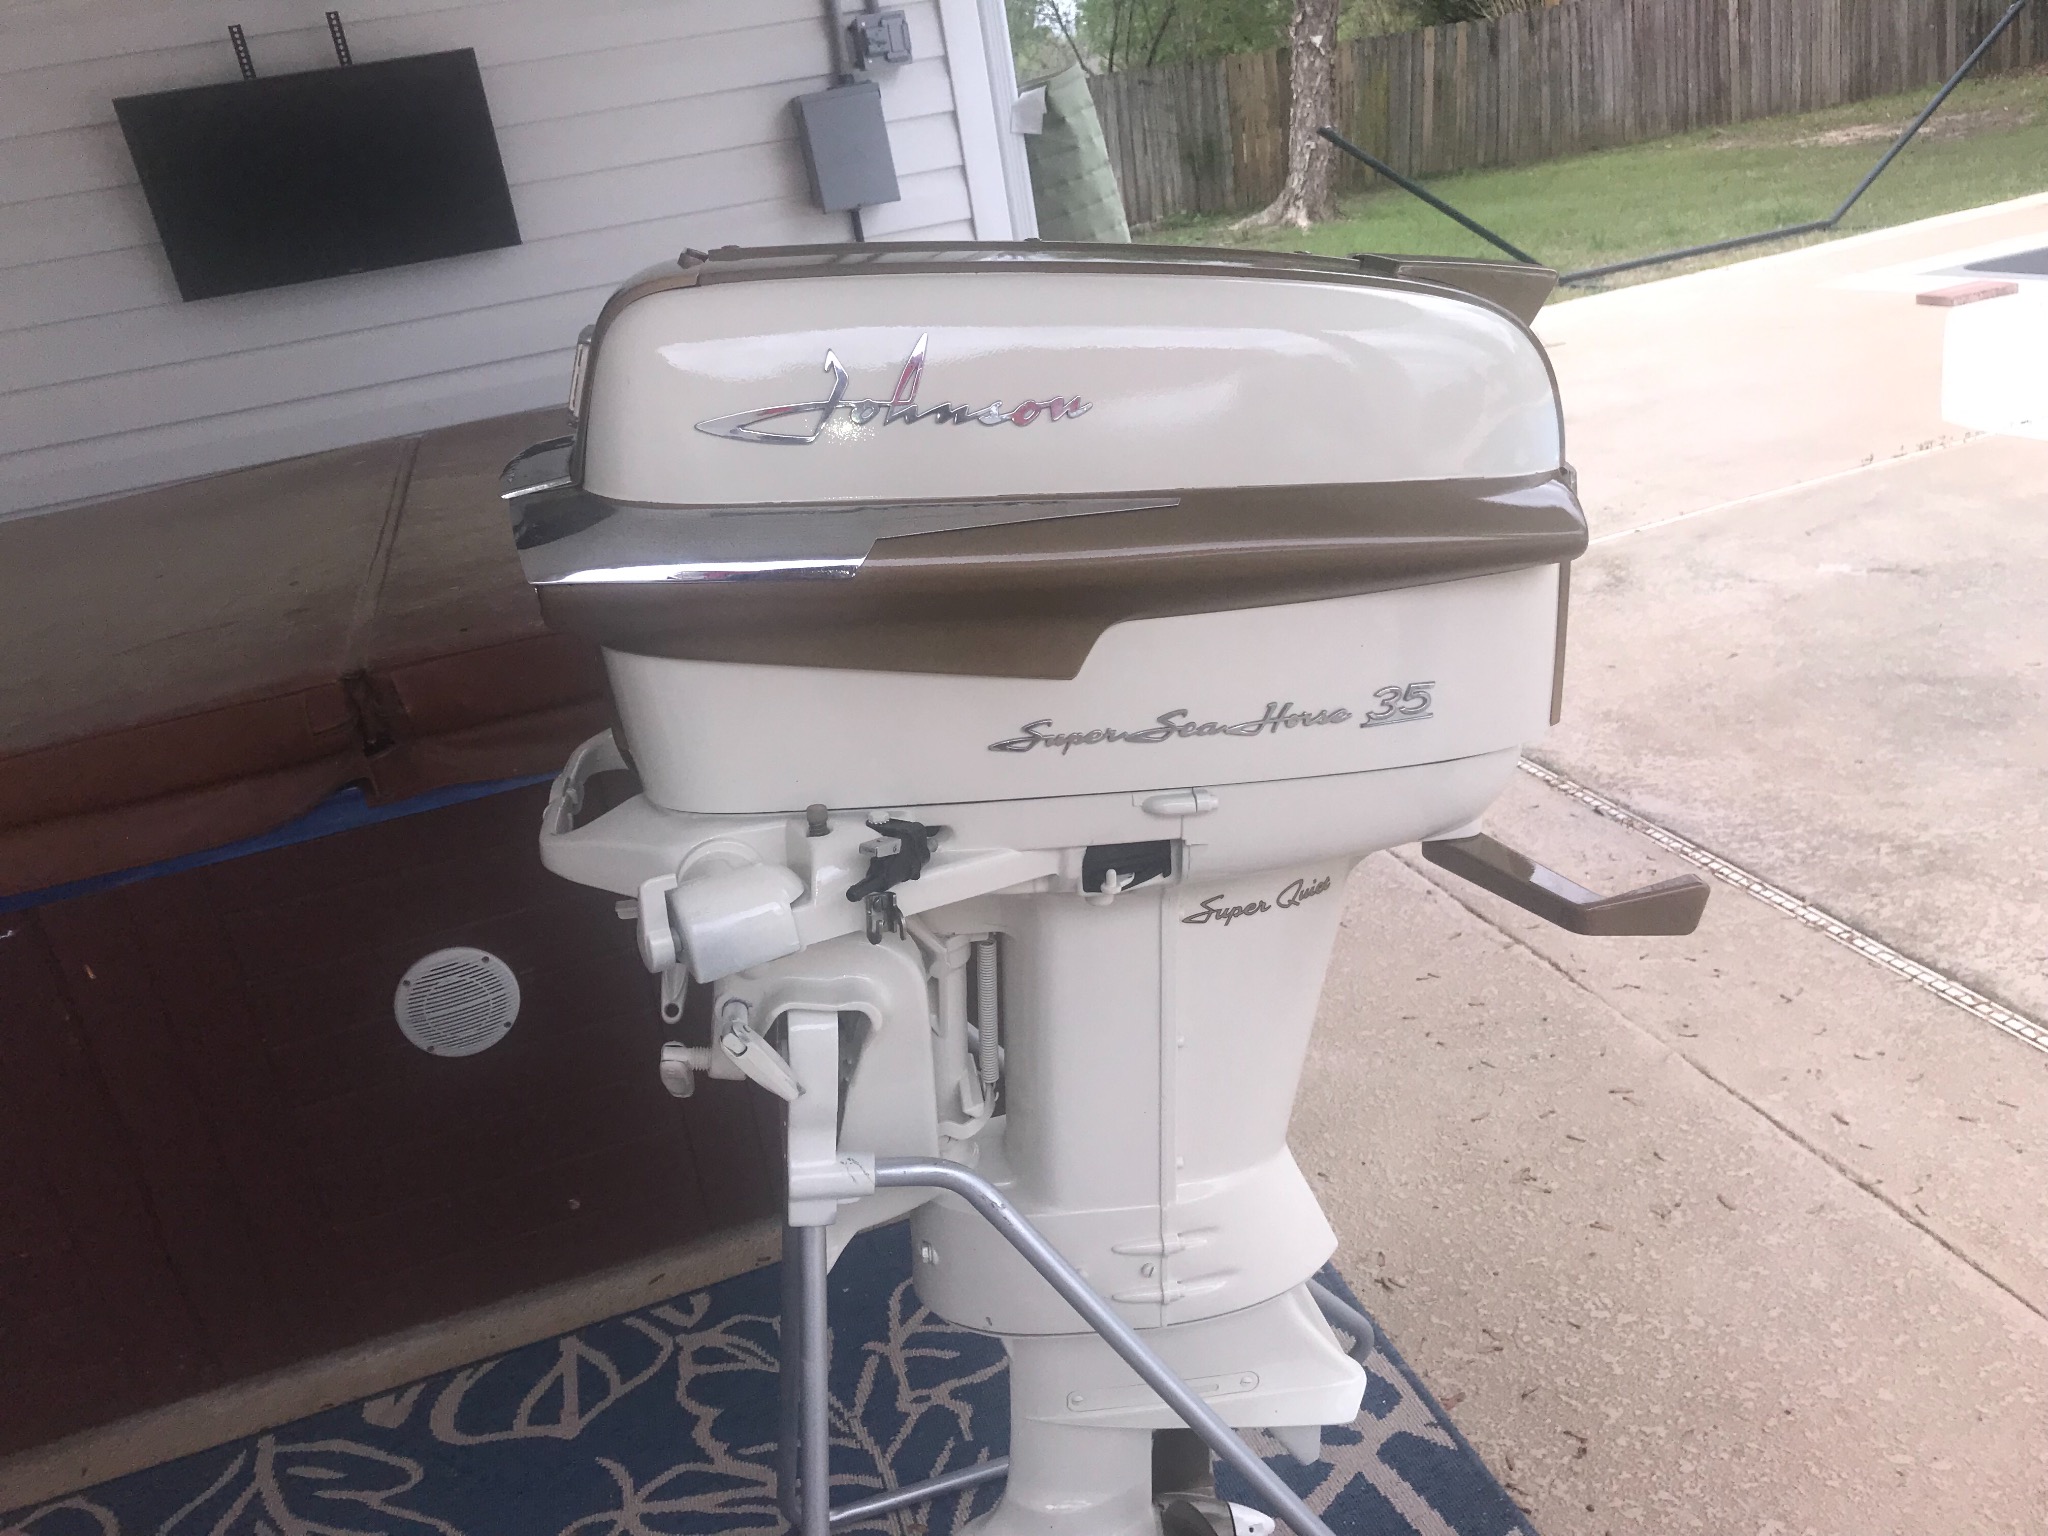
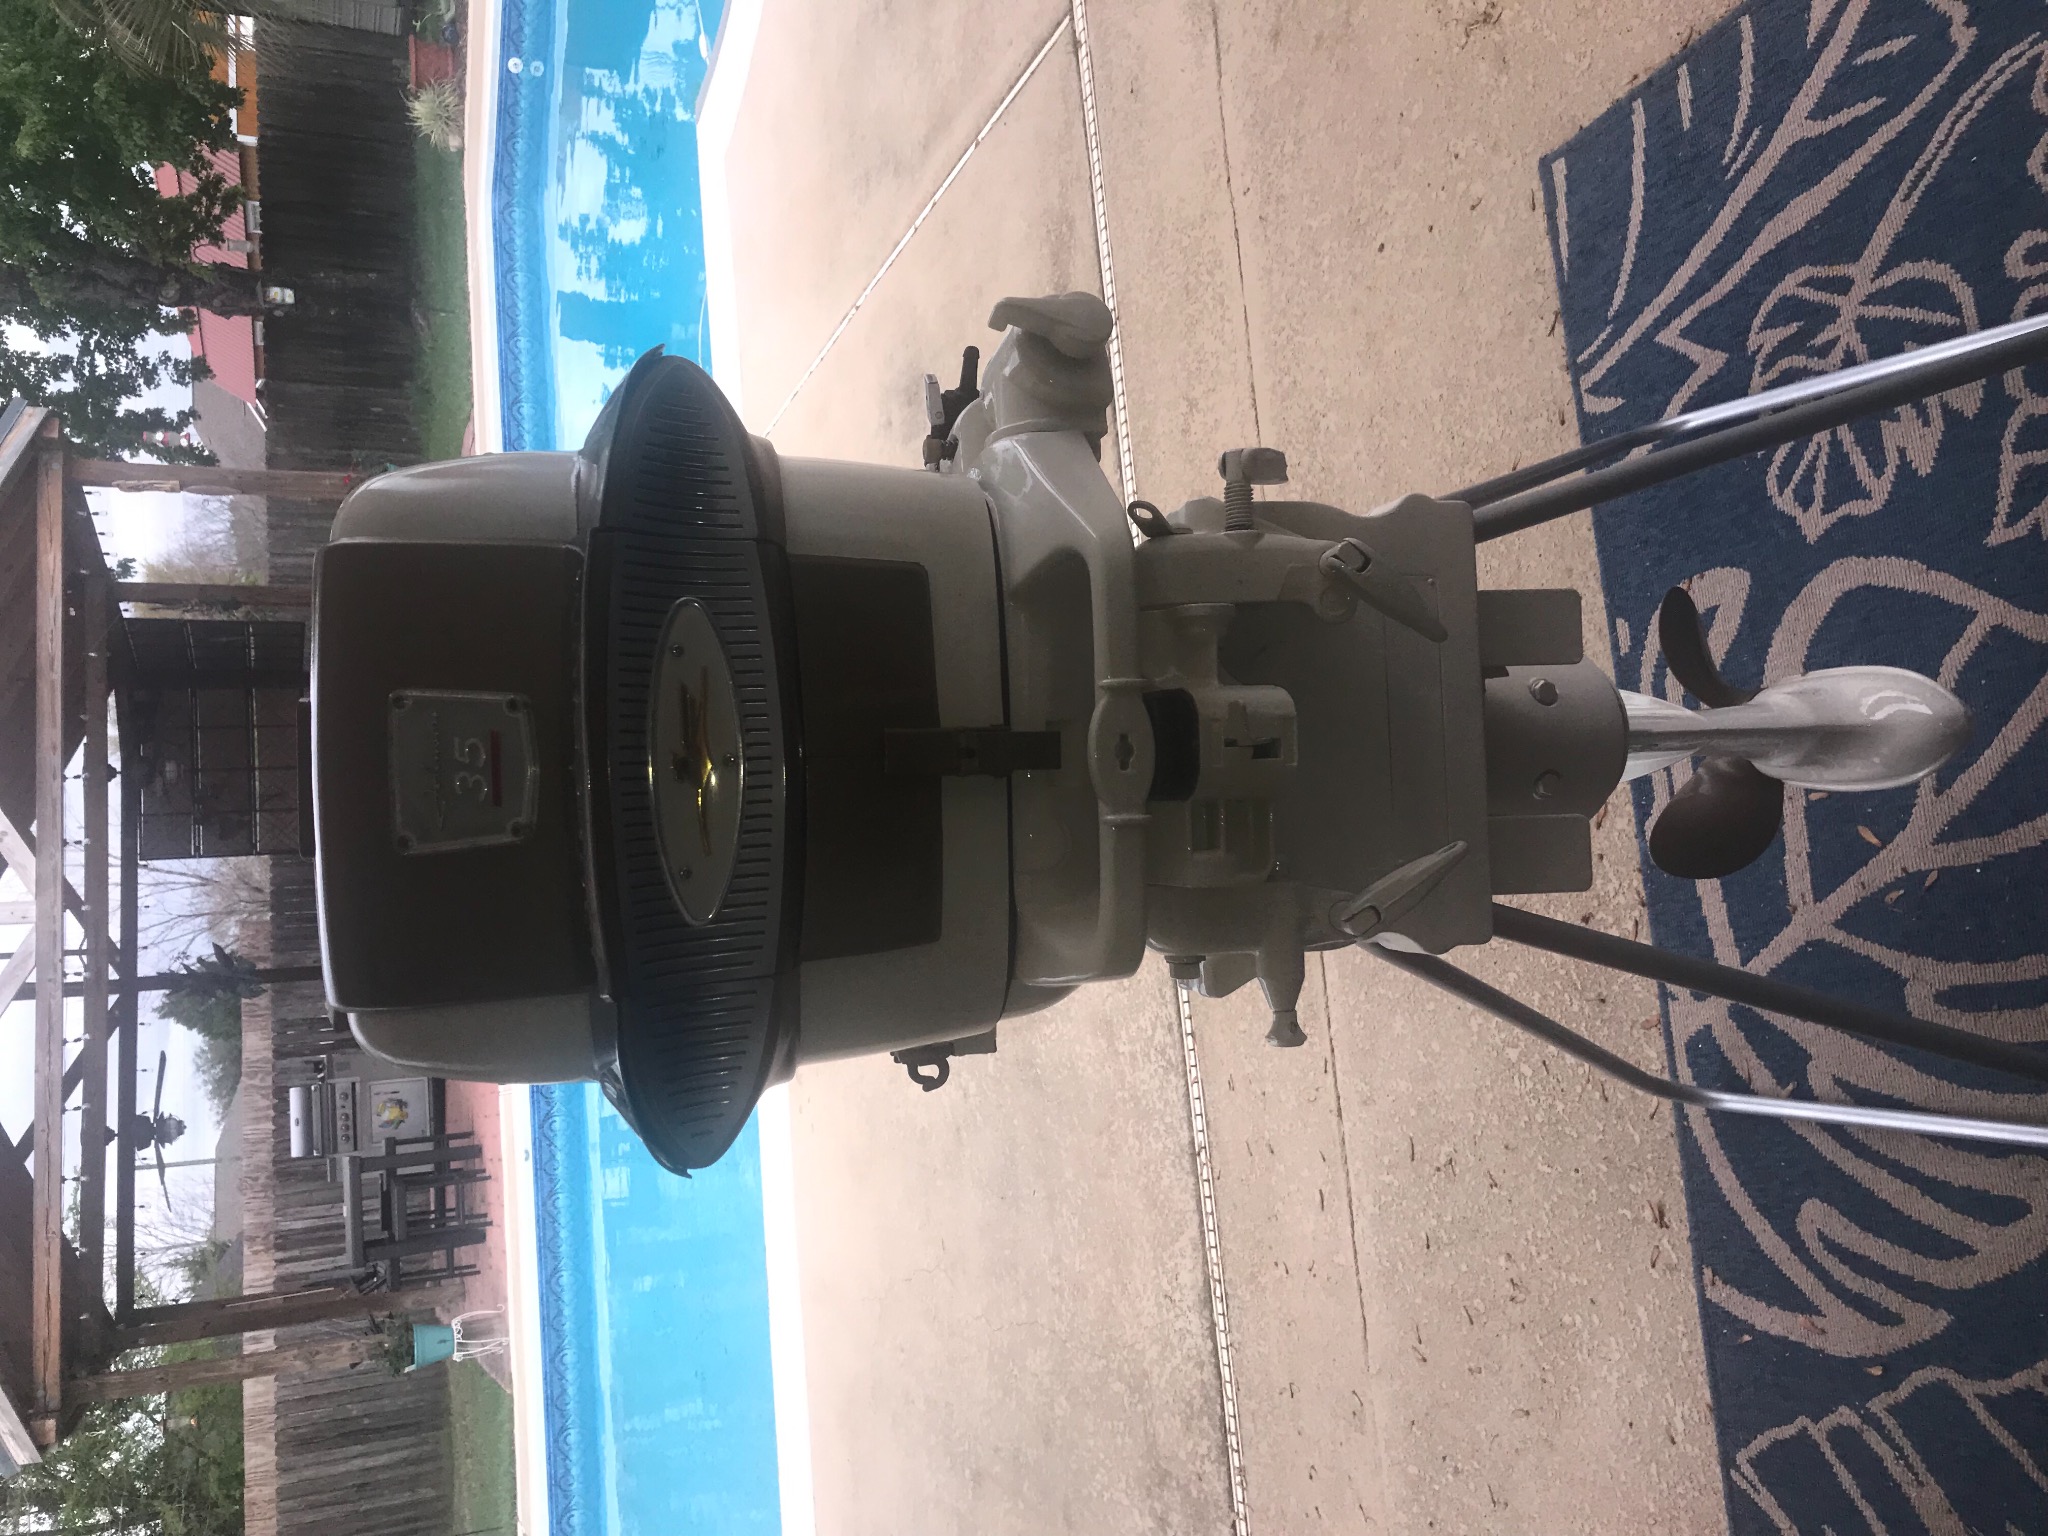
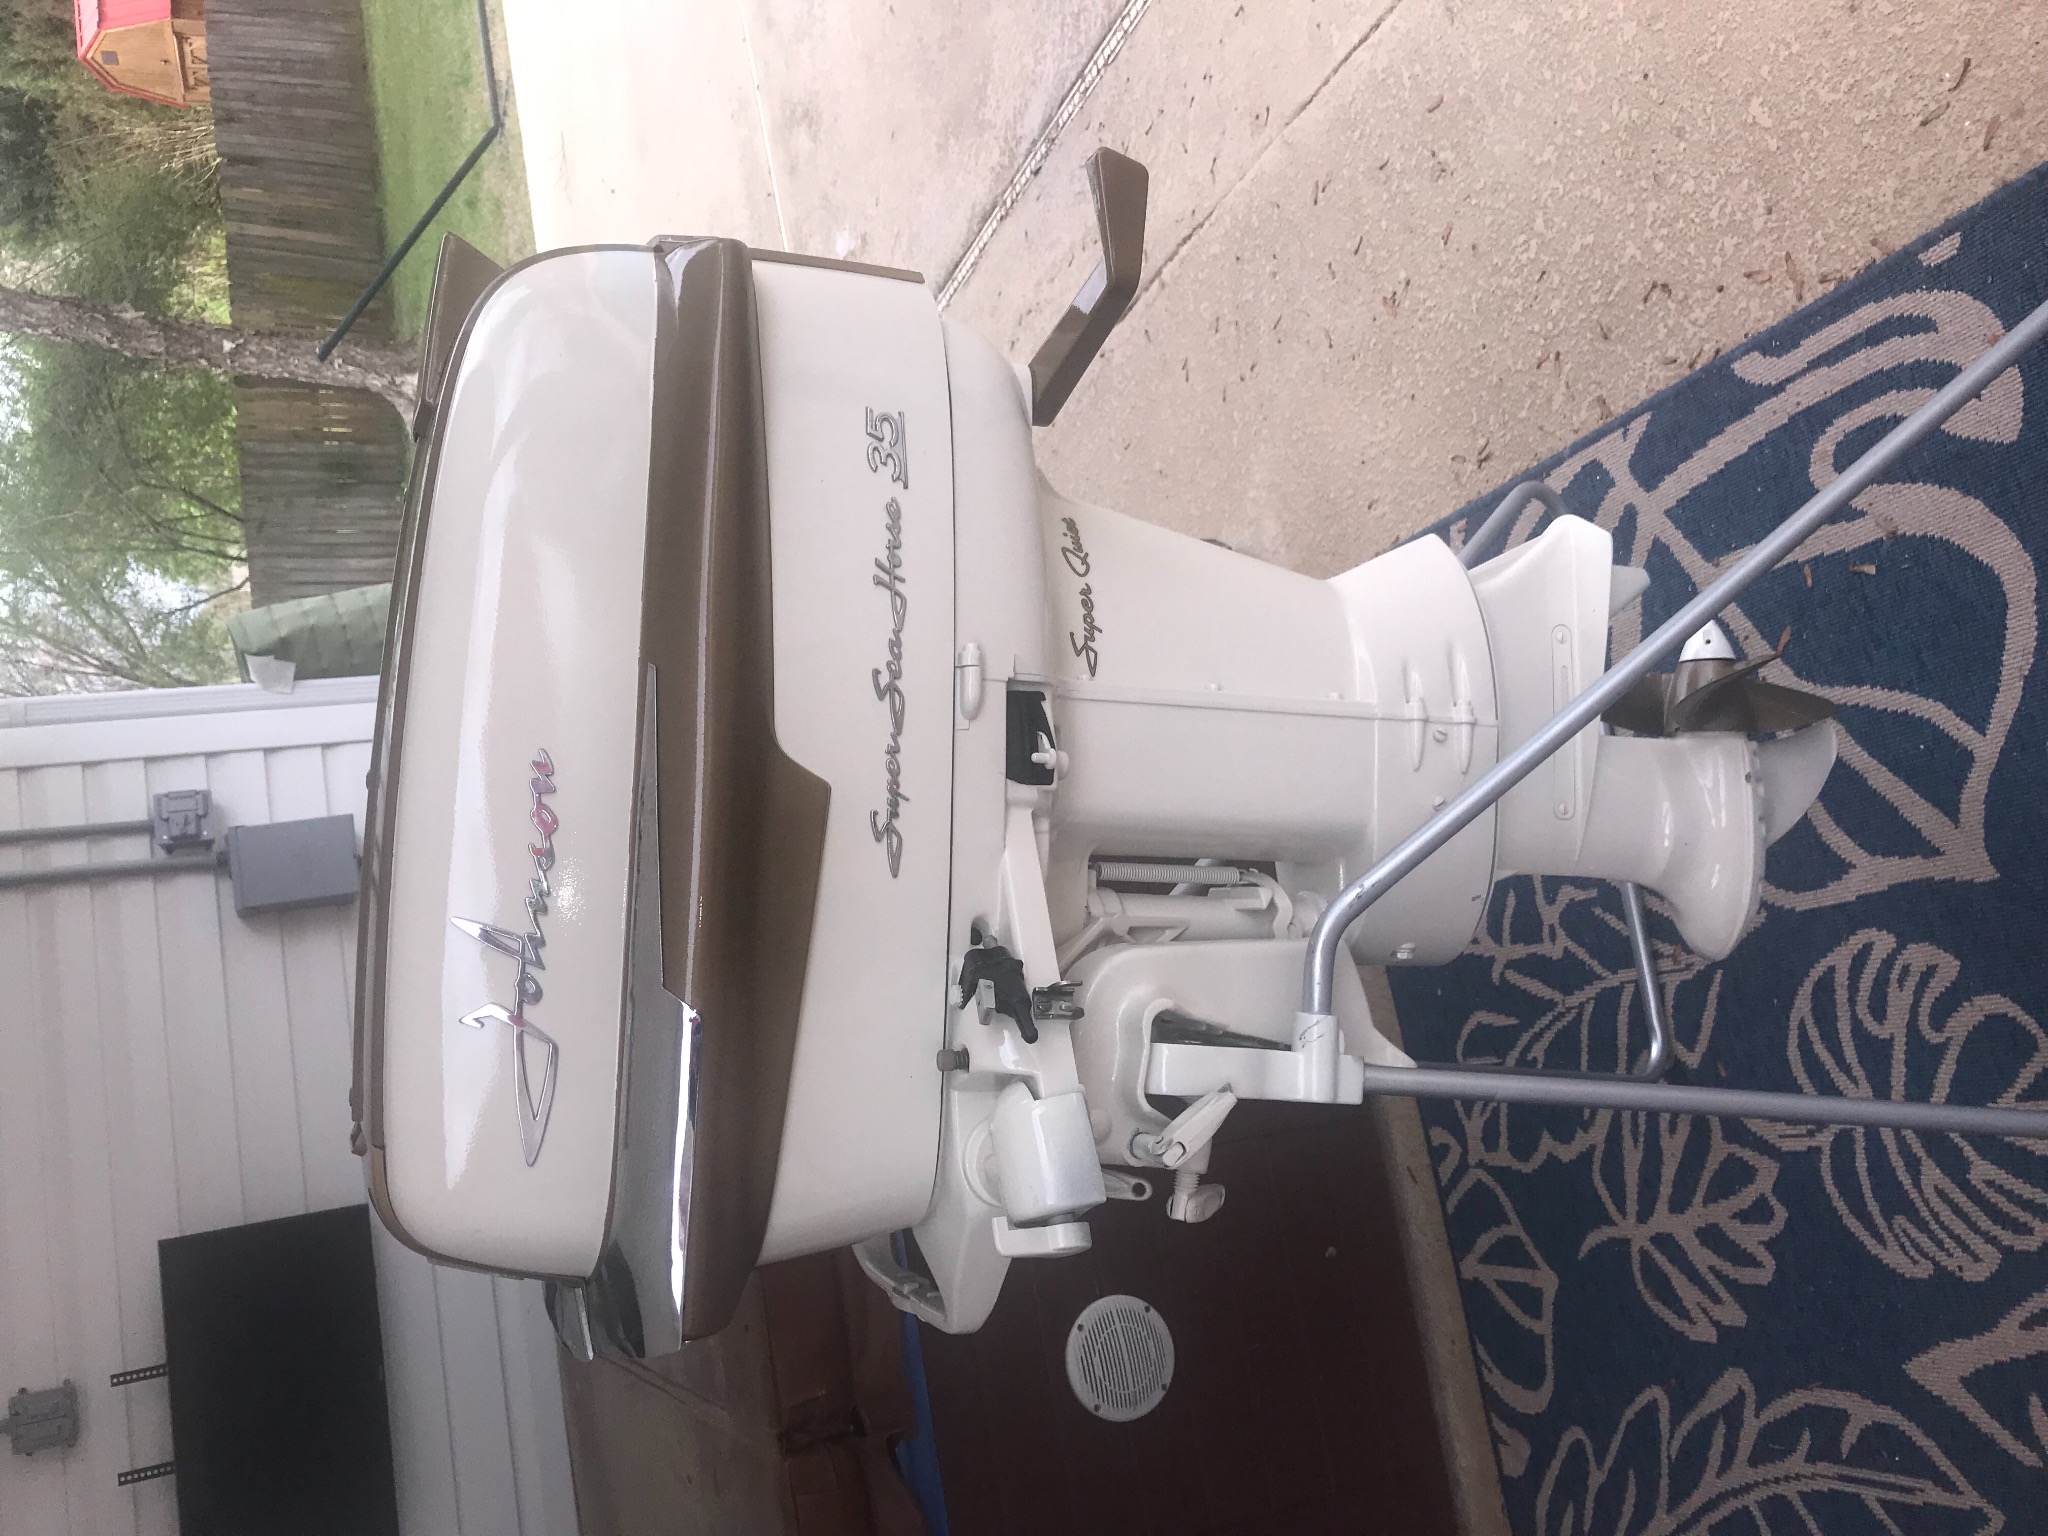
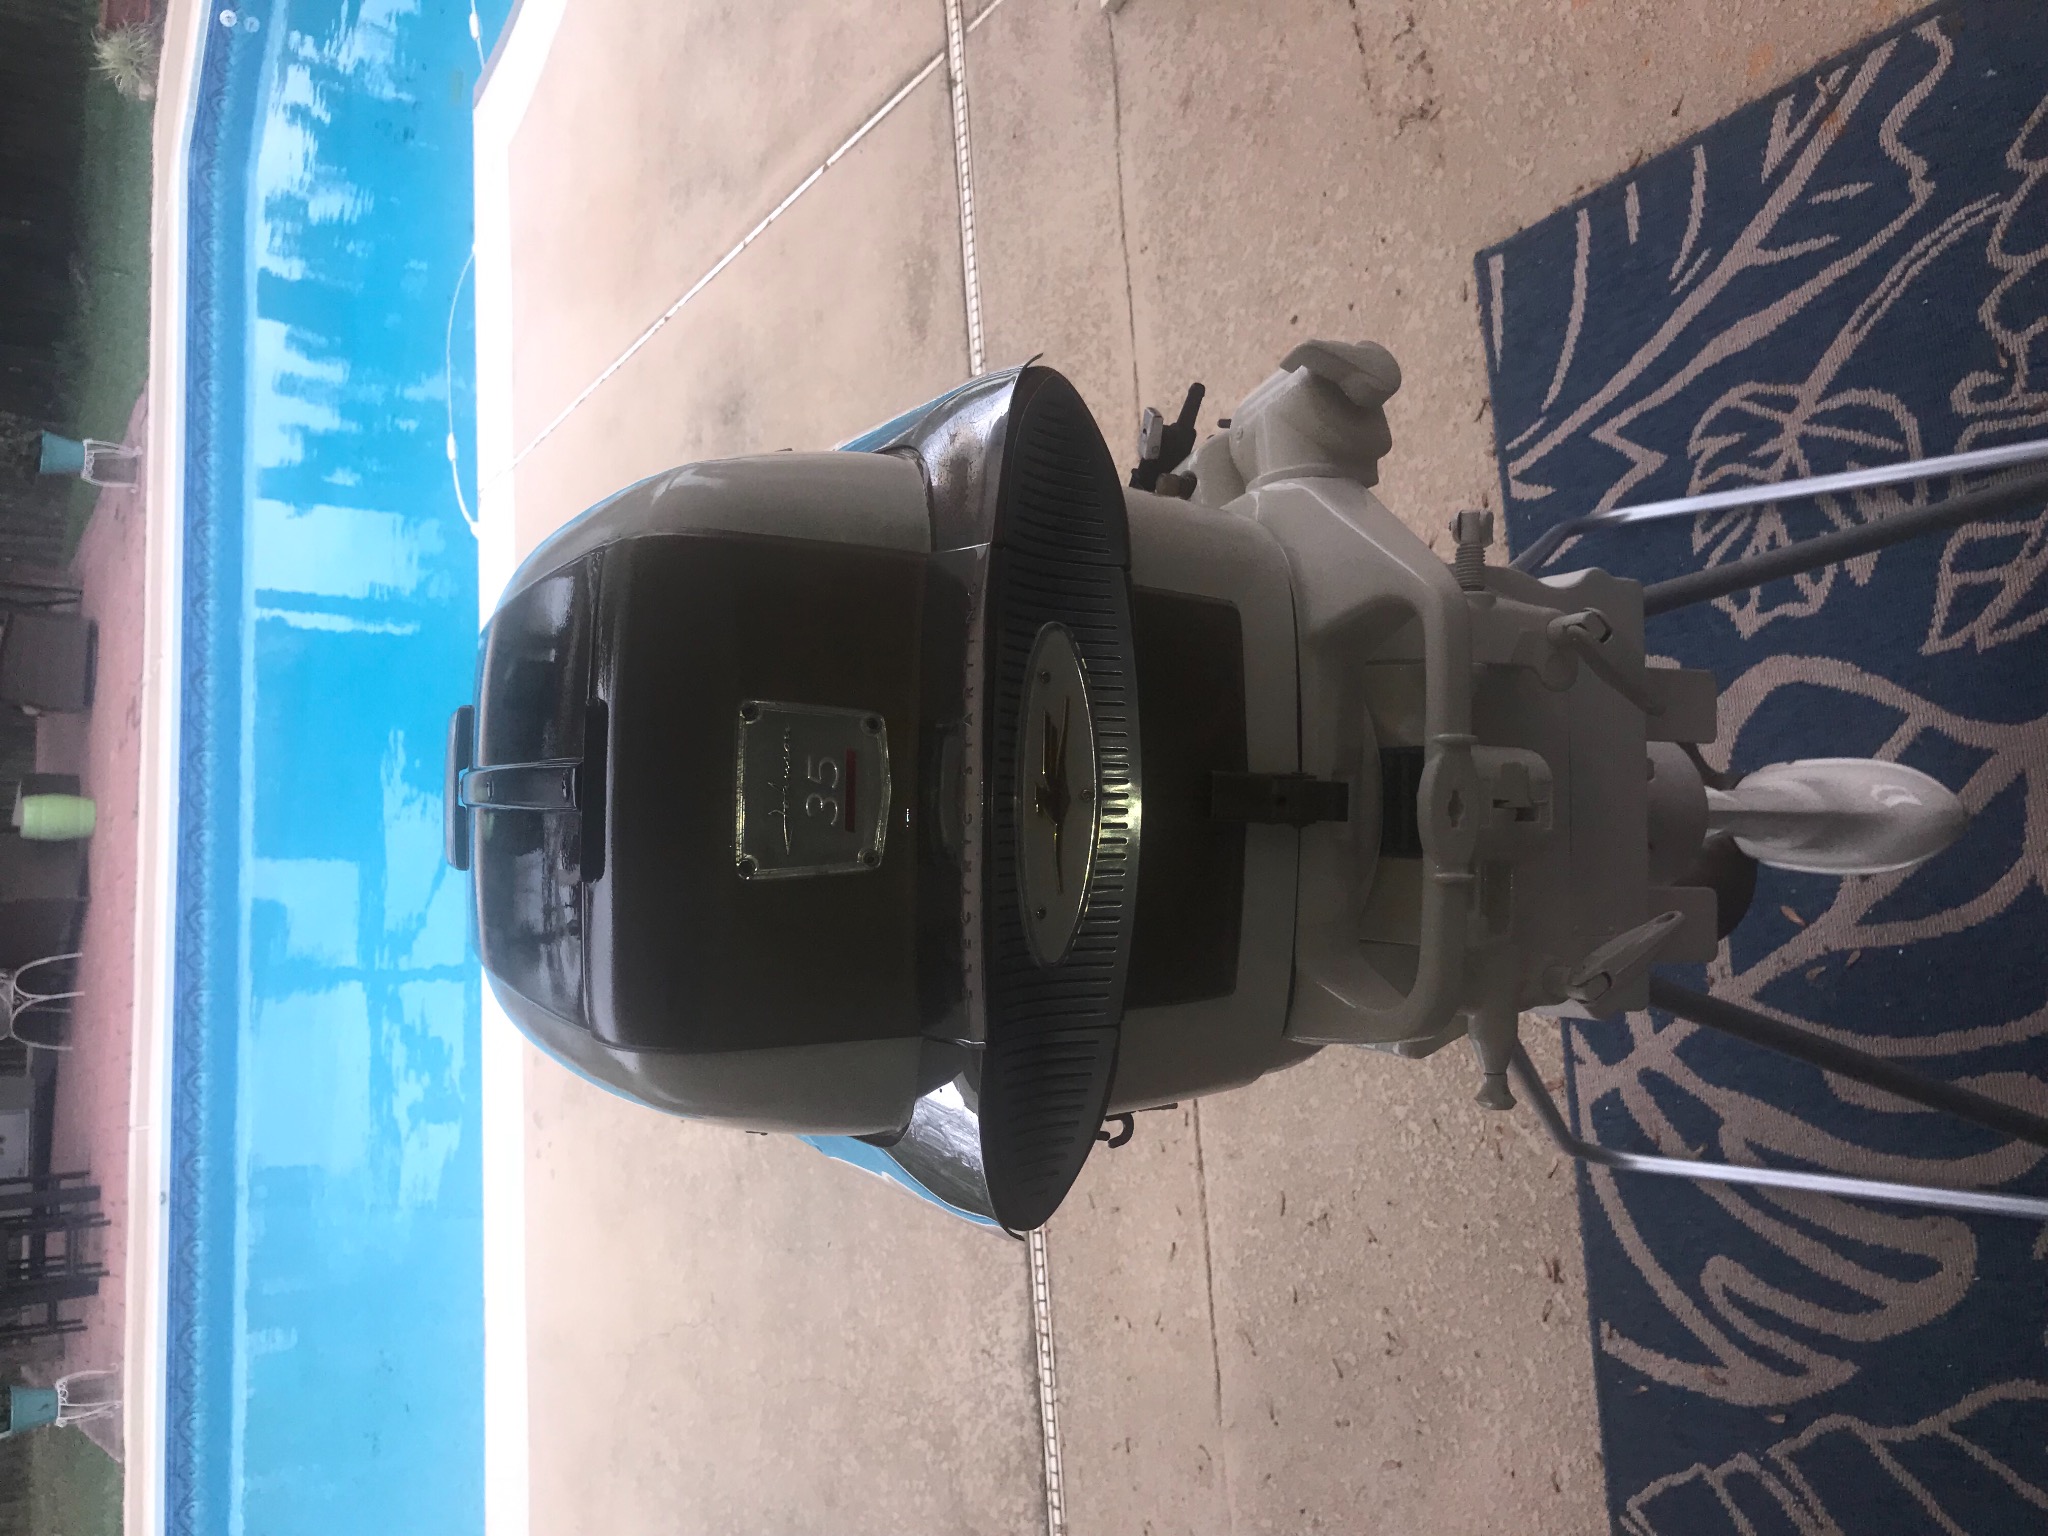
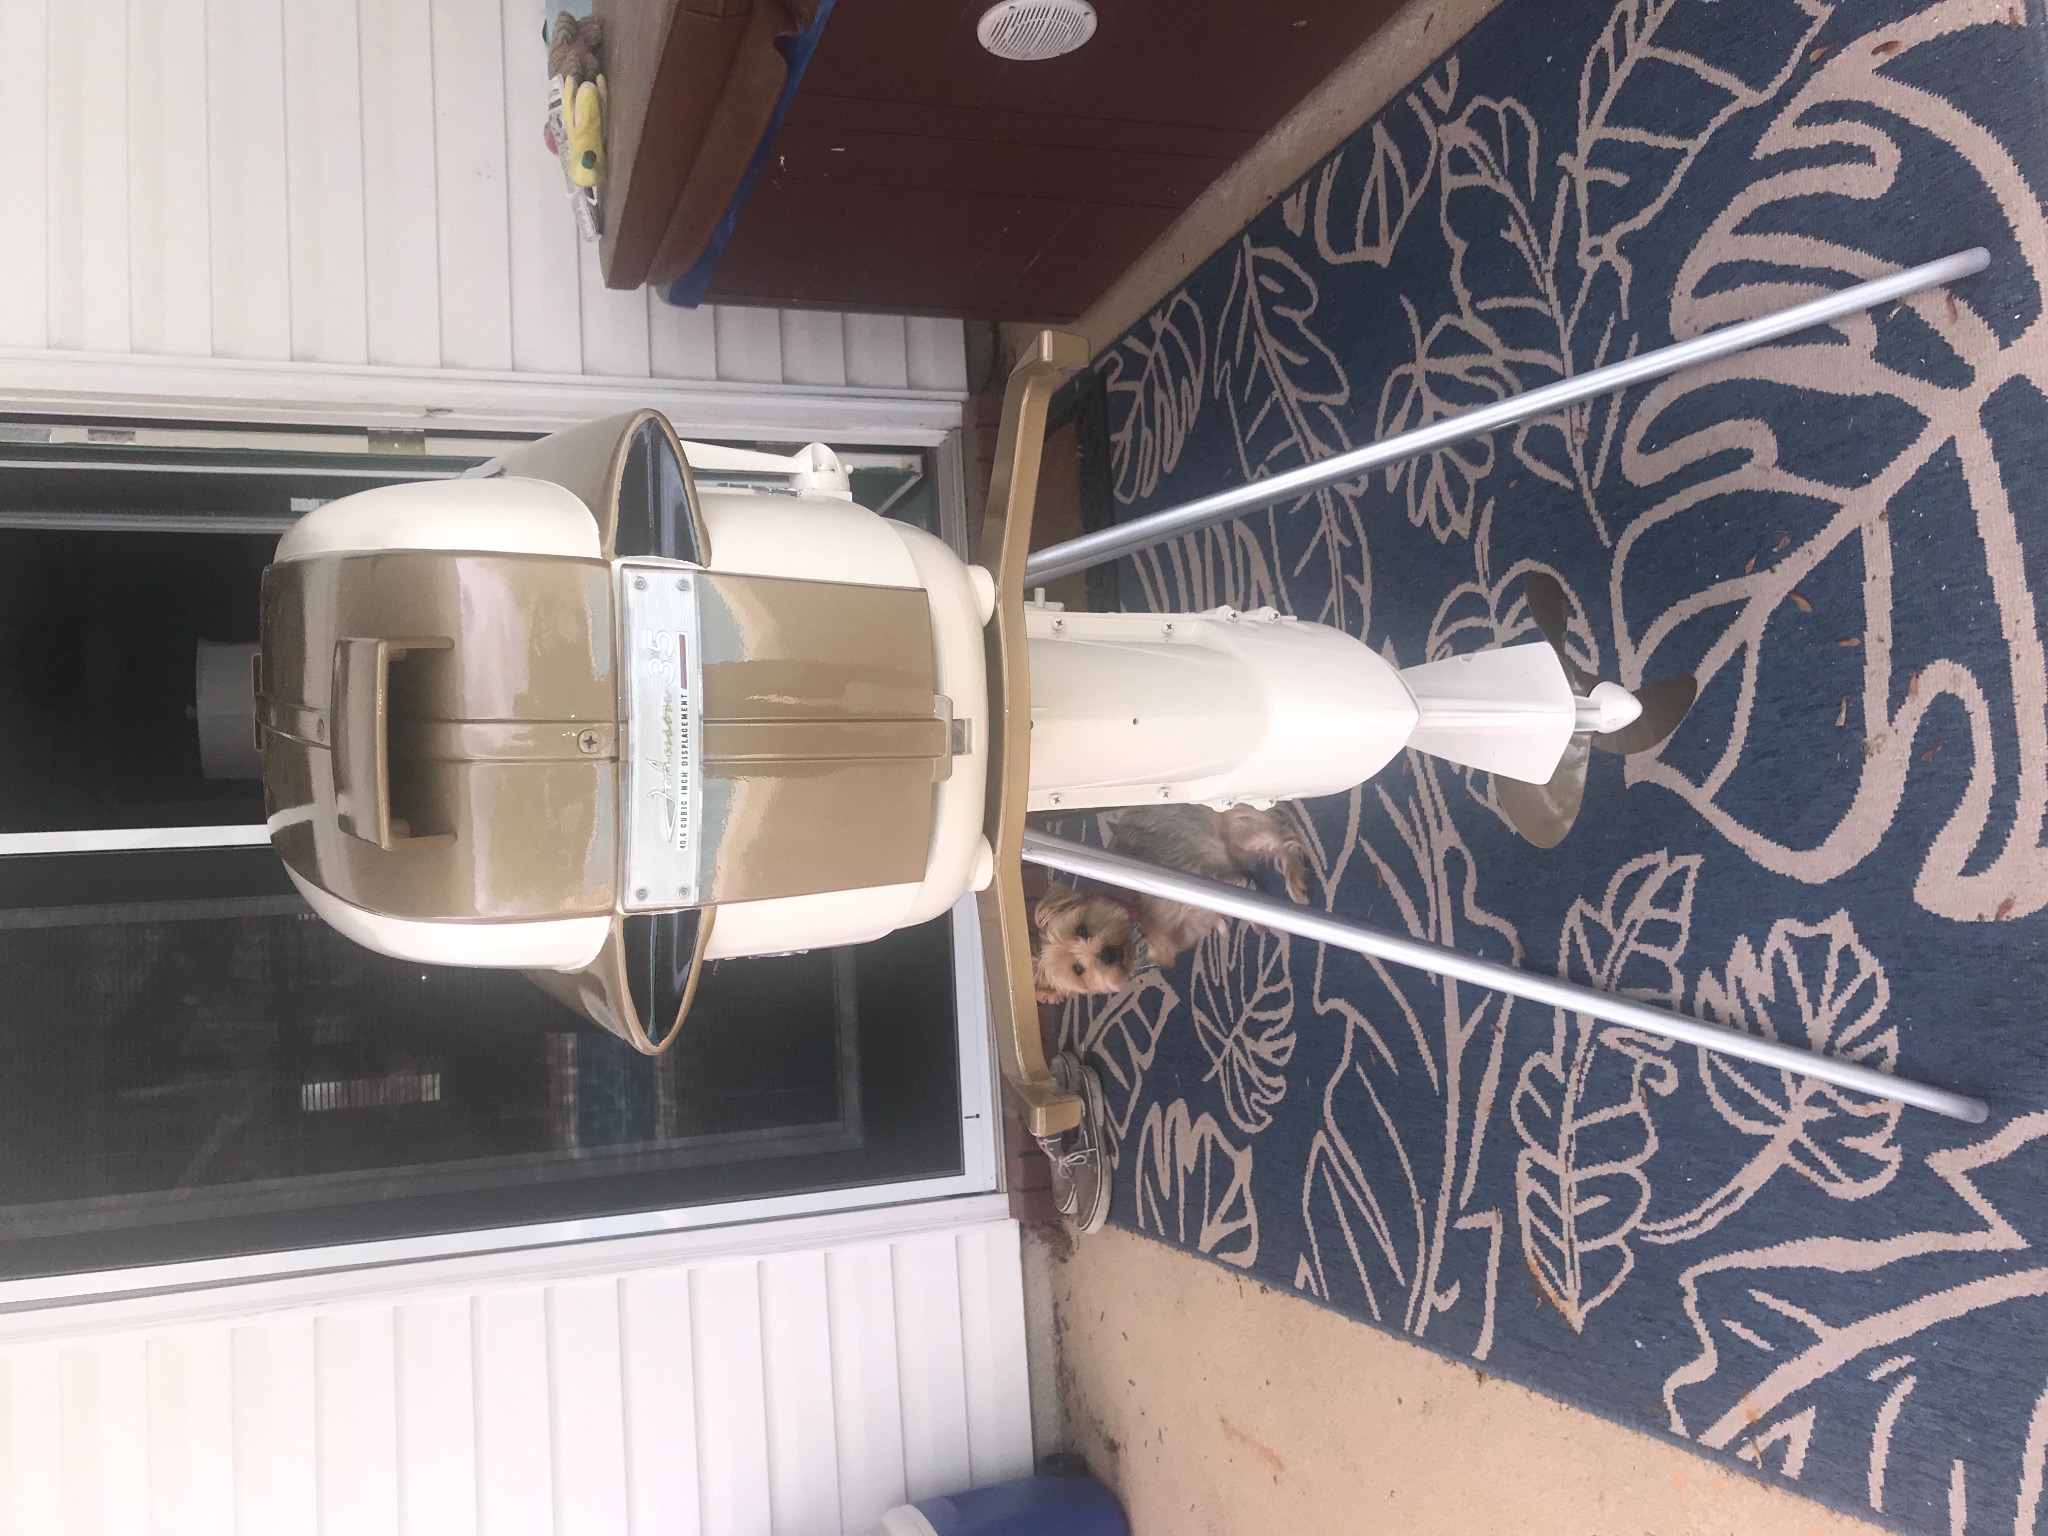
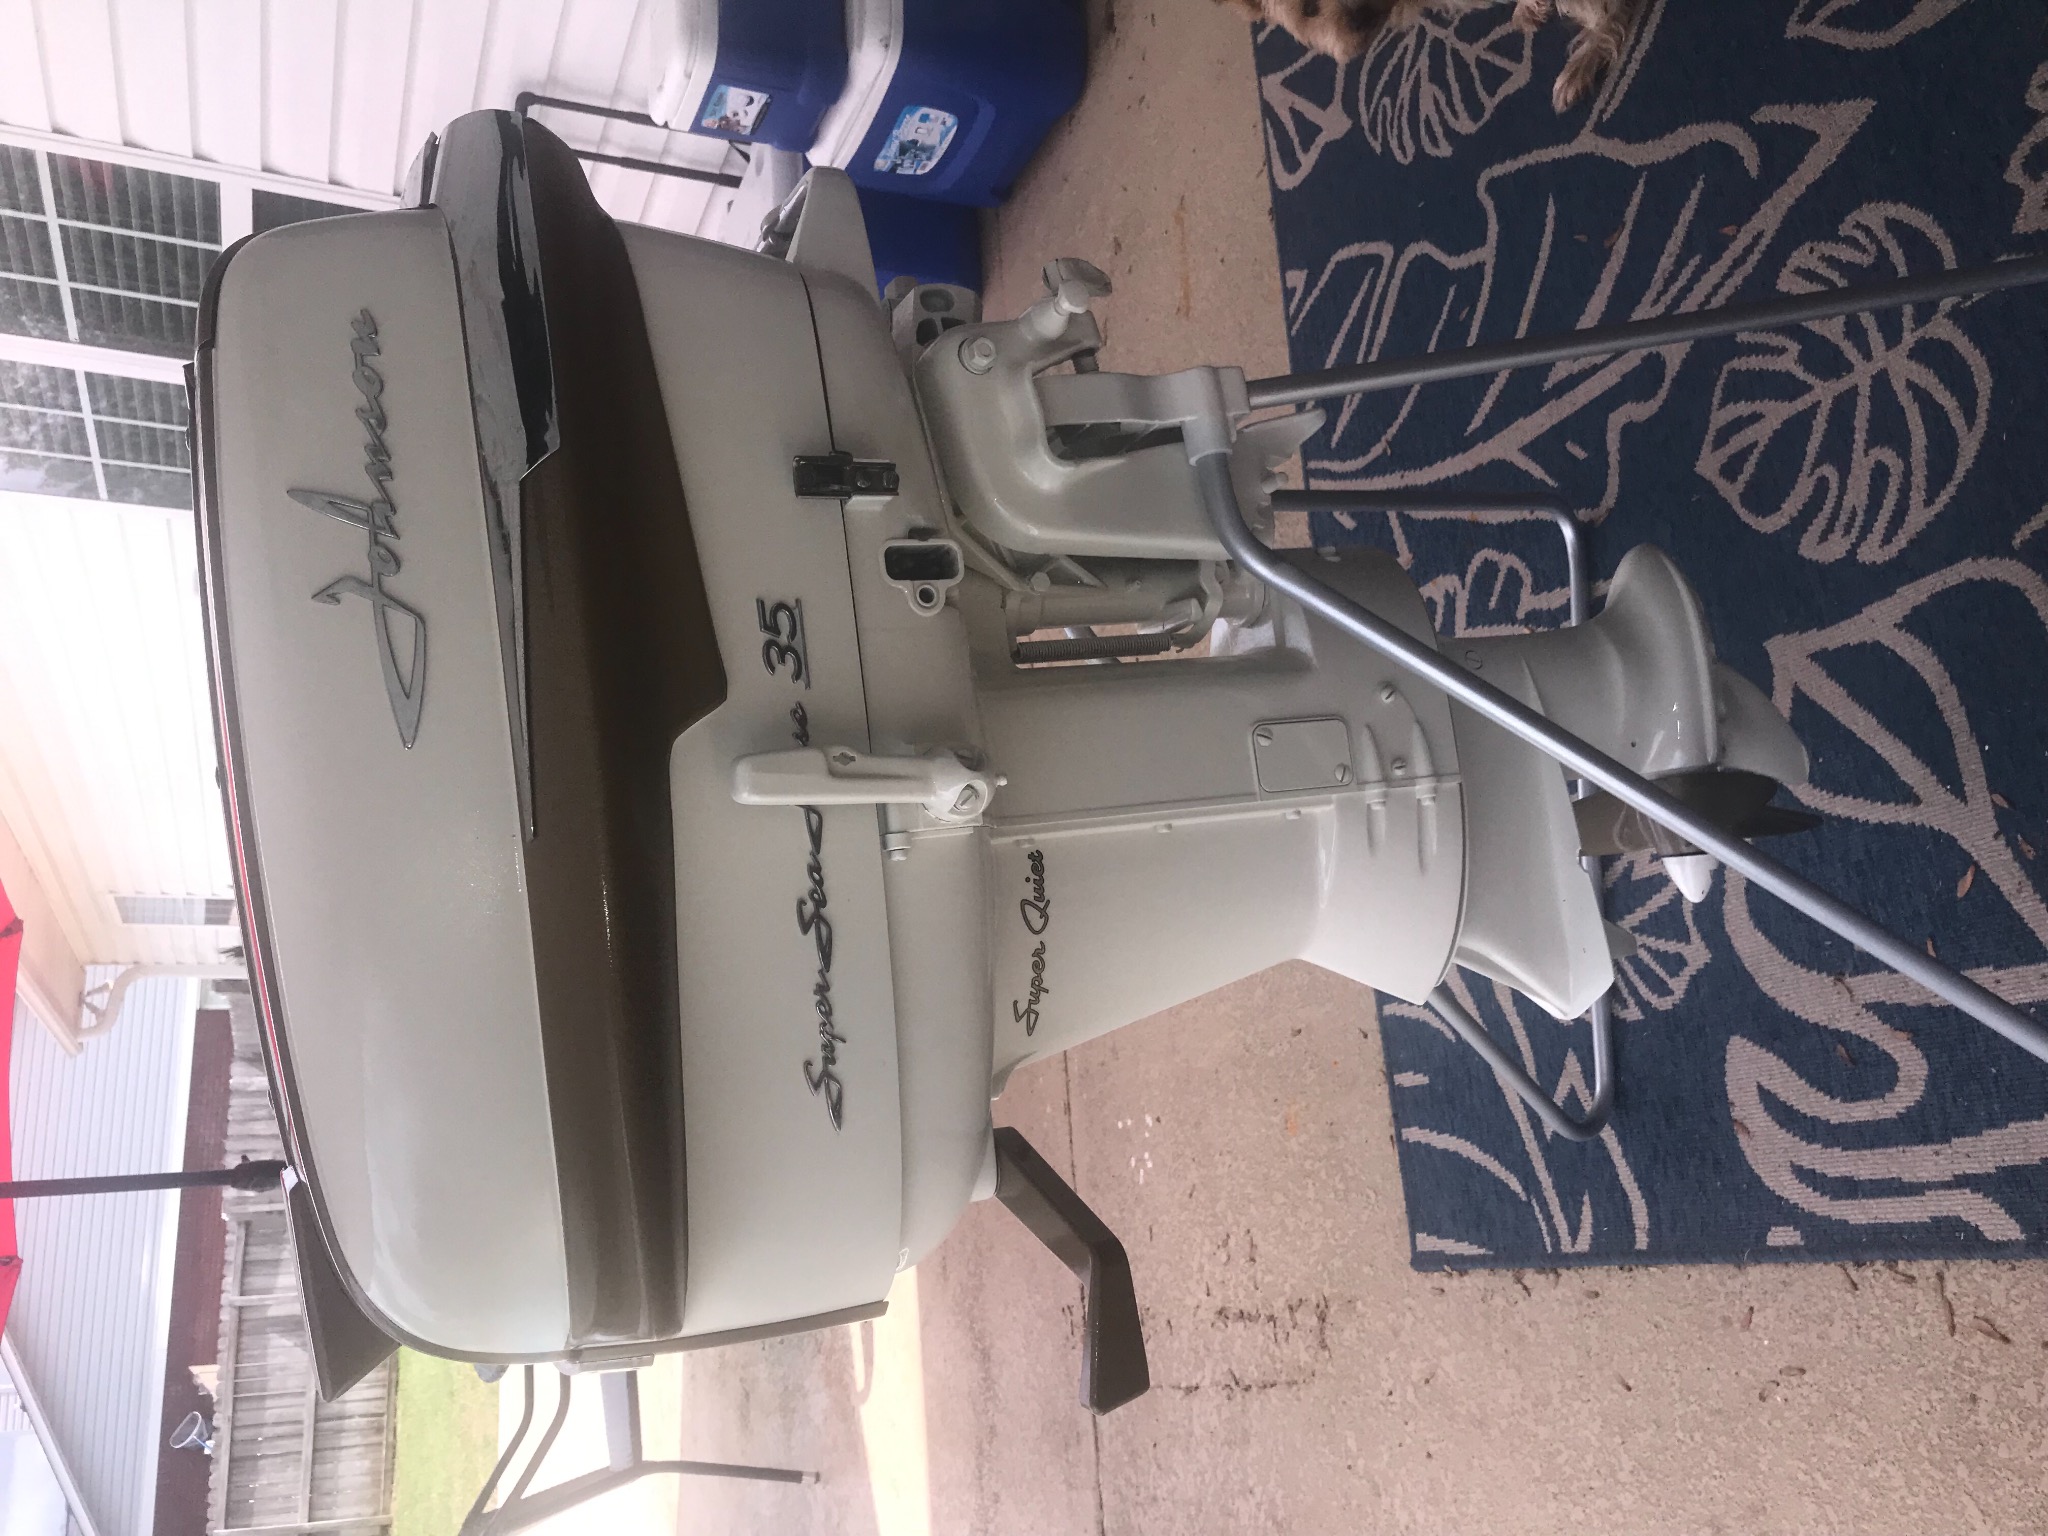
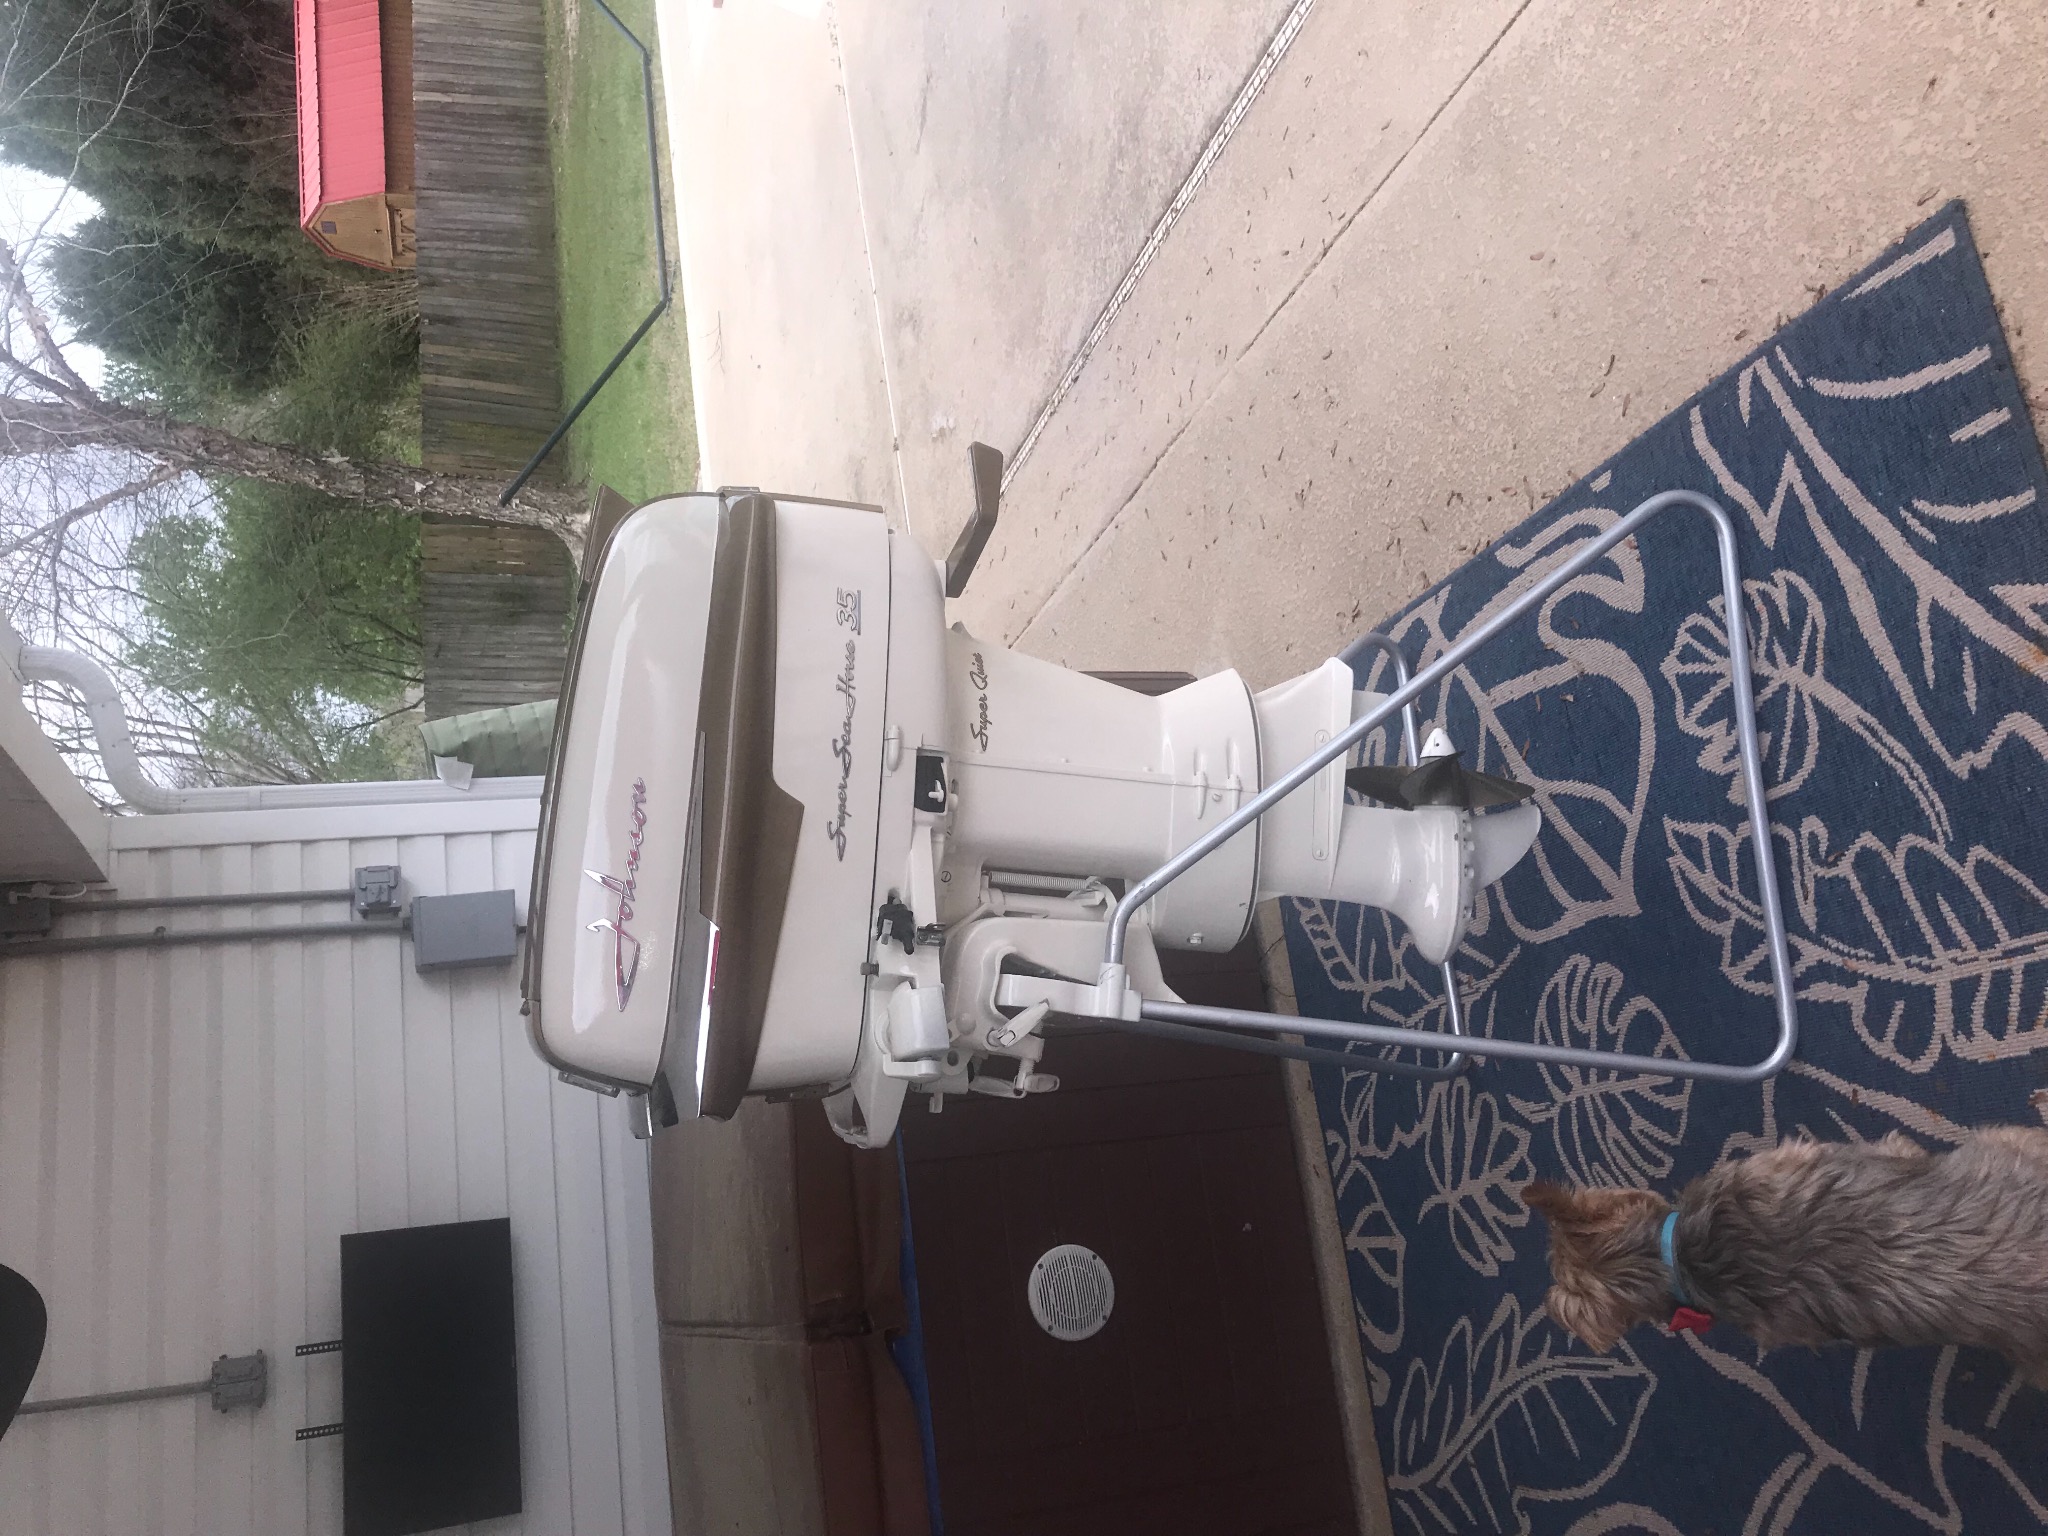
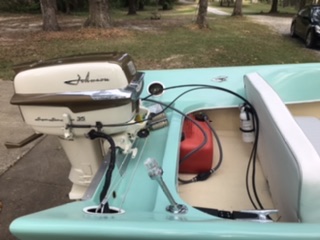
Just finished painting and detailing my super seahorse....

Now onto my boat and trailer....

Please Log in or Create an account to join the conversation.

Returning member...1960 Tomahawk restoration 5 years 8 months ago #139161

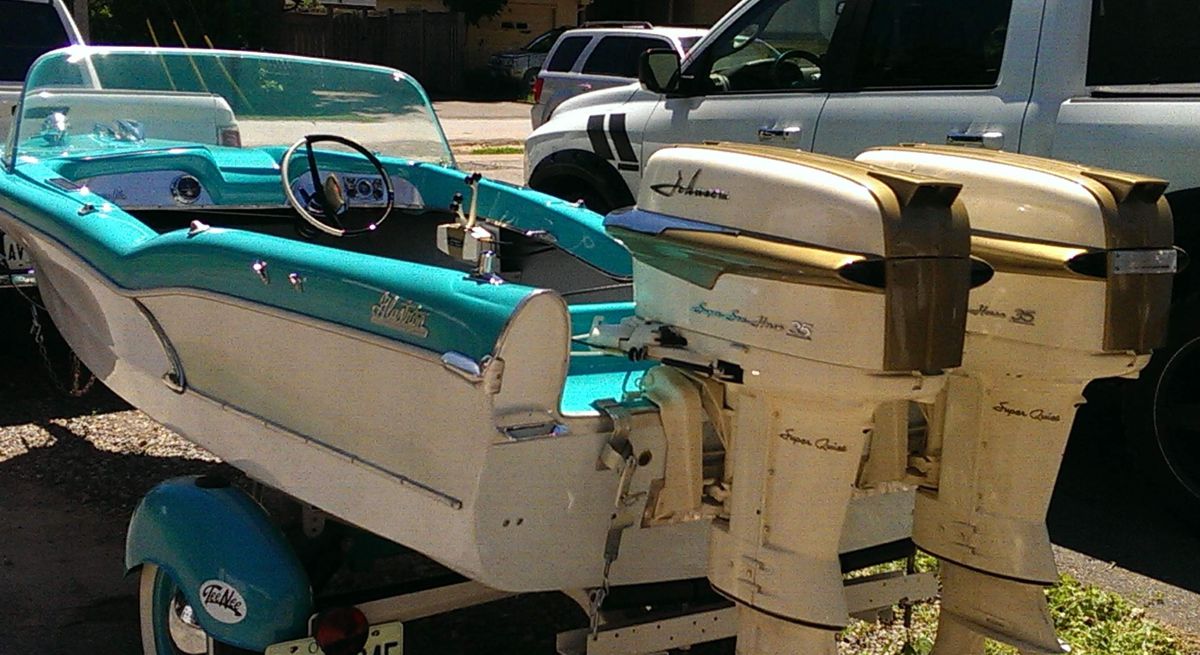
Yes, you're in the right place, please post pics of your progress.
Really nice job on the Johnson!
I did a couple for my Glastron
Cheers
Bill
Attachments:

Please Log in or Create an account to join the conversation.

Returning member...1960 Tomahawk restoration 5 years 8 months ago #139235

  • 63 Sabre
  • 63 Sabre's Avatar
  • Offline
  • Contributing Member
  • Contributing Member
  • Posts: 4676
  • Karma: 147
  • Thank you received: 167
How's the Tomahawk restore coming along? Curious.

Please Log in or Create an account to join the conversation.

Returning member...1960 Tomahawk restoration 5 years 8 months ago #139265

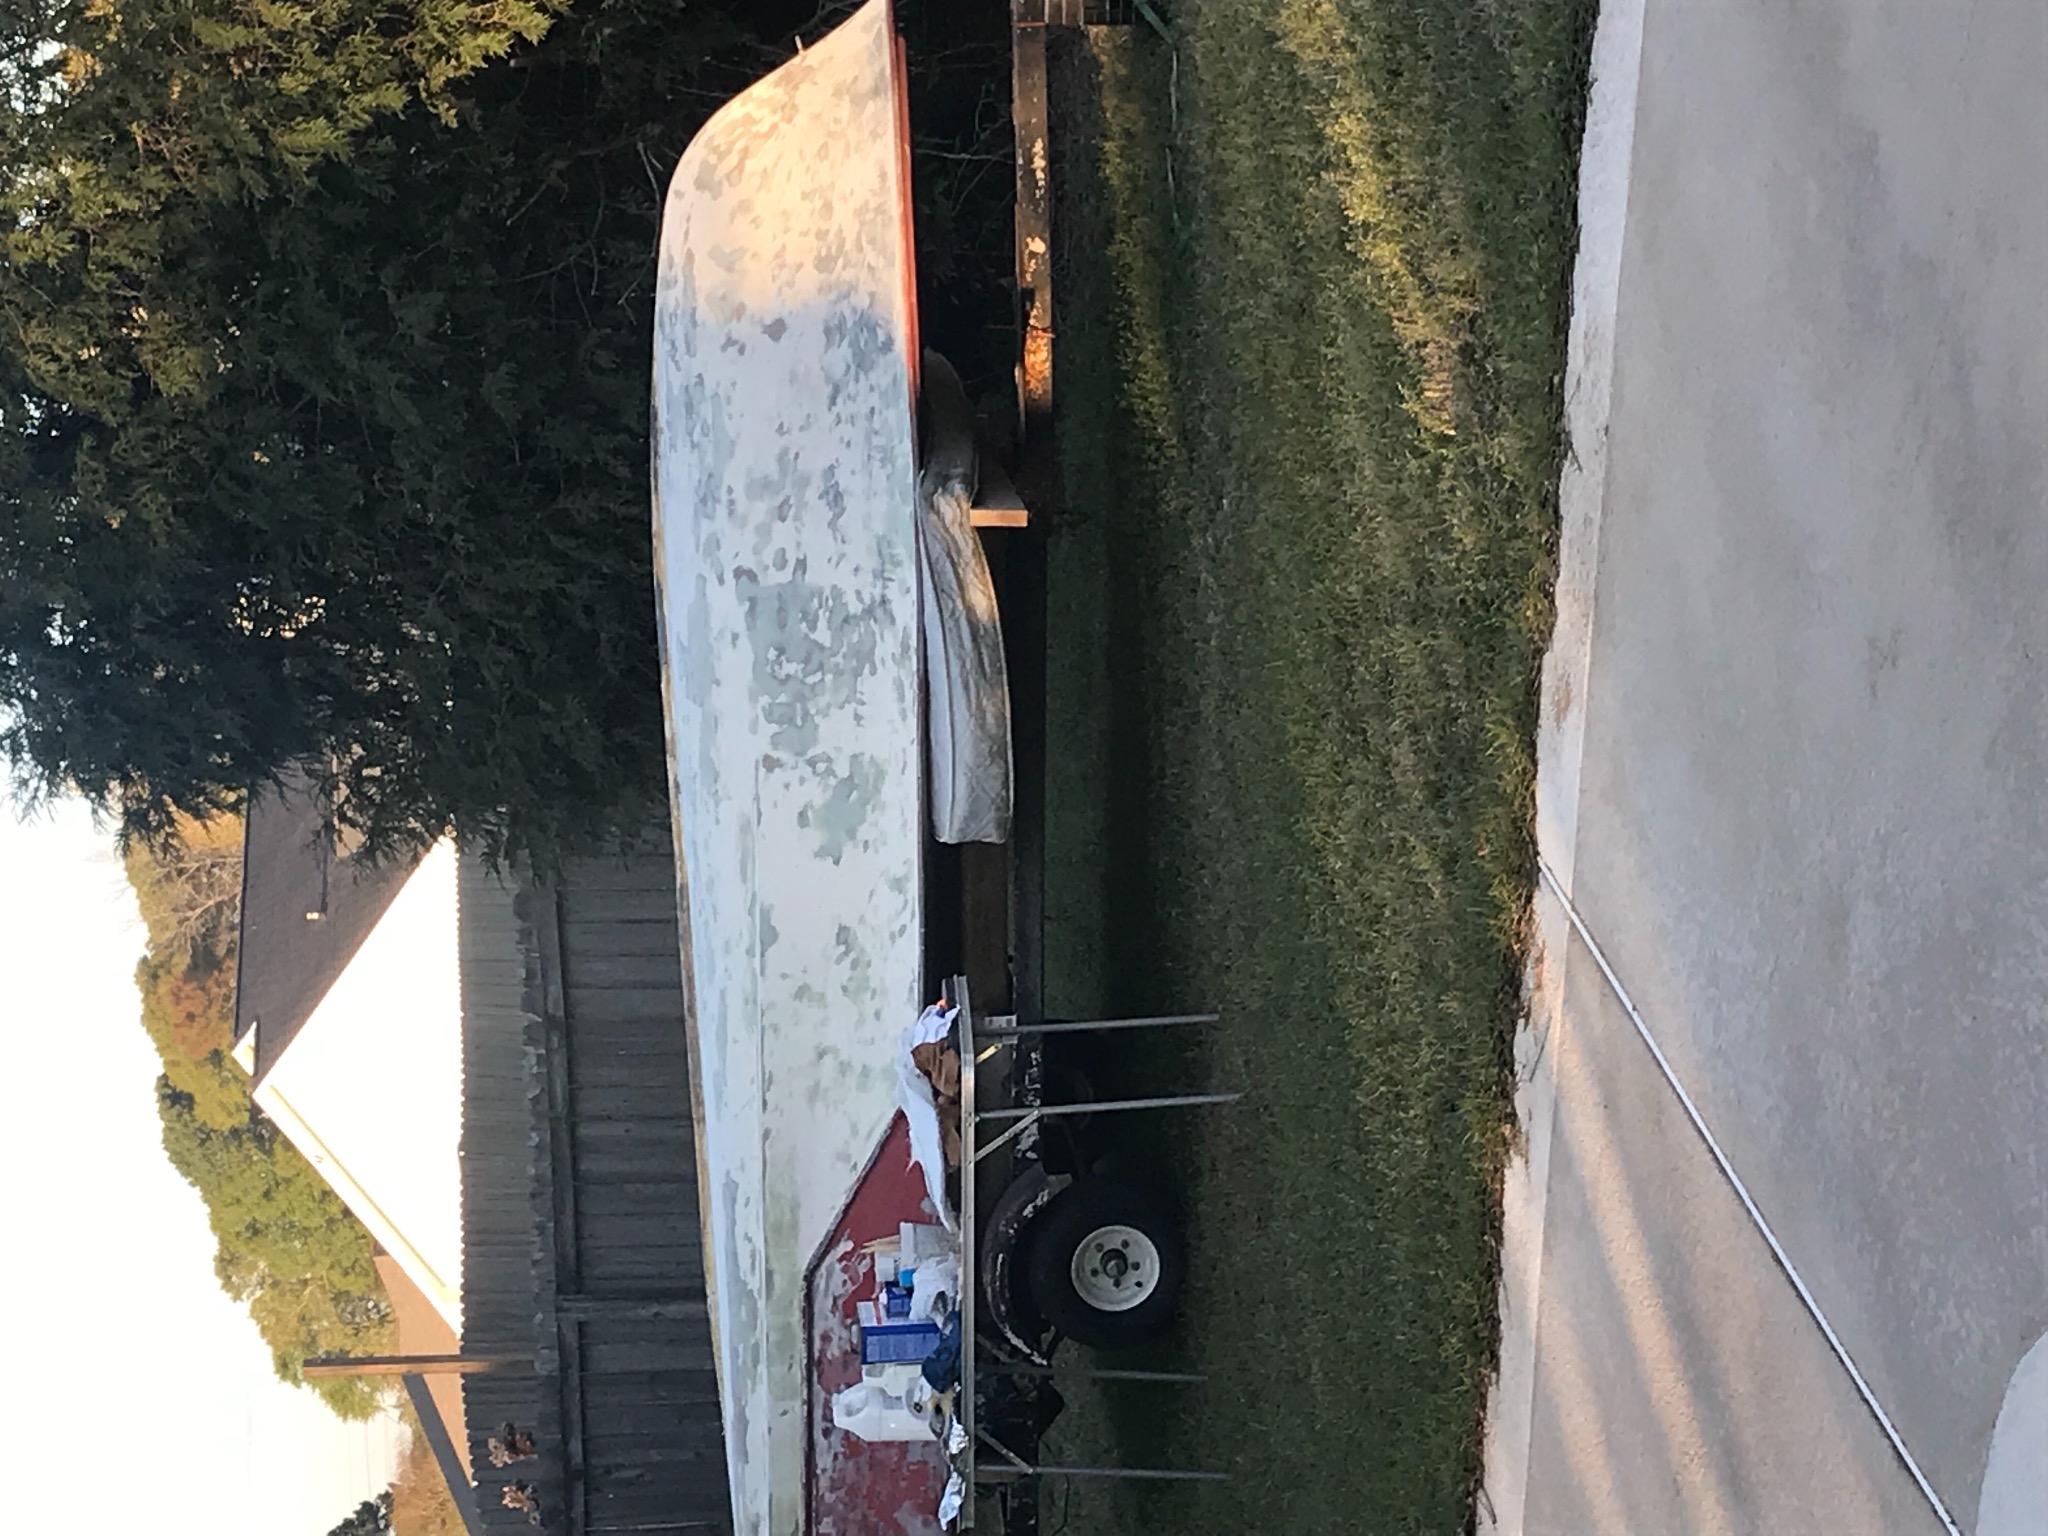
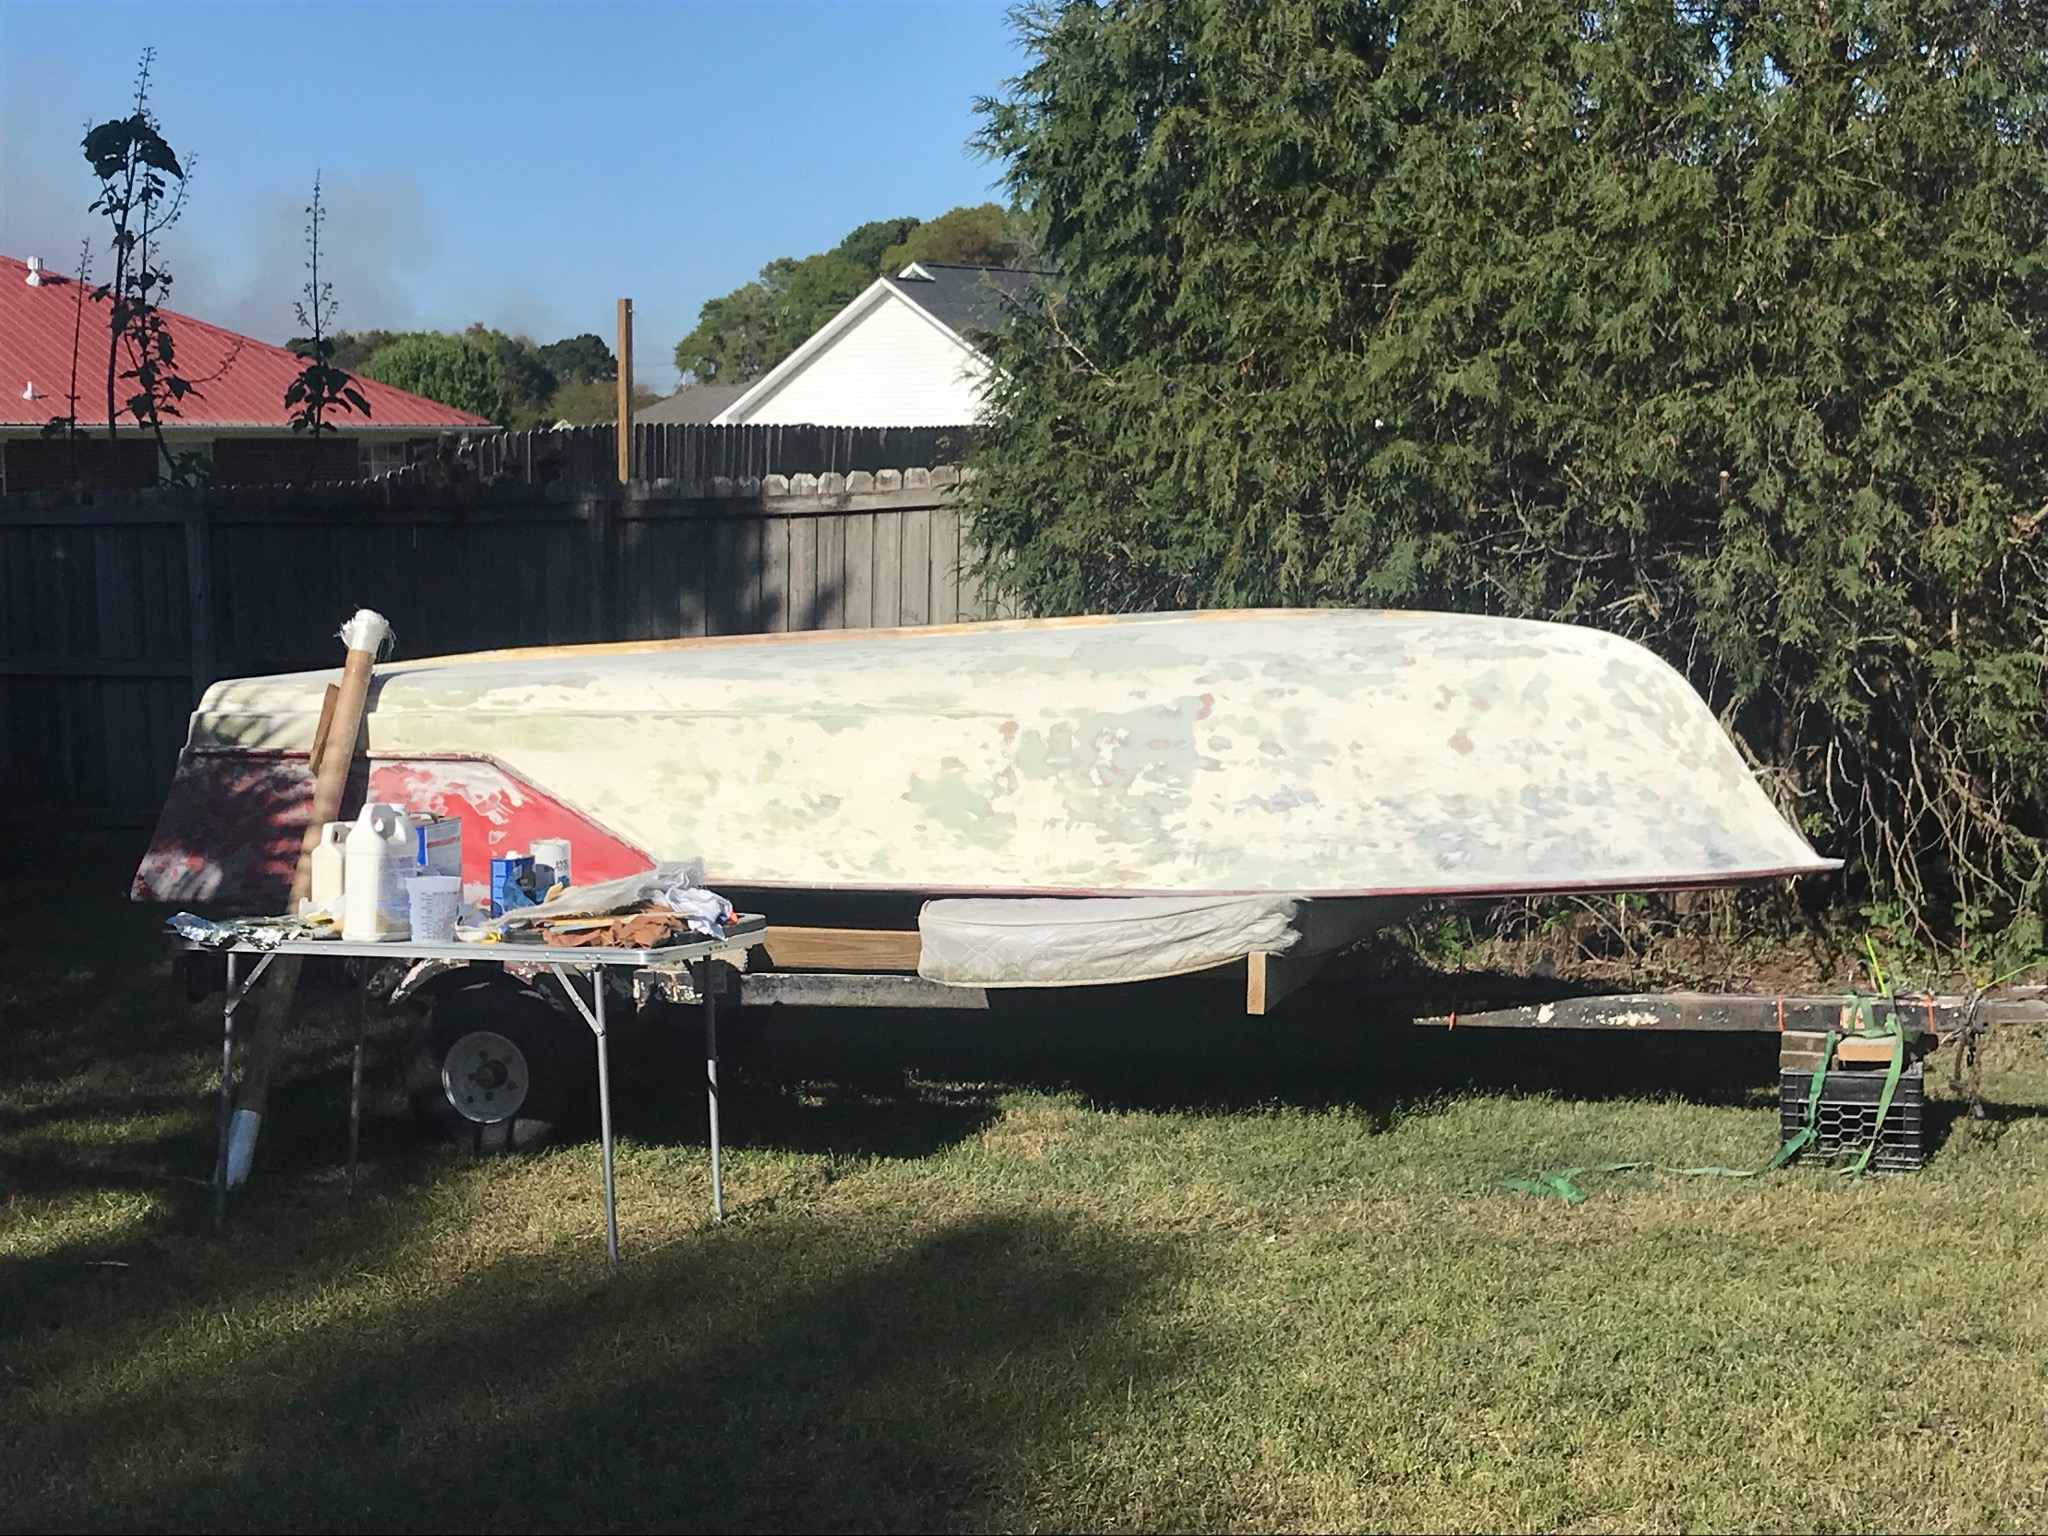
Its coming along pretty good...ive been on vacation for a week which has been great but im looking forward to picking back up where i left off.

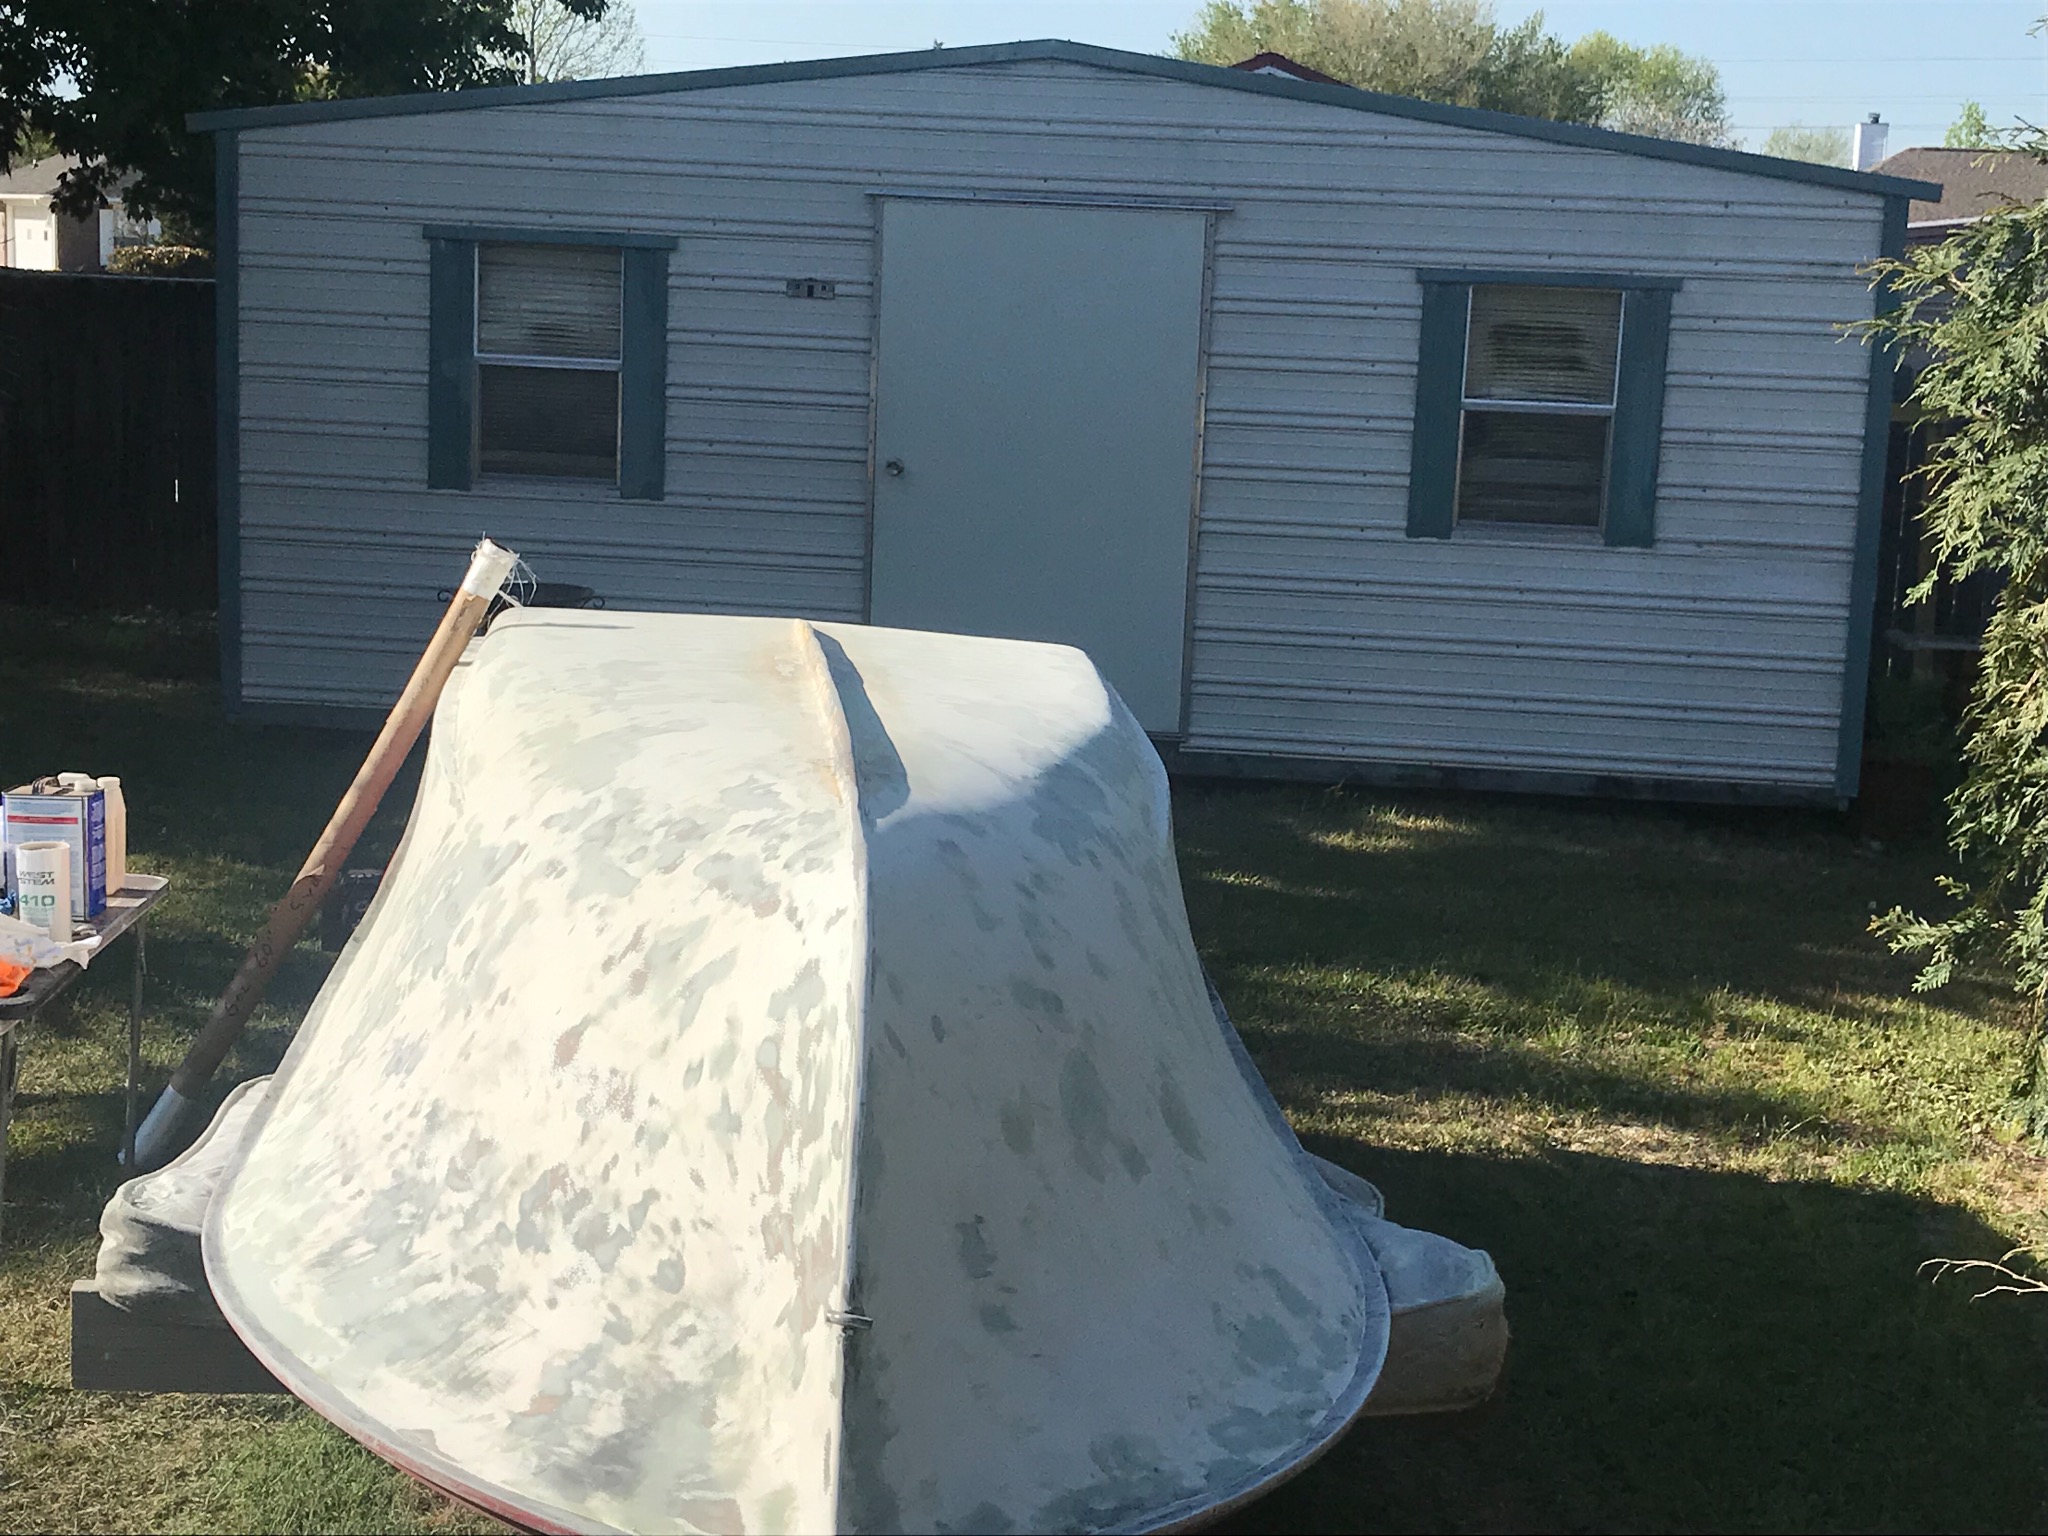
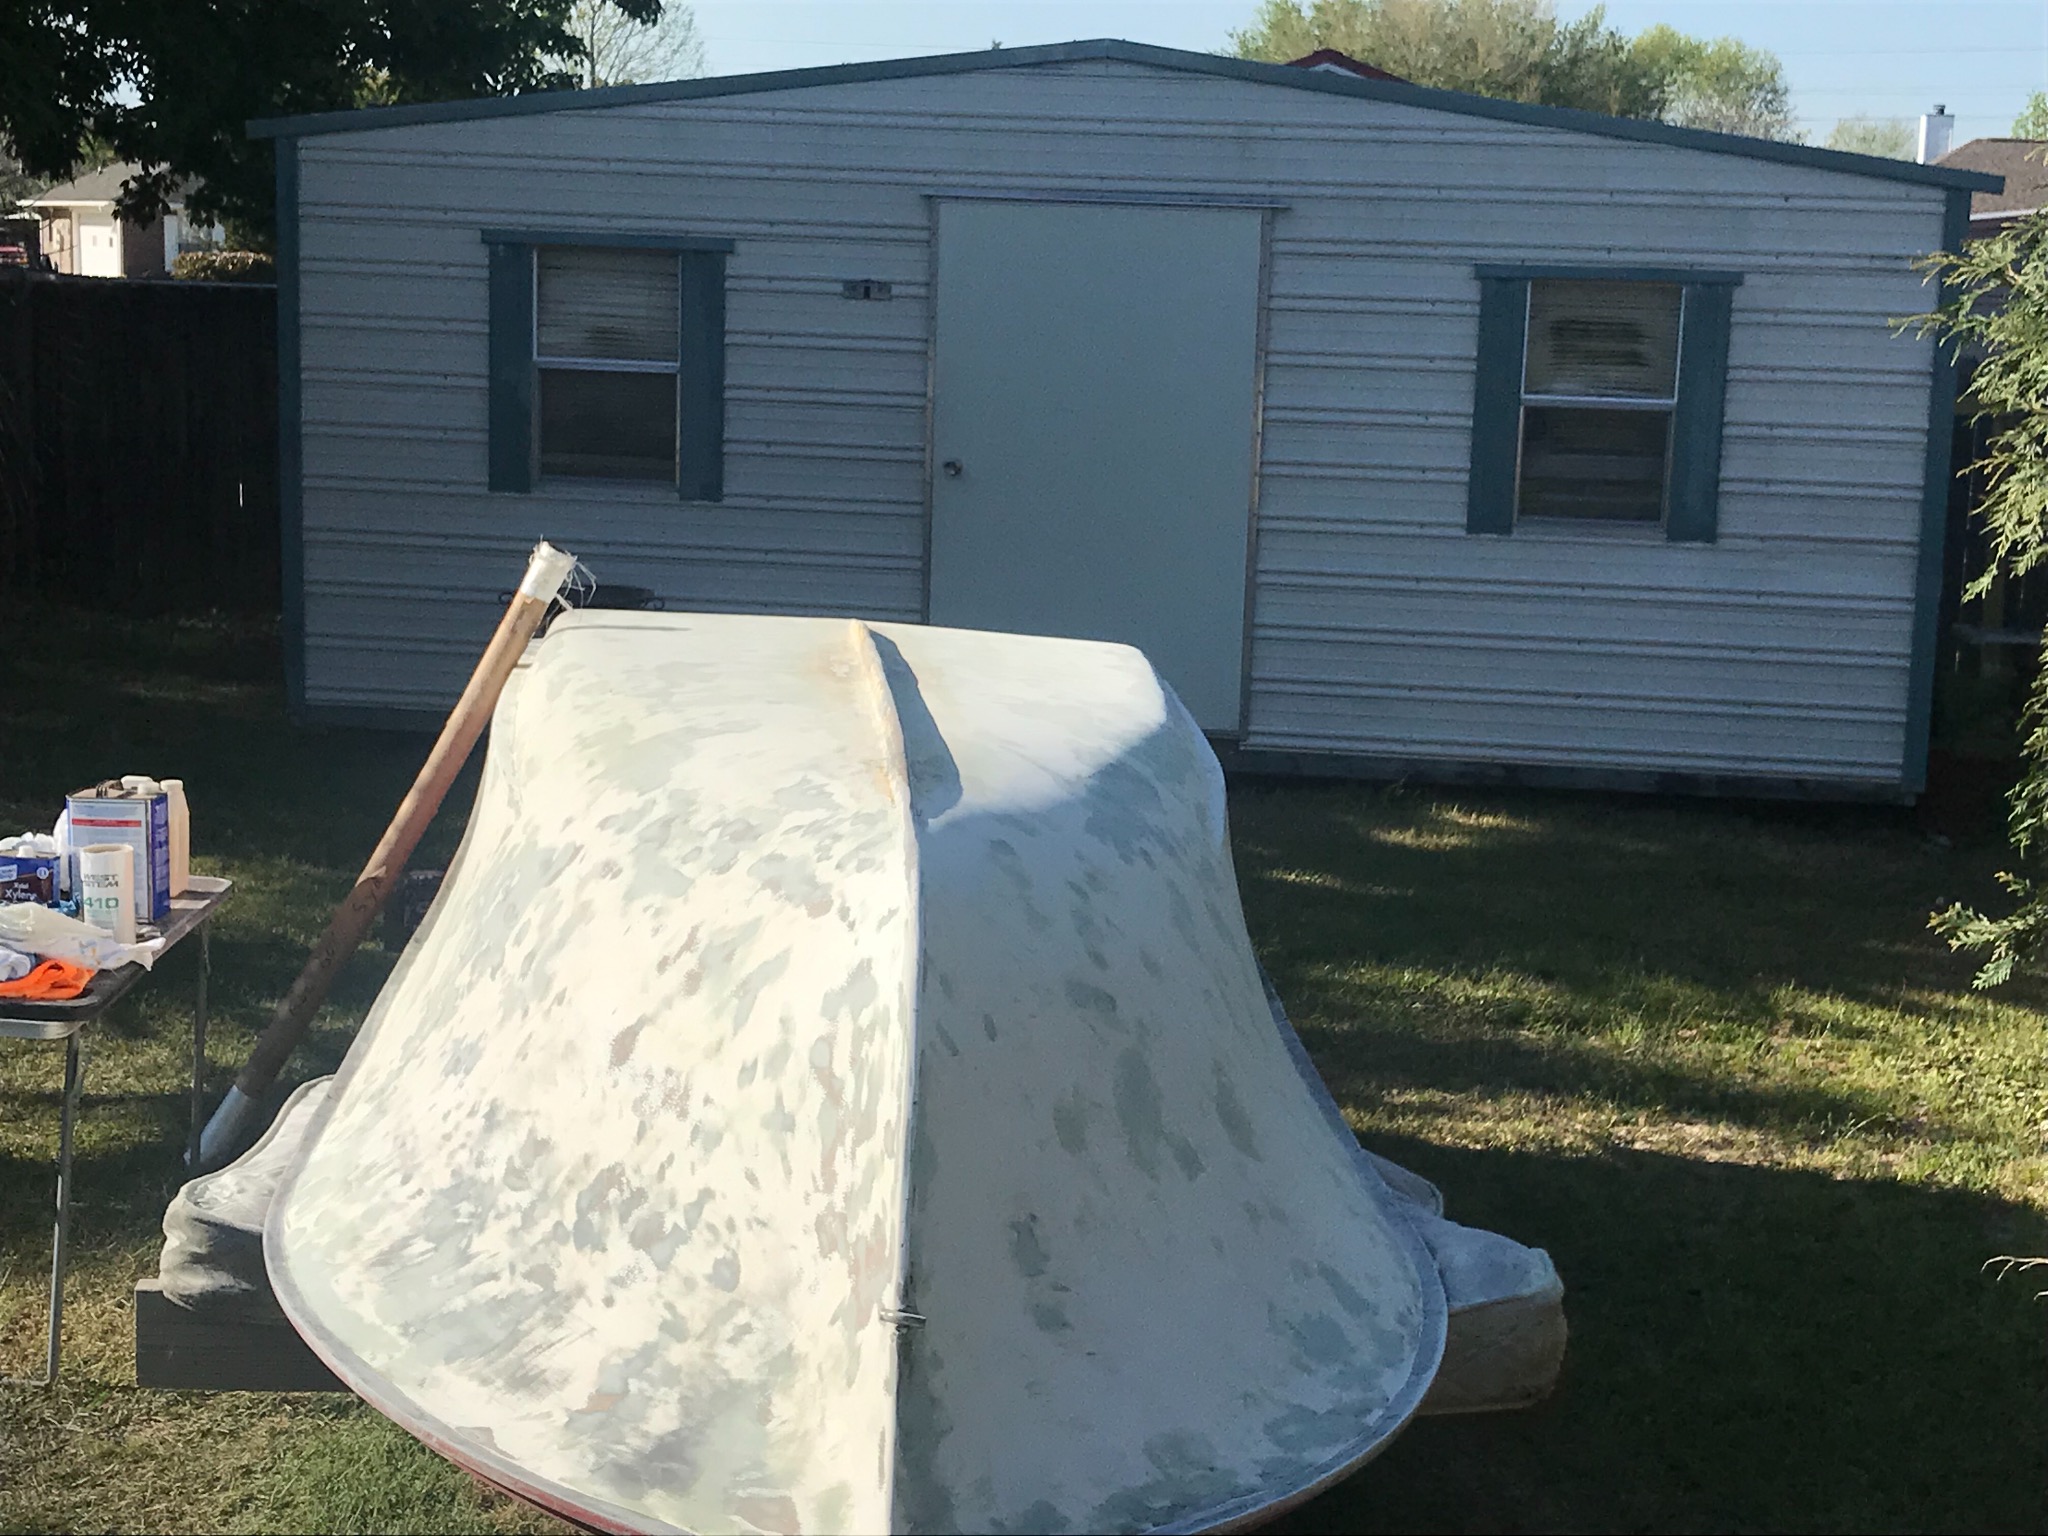
Still filling and sanding the bottom but hope to move on to priming and painting soon. Cant wait to get this thing flipped over and get the rest done!
Attachments:

Please Log in or Create an account to join the conversation.

Returning member...1960 Tomahawk restoration 5 years 8 months ago #139266

Love the pictures of the twin settup! I notced your starbord motor has a generator. Was it difficult to find the parts for that? Id love to add one down the road at some point....

Please Log in or Create an account to join the conversation.

Returning member...1960 Tomahawk restoration 5 years 8 months ago #139271

  • 63 Sabre
  • 63 Sabre's Avatar
  • Offline
  • Contributing Member
  • Contributing Member
  • Posts: 4676
  • Karma: 147
  • Thank you received: 167
I find that a couple sky hooks work well for flipping.
Attachments:

Please Log in or Create an account to join the conversation.

Returning member...1960 Tomahawk restoration 5 years 8 months ago #139274

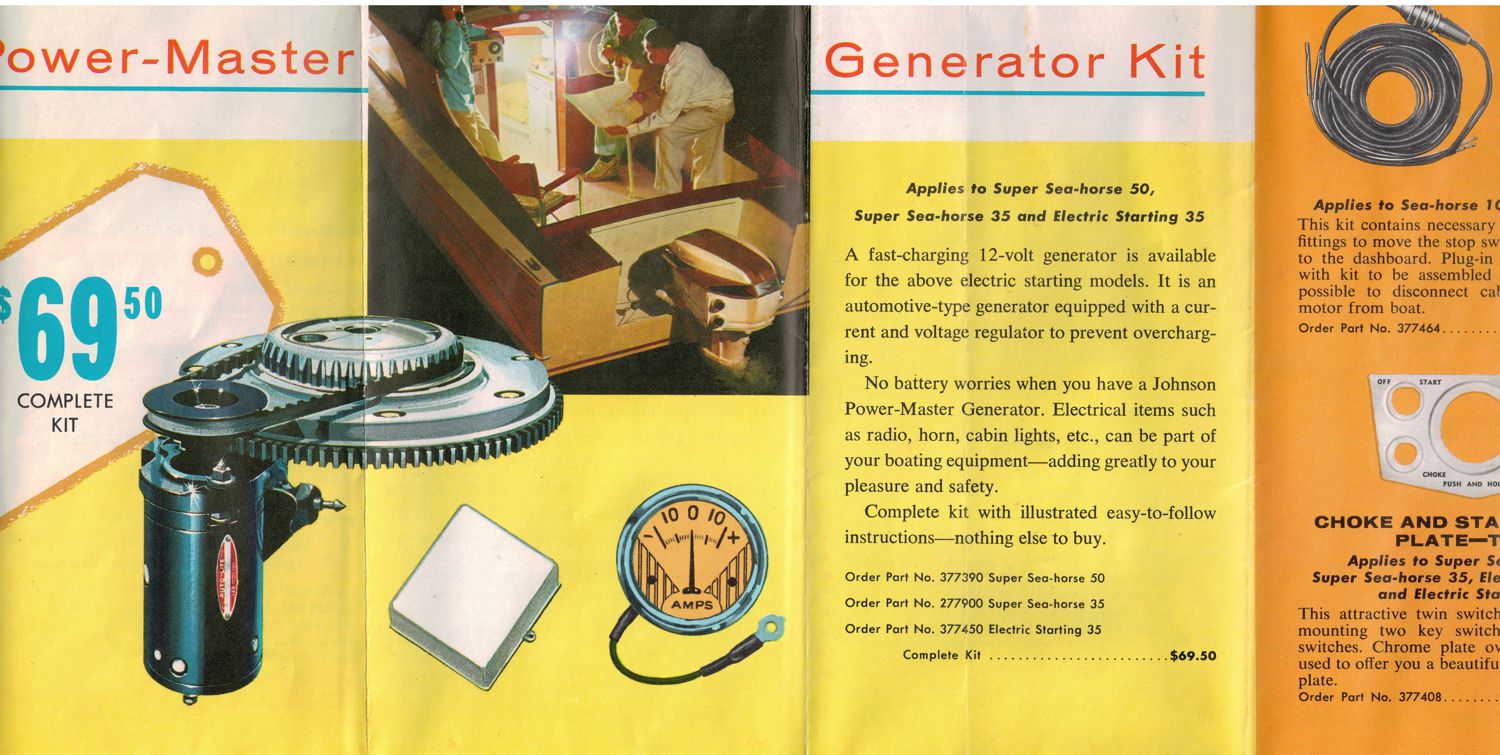
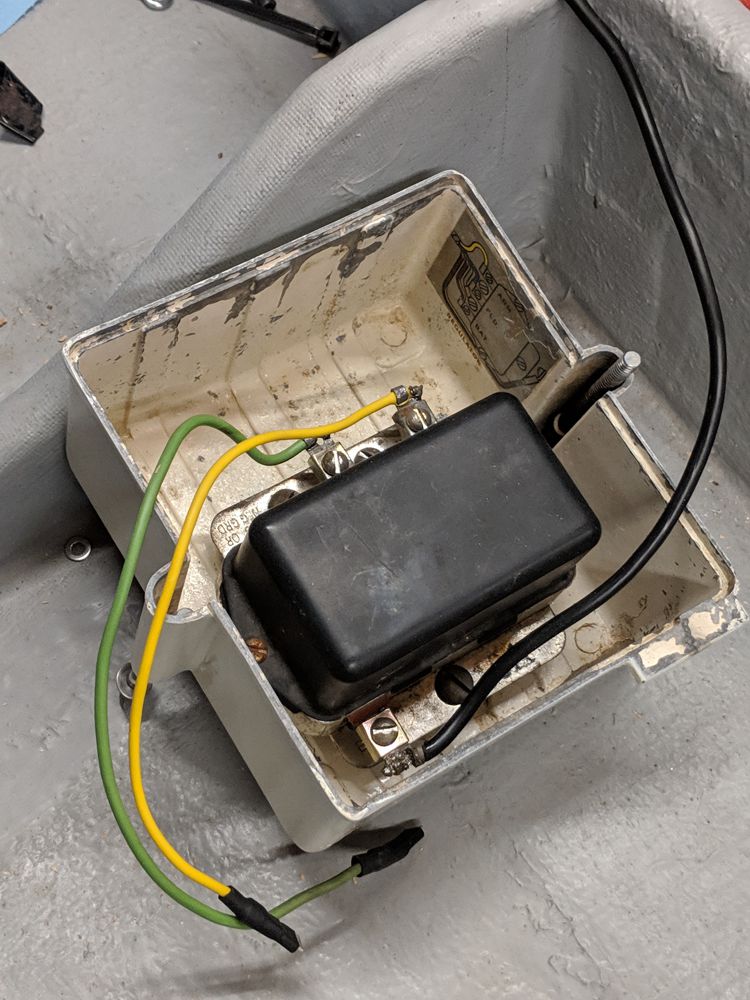
A generator is not hard to find. It originally came as a kit. You'll need the generator, bracket, belt and voltage regulator which requires changing the cover of the junction box and 1 SFE 4amp and 1 SFE 20amp fuse to go in the fuse holders in your existing box.
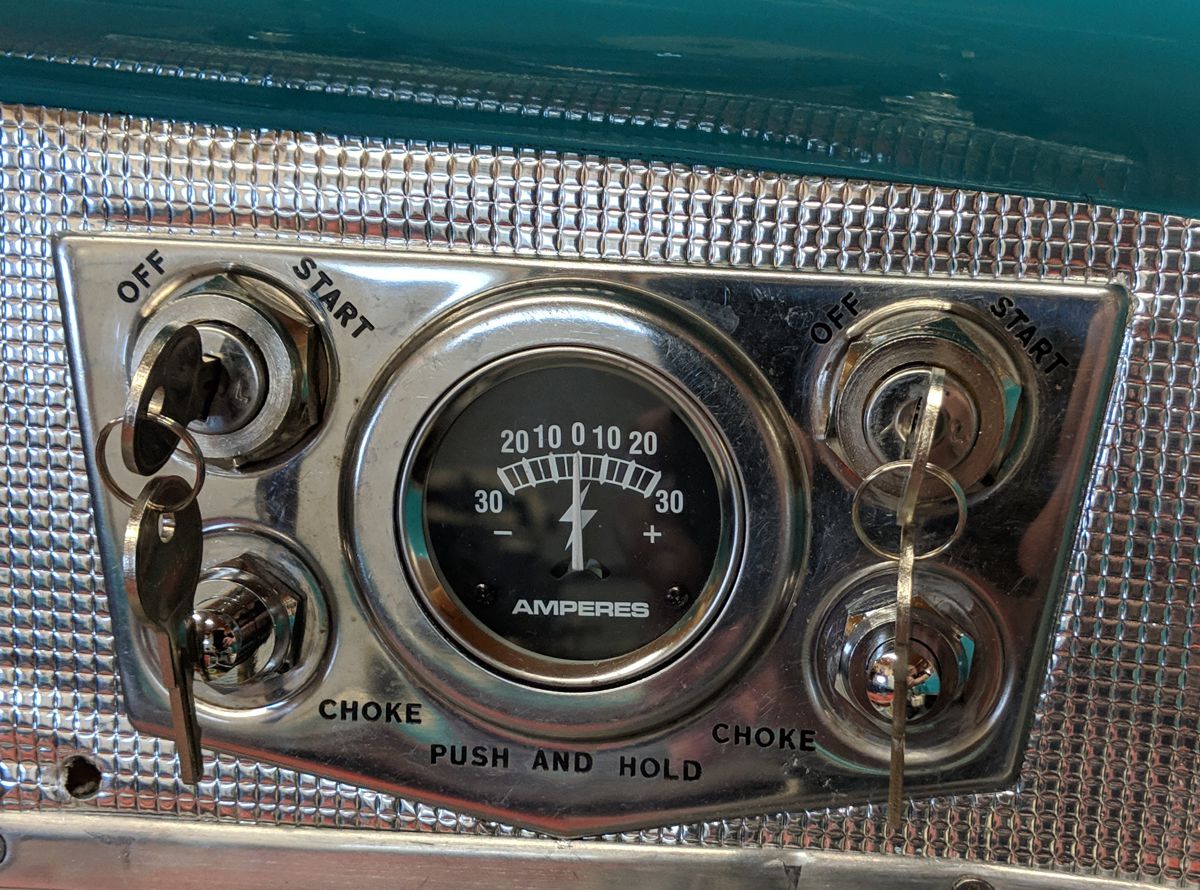
Ammeter is optional, but a good idea. It will go in you key switch plate.
I also have the wiring diagram, if you go ahead with it.
Cheers
Bill
Attachments:

Please Log in or Create an account to join the conversation.

Returning member...1960 Tomahawk restoration 5 years 5 months ago #140292

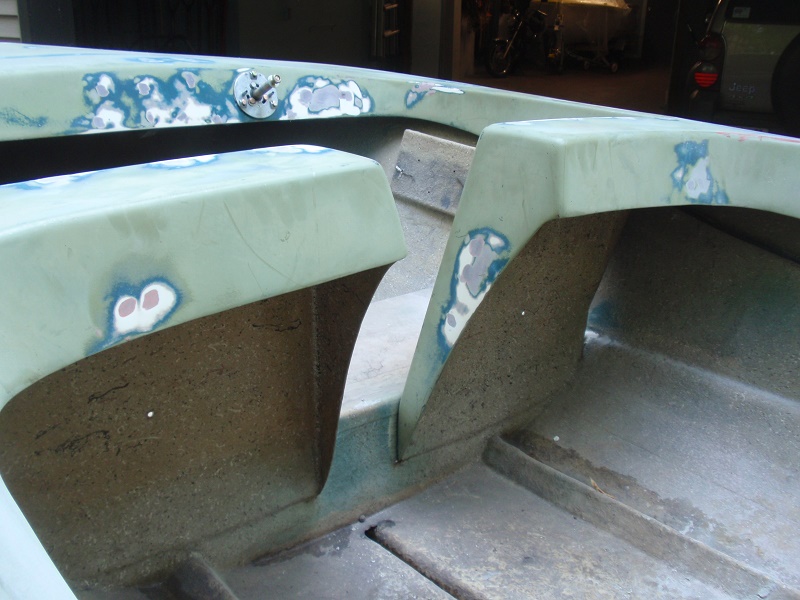
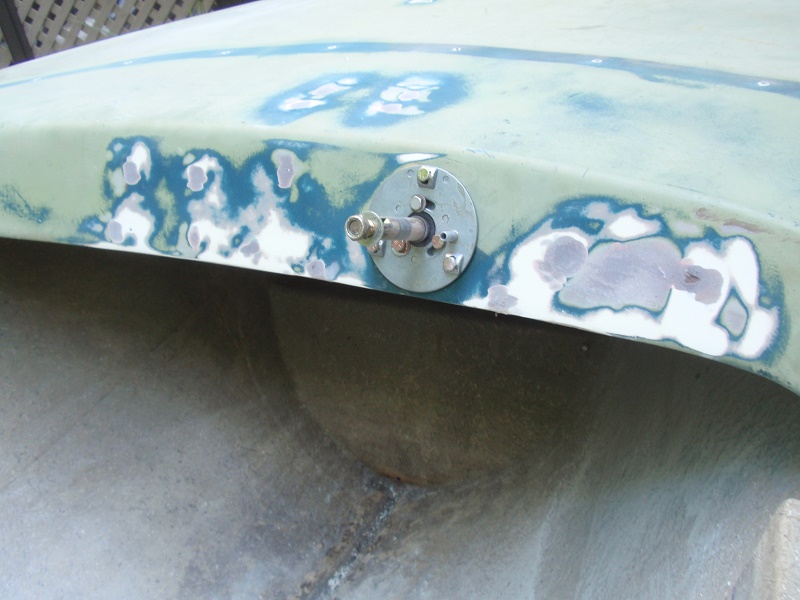
Finally got some primer on the topside...progress has been slow but steady this spring and summer!

Please Log in or Create an account to join the conversation.

Returning member...1960 Tomahawk restoration 5 years 5 months ago #140293

Attachments:

Please Log in or Create an account to join the conversation.

Returning member...1960 Tomahawk restoration 5 years 5 months ago #140294

  • 63 Sabre
  • 63 Sabre's Avatar
  • Offline
  • Contributing Member
  • Contributing Member
  • Posts: 4676
  • Karma: 147
  • Thank you received: 167
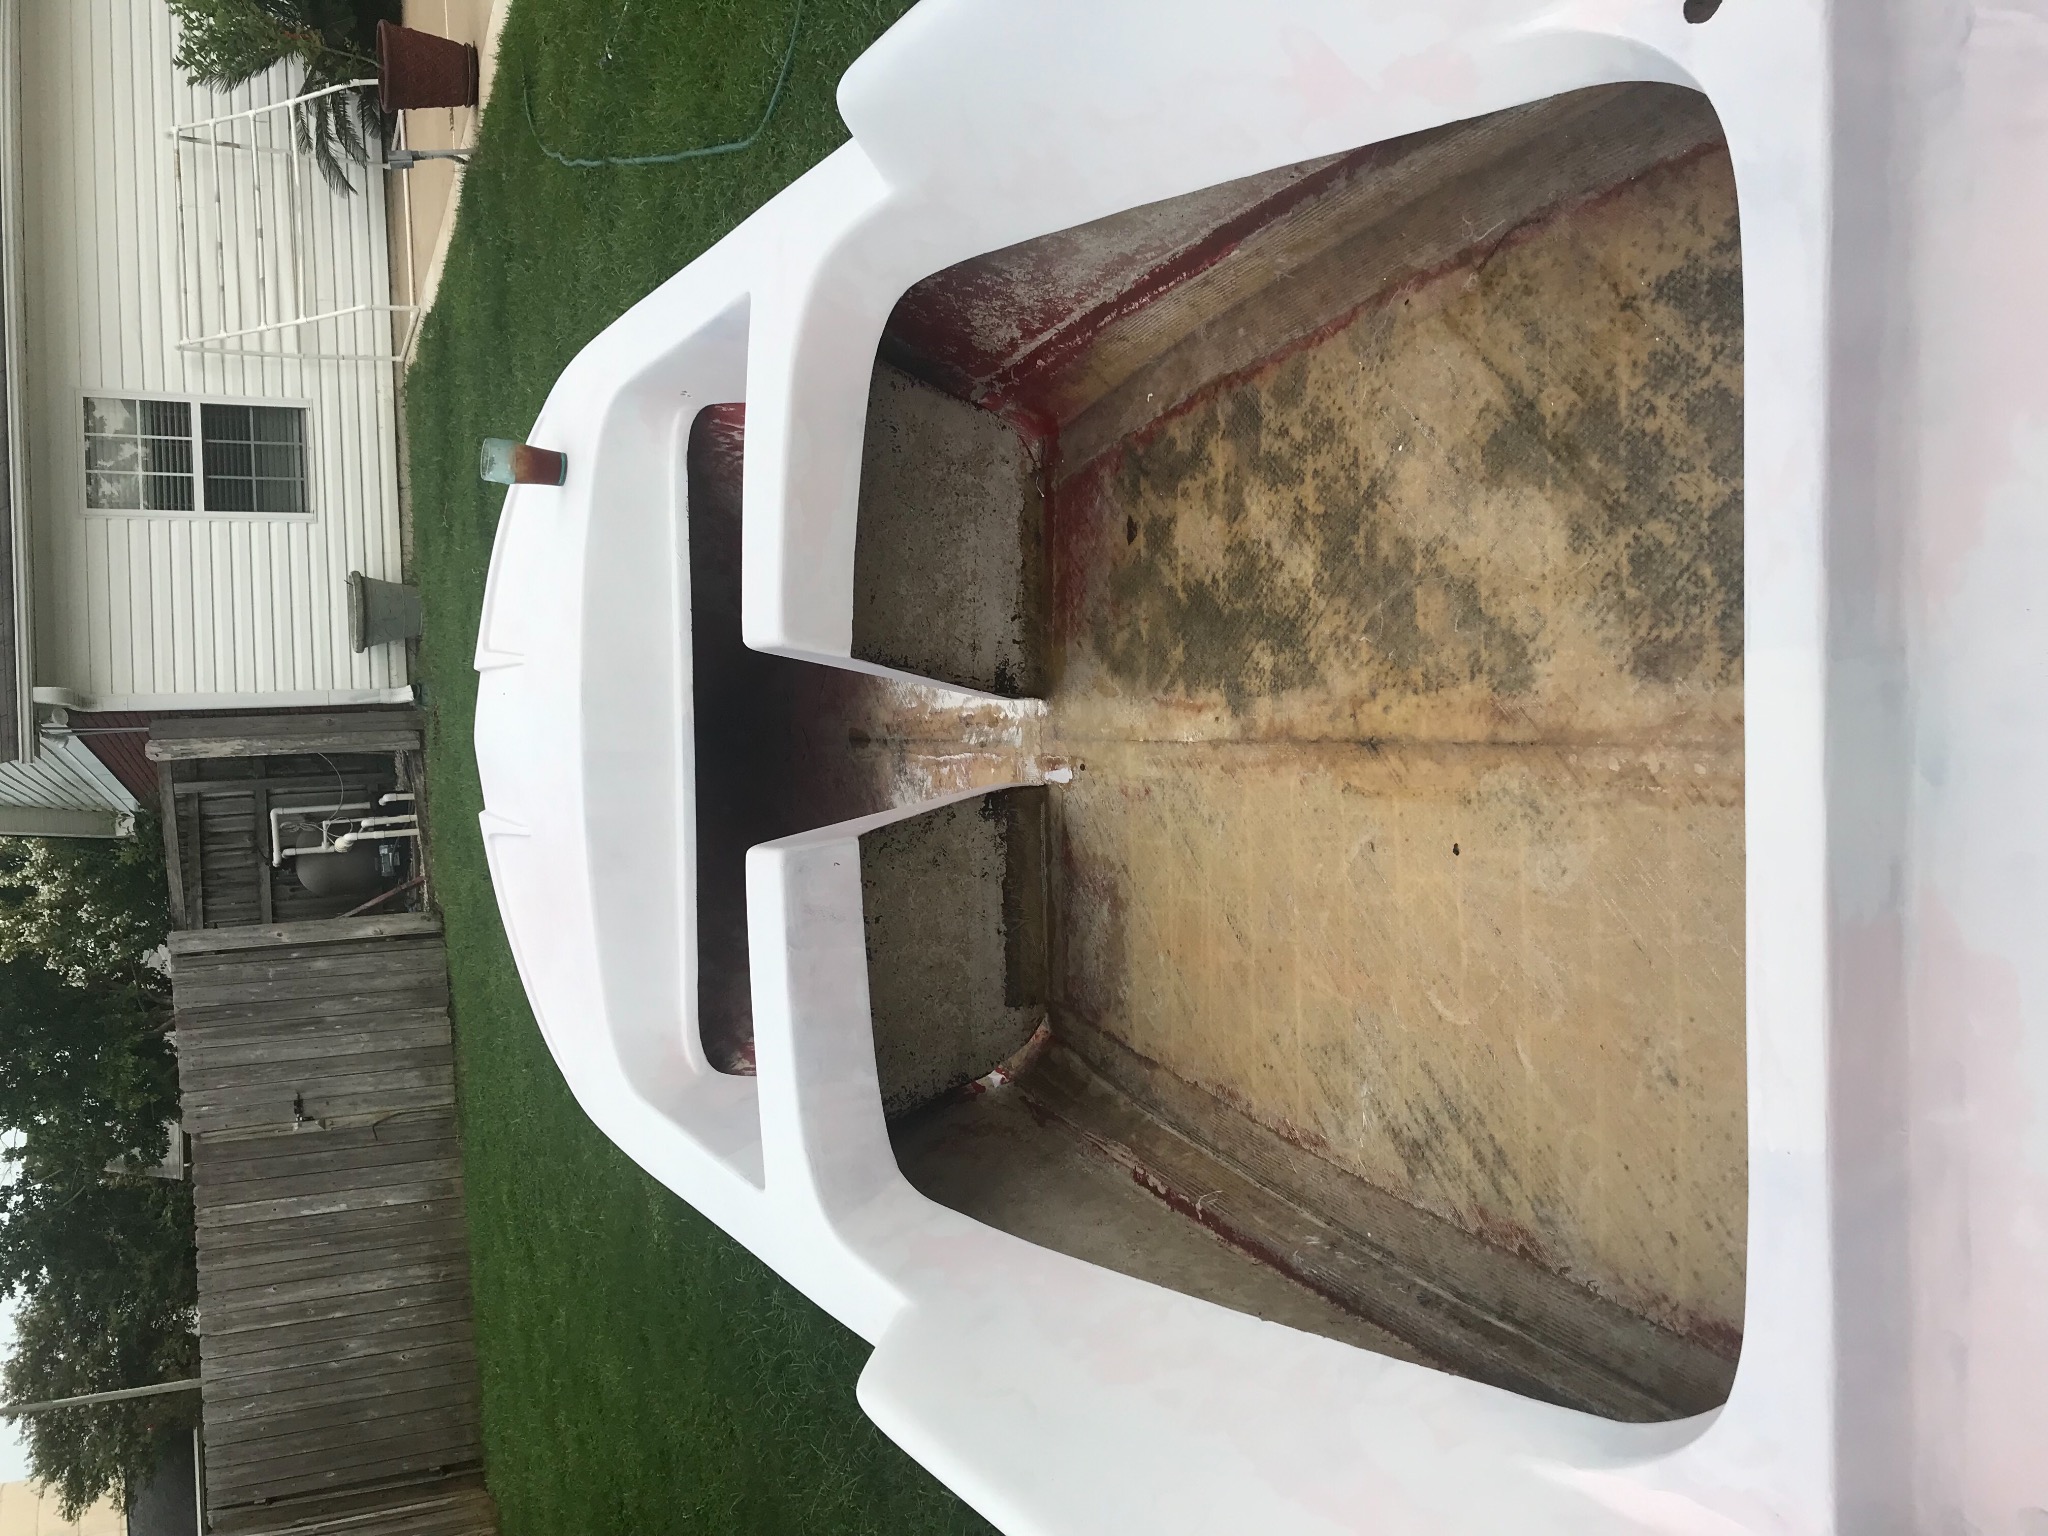
Slow but sure is a winner. Looks like you're making great progress. I'm curious about the floor. Did you put that in or was it there when you got it? I've done both a '59 and a '60 and neither had/has a floor. All the floatation is the sealed air compartments under the bow and front and rear seat bases.
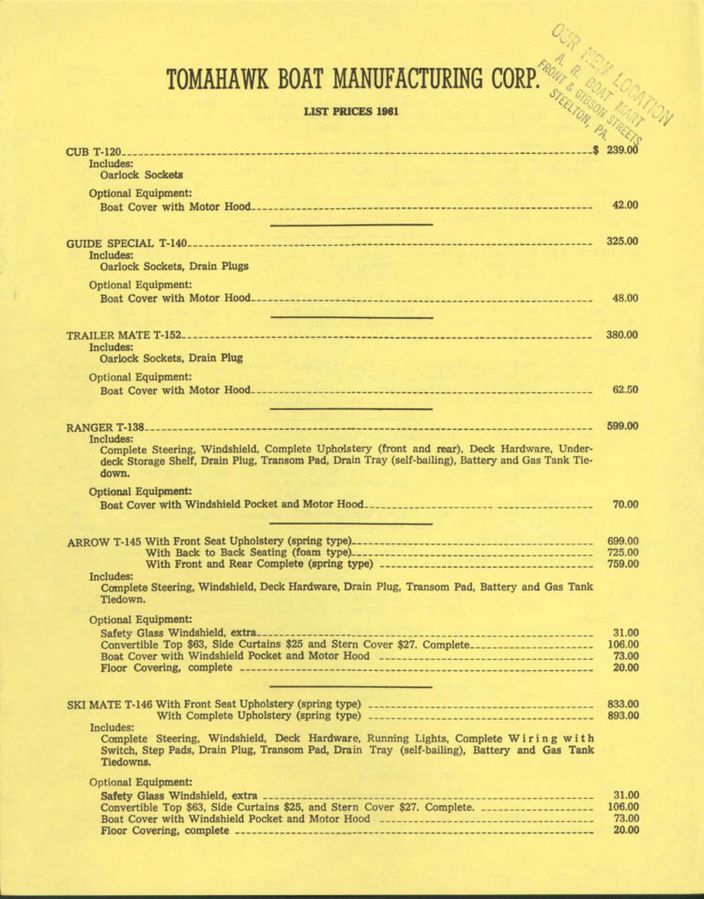
If you read the last section of the description for a 1961 model it lists a floor covering for an extra $20.

Please Log in or Create an account to join the conversation.

Returning member...1960 Tomahawk restoration 5 years 5 months ago #140295

The floor was in yhe boat when i purchased it a few years ago. The previous owner told me he had replaced the existing floor approximately 10 years prior and that was as far as he got before losing interest in the entire project. Im not sure what materials he used but i can see a distinct honeycomb pattern below the layers of the fiberglass floor. Cosmetically, i need to do a little work to it however it feels very strong.

Im hoping to finish sanding the topside primer and actually completing the color sometime this week. Ive been dodging alot of thunderstorms here in lower Alabama lately and ive got to time my painting.

Im using the Rustoleum Topside paints and plan to mix the white and Navy blue with a bit of green to achieve a blue/teal final color....

Then its on to finishing the interior and building seats...

Please Log in or Create an account to join the conversation.

Returning member...1960 Tomahawk restoration 5 years 5 months ago #140297

  • 63 Sabre
  • 63 Sabre's Avatar
  • Offline
  • Contributing Member
  • Contributing Member
  • Posts: 4676
  • Karma: 147
  • Thank you received: 167
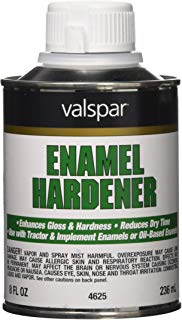
I've used the Rustoleum paints most of the time on both top and bottom and never had any problems. Suggest that you use a hardener along with the paint. That will bring out a higher gloss and make it flow even and dry to the touch within a few hours. It will be sandable the next day for recoat or polishing.
Attachments:

Please Log in or Create an account to join the conversation.

Returning member...1960 Tomahawk restoration 5 years 5 months ago #140310

Thank you for the advice on the hardener! I had forgotten about using that...about how much would you add to a quart? Ive got to run to lowes or home depot and see if i can find some. I remember seeing a similar product at Tractor Supply but im not sure if they are all the same...(enamel hardener)?

Cant wait to get some color on this thing....its been a bit of an eyesore for a while!

Please Log in or Create an account to join the conversation.

Returning member...1960 Tomahawk restoration 5 years 5 months ago #140312

  • 63 Sabre
  • 63 Sabre's Avatar
  • Offline
  • Contributing Member
  • Contributing Member
  • Posts: 4676
  • Karma: 147
  • Thank you received: 167
They are the same. Directions are on the can. DO NOT mix a whole quart!!
Just enough in a smaller container to do your job. Working time is about 15 - 20 minutes once they are mixed. after that you will have a quart of jelly. If you are going to spray use about 40psi otherwise a roll and tip works well also. I splash a small amount of lacquer thinner if you think it's too heavy.

Please Log in or Create an account to join the conversation.

Returning member...1960 Tomahawk restoration 5 years 4 months ago #140528

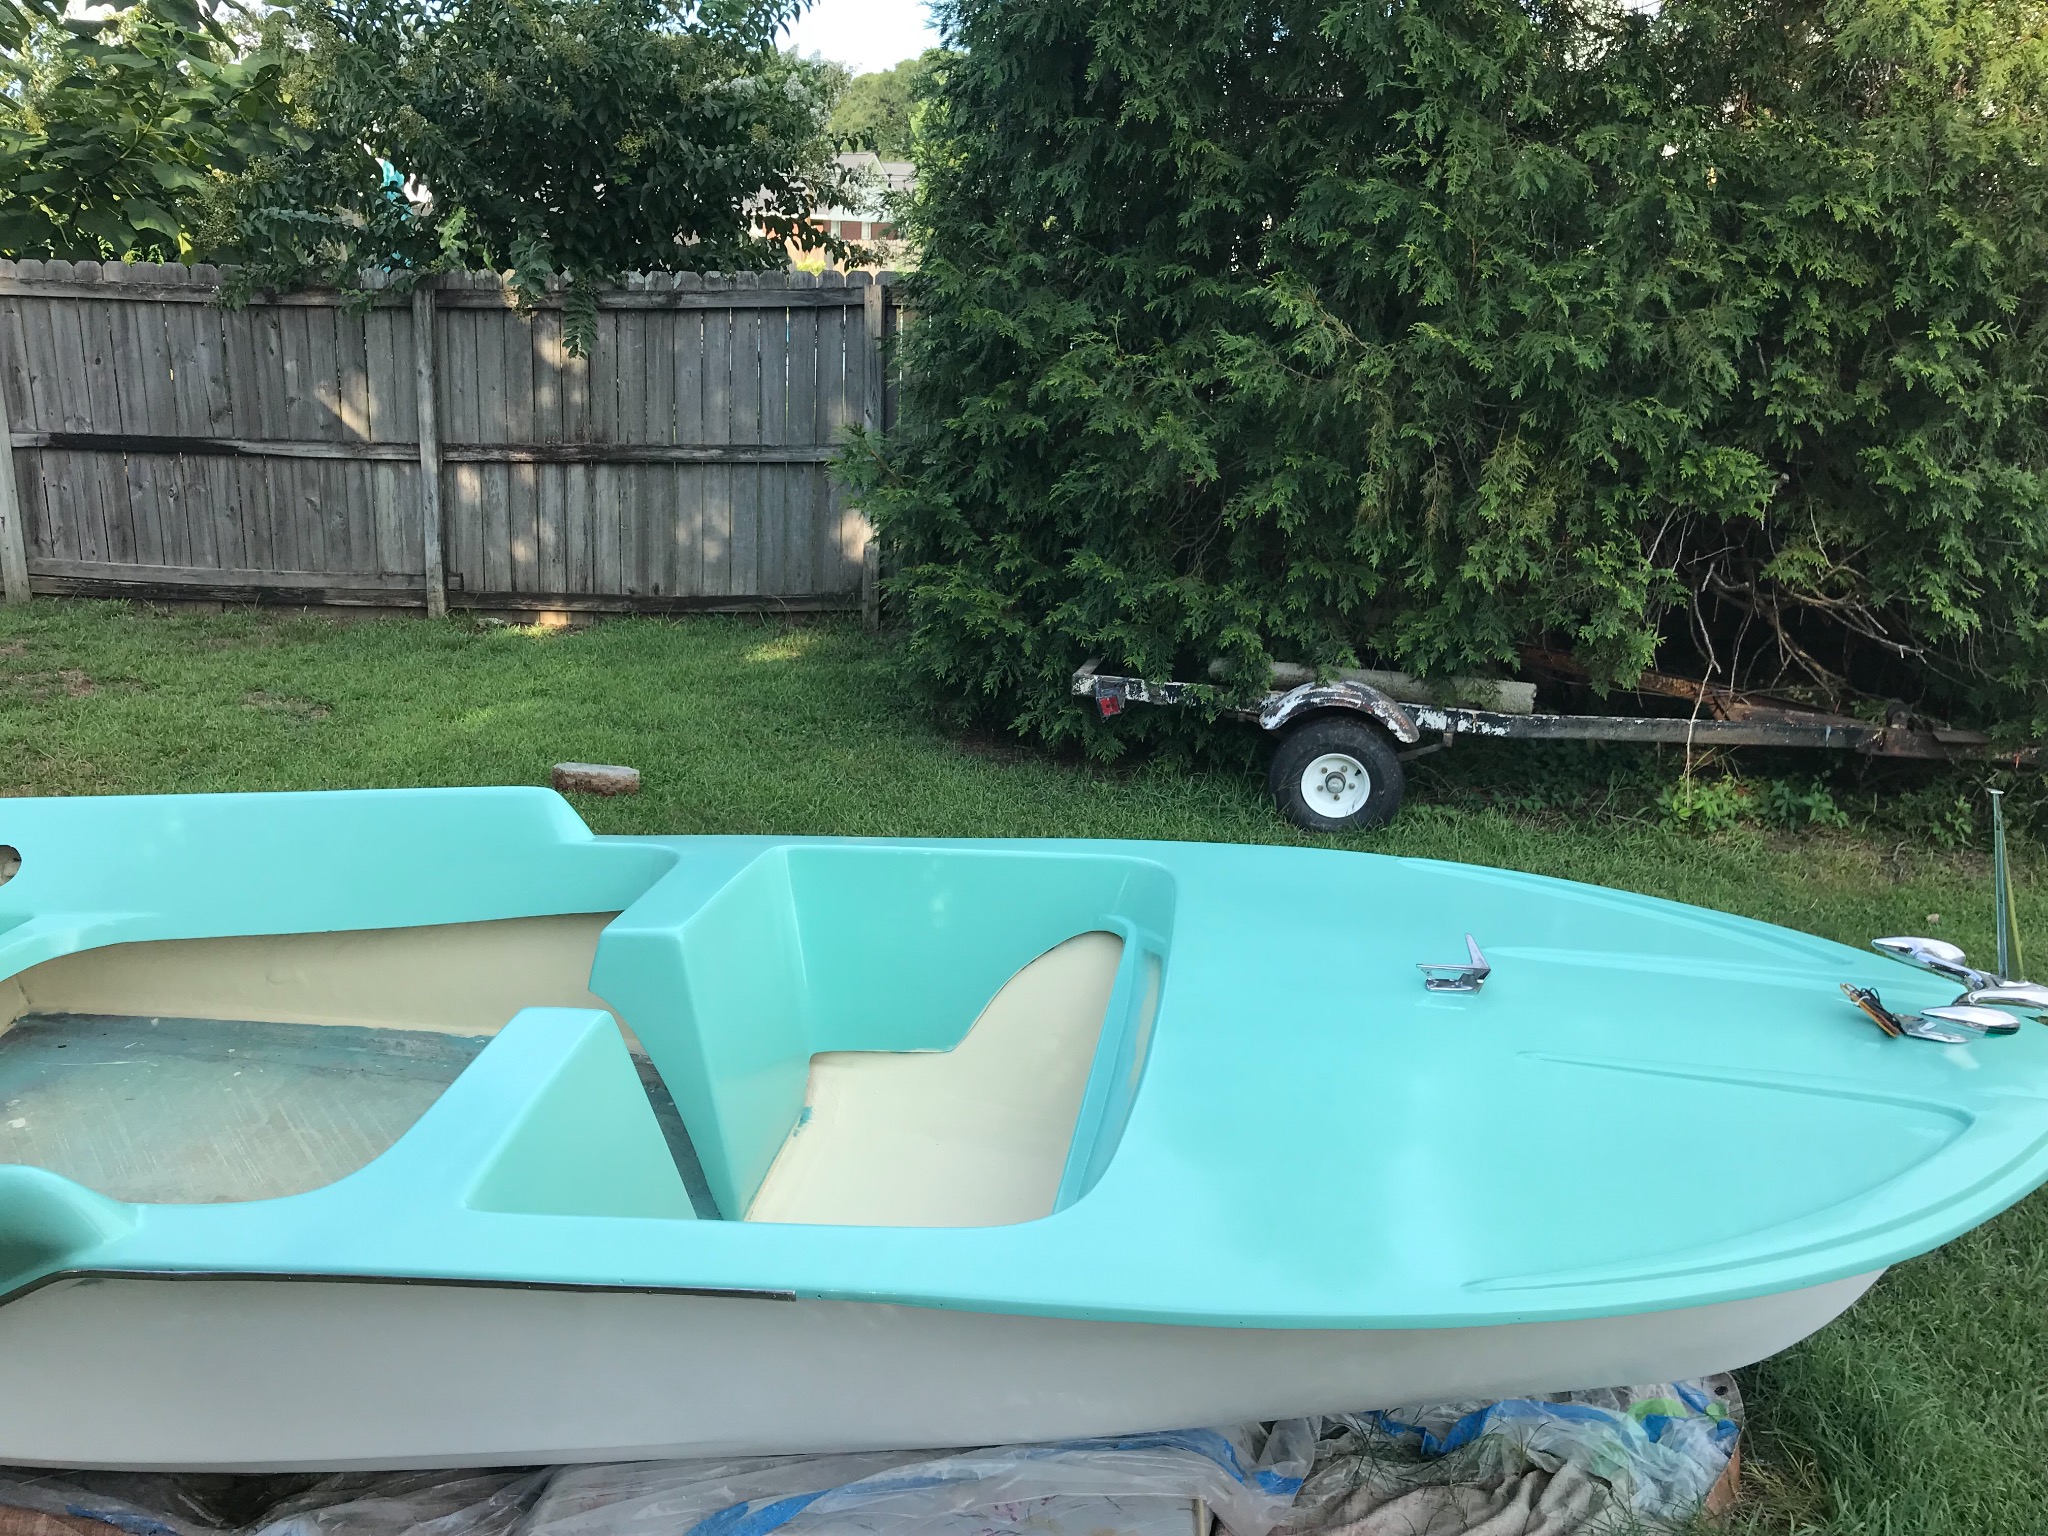
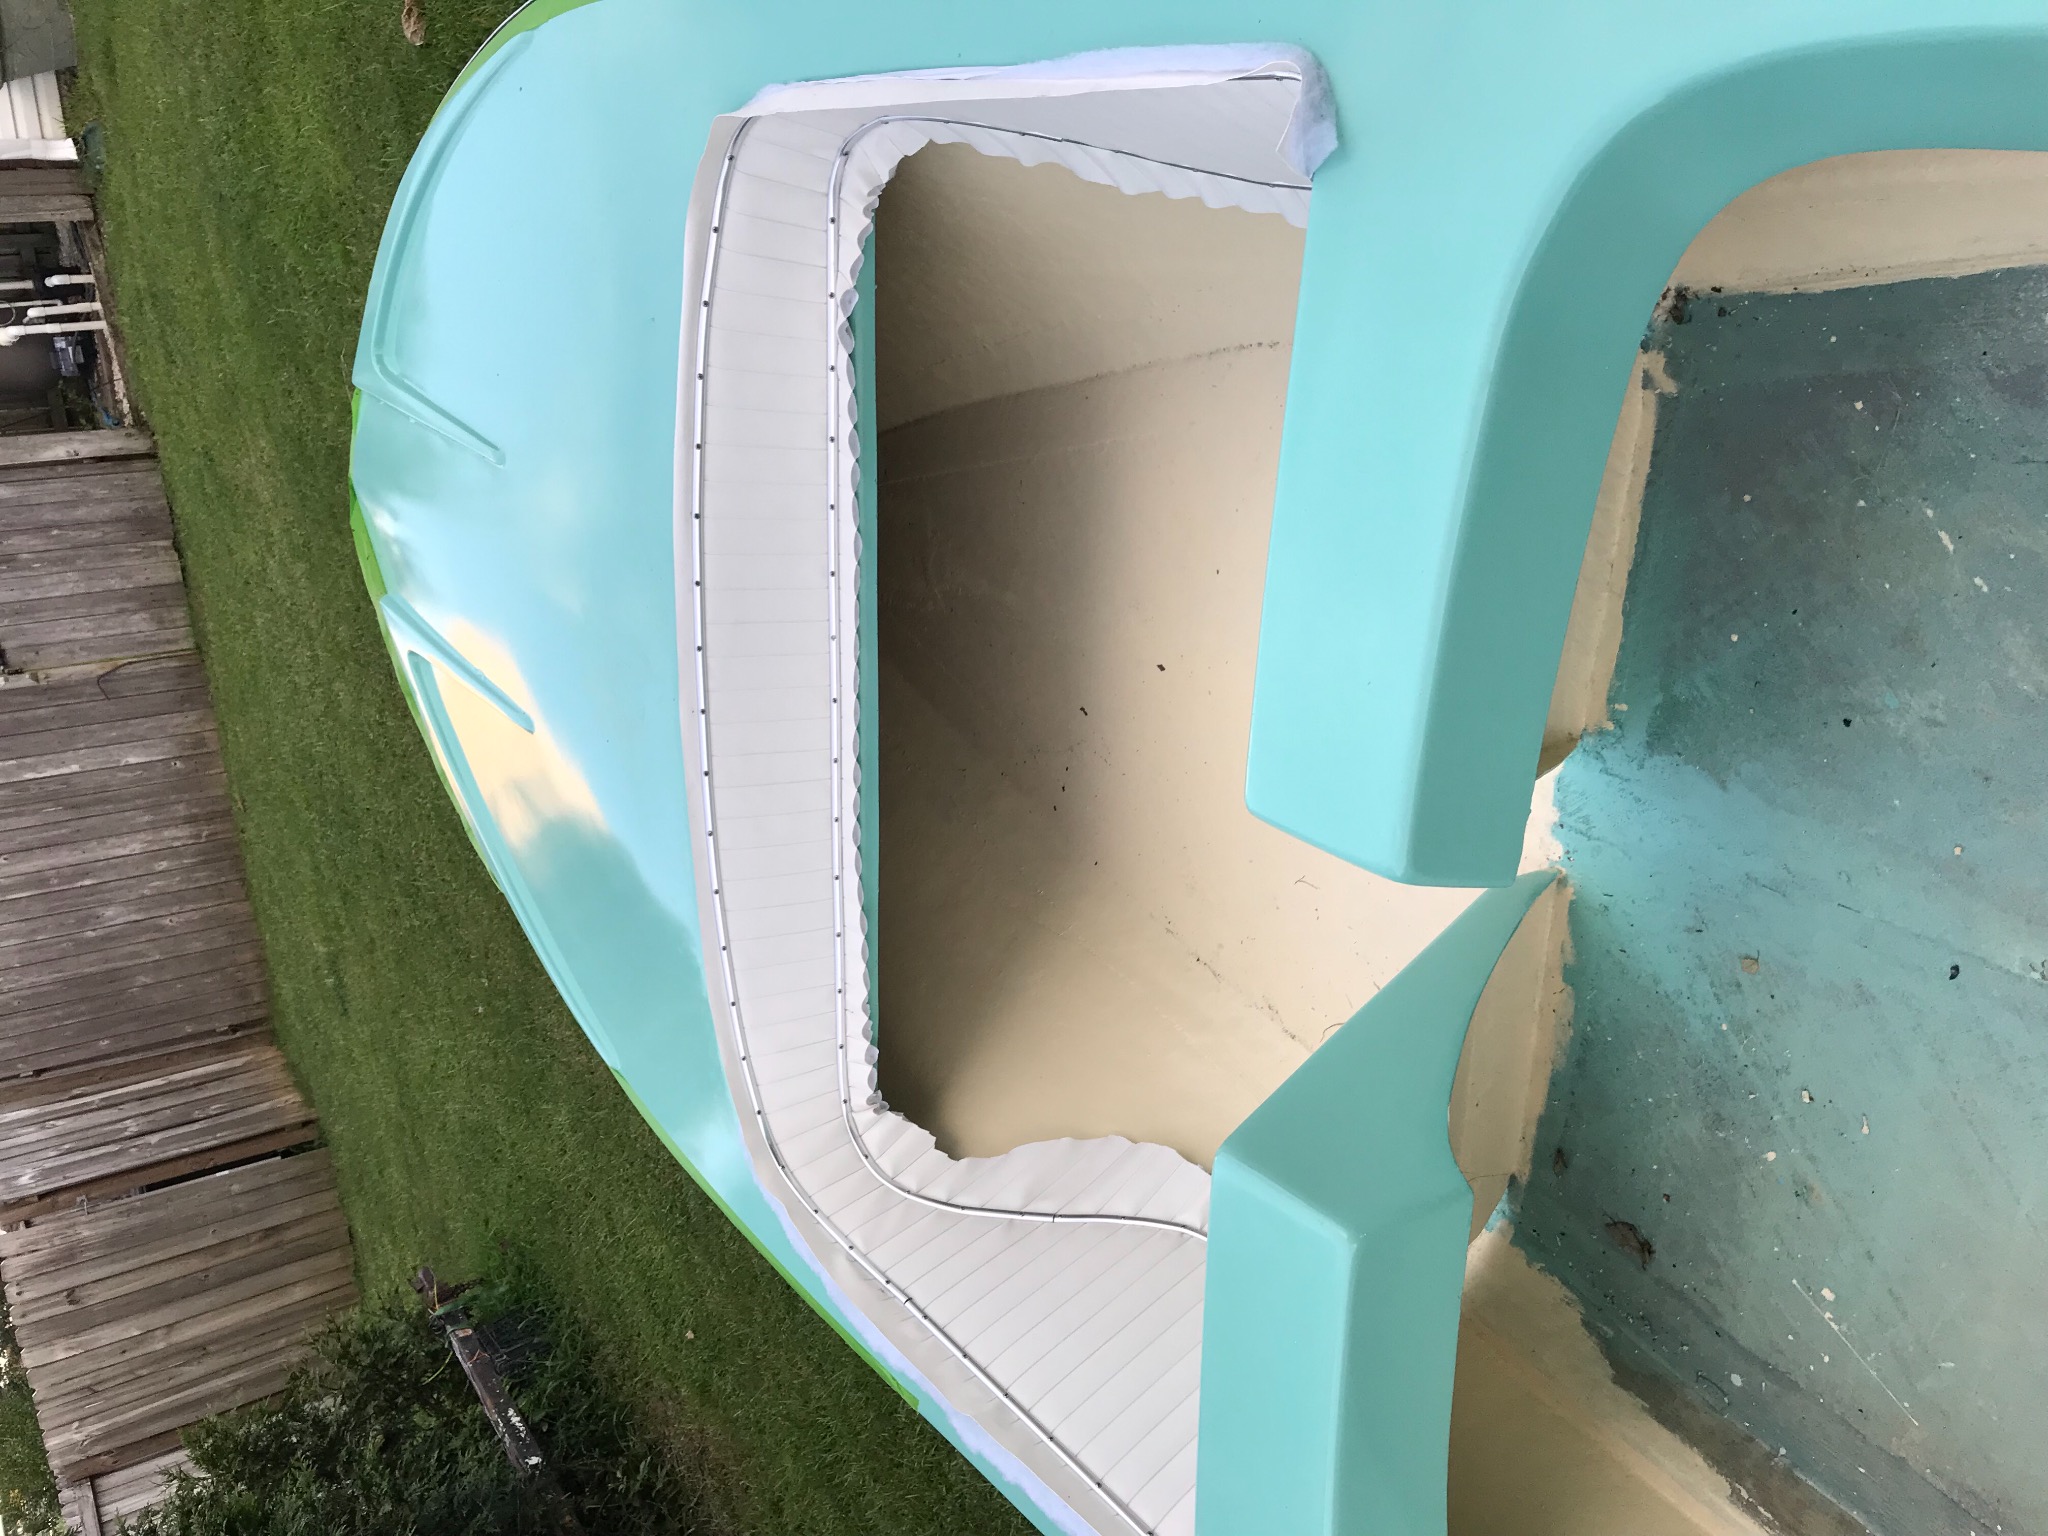
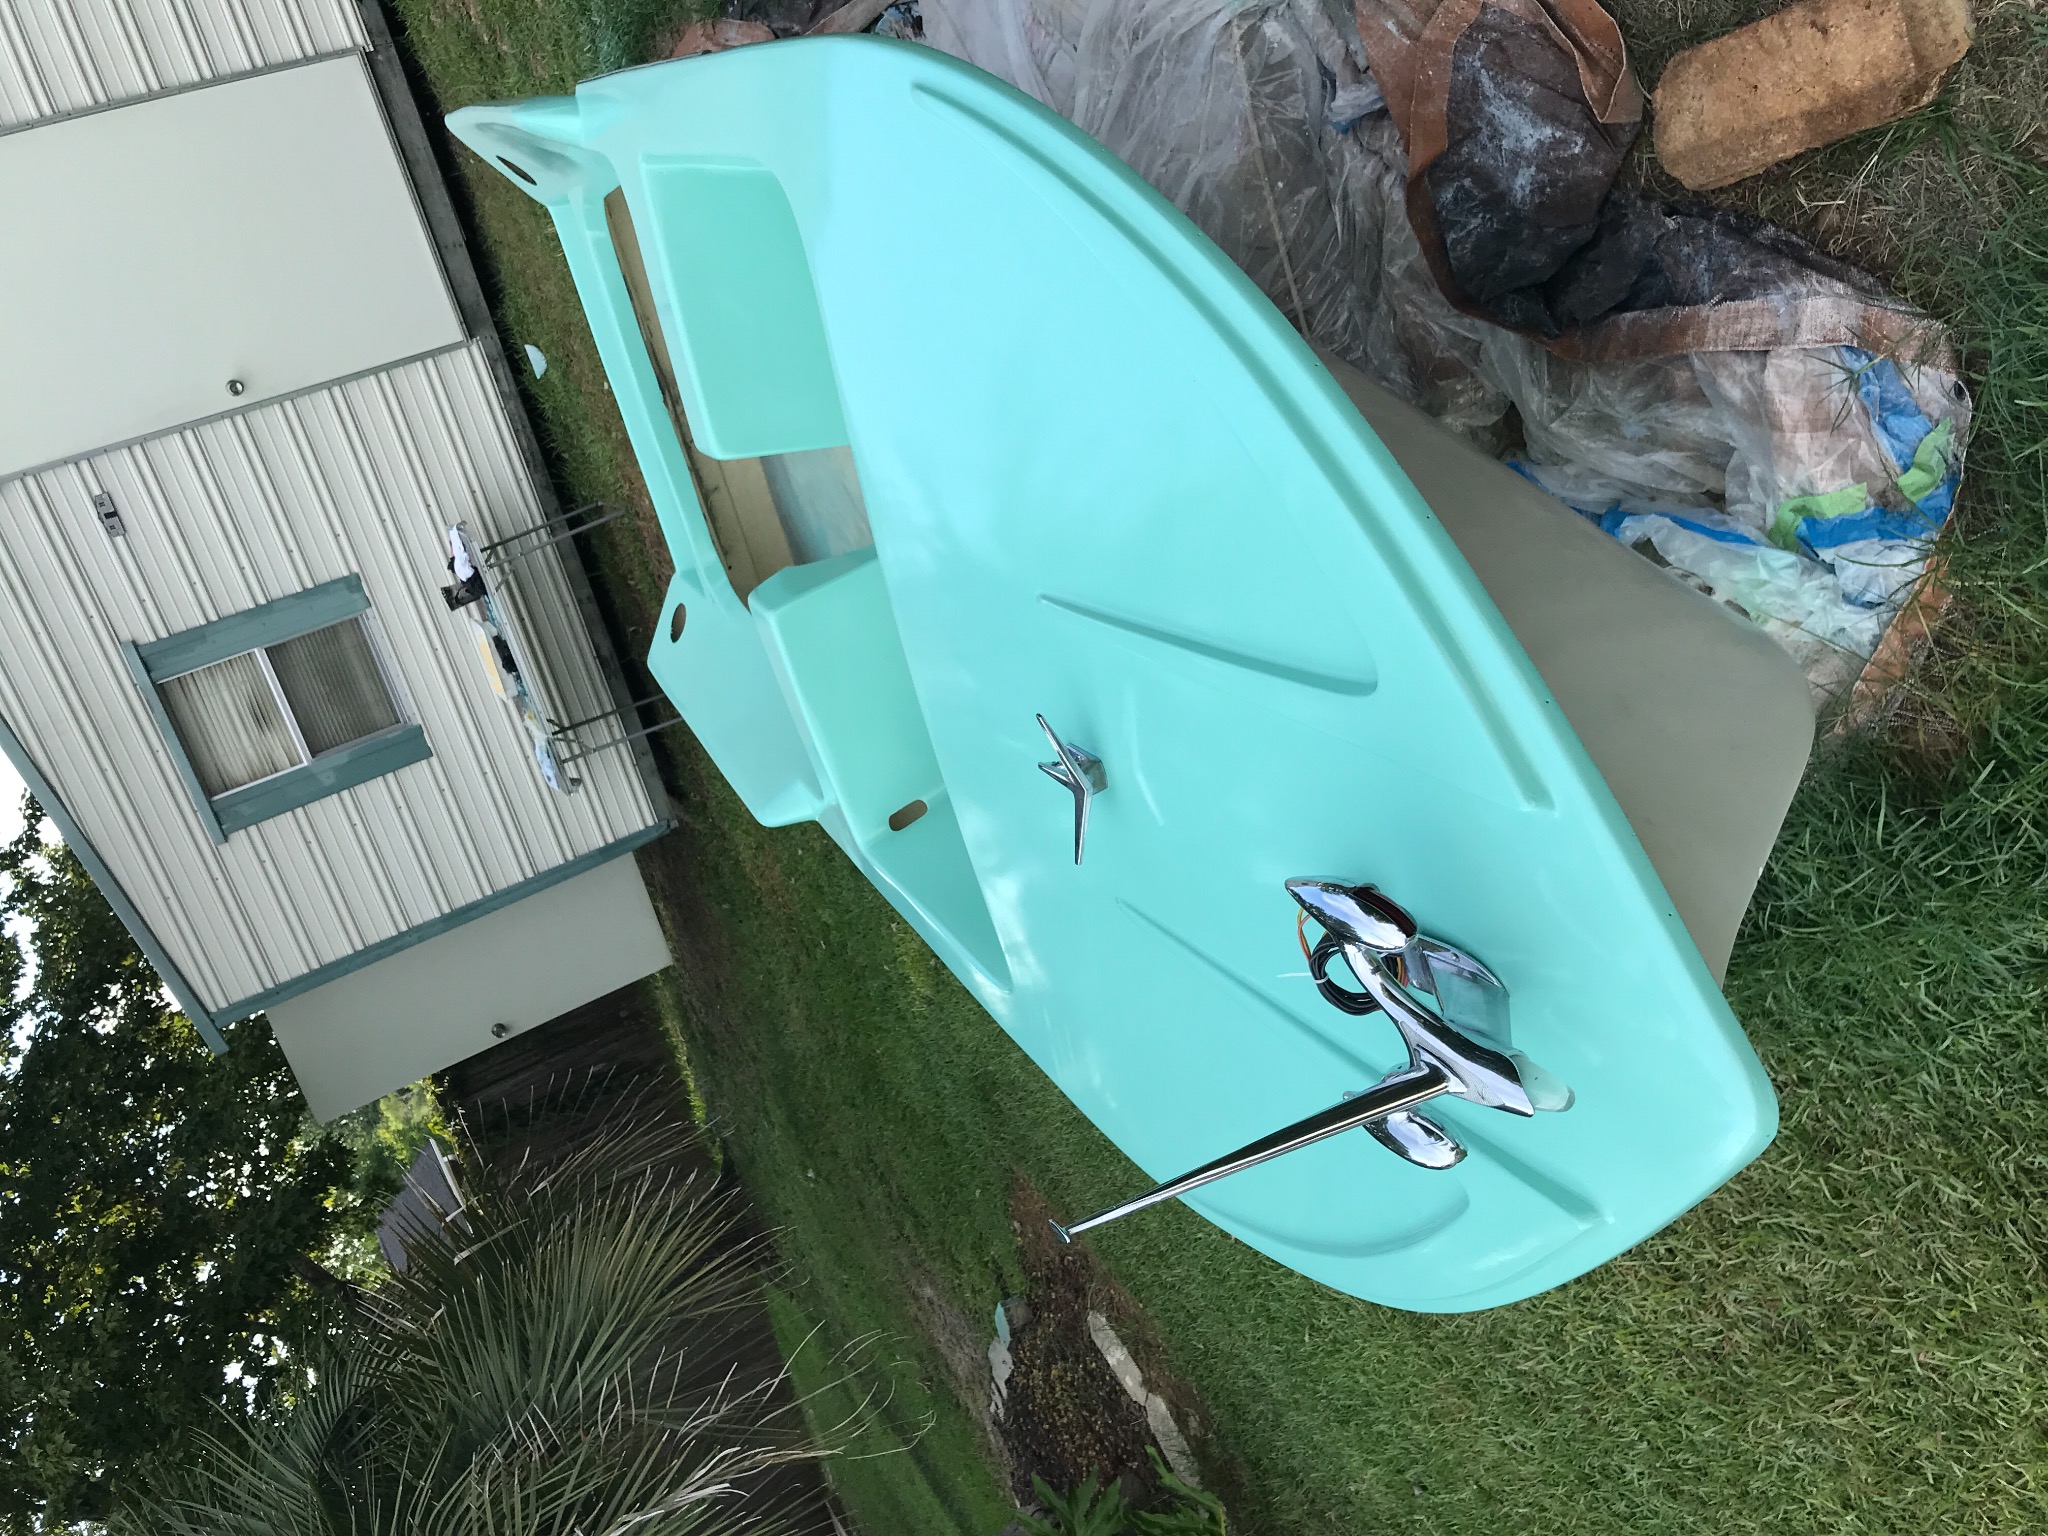
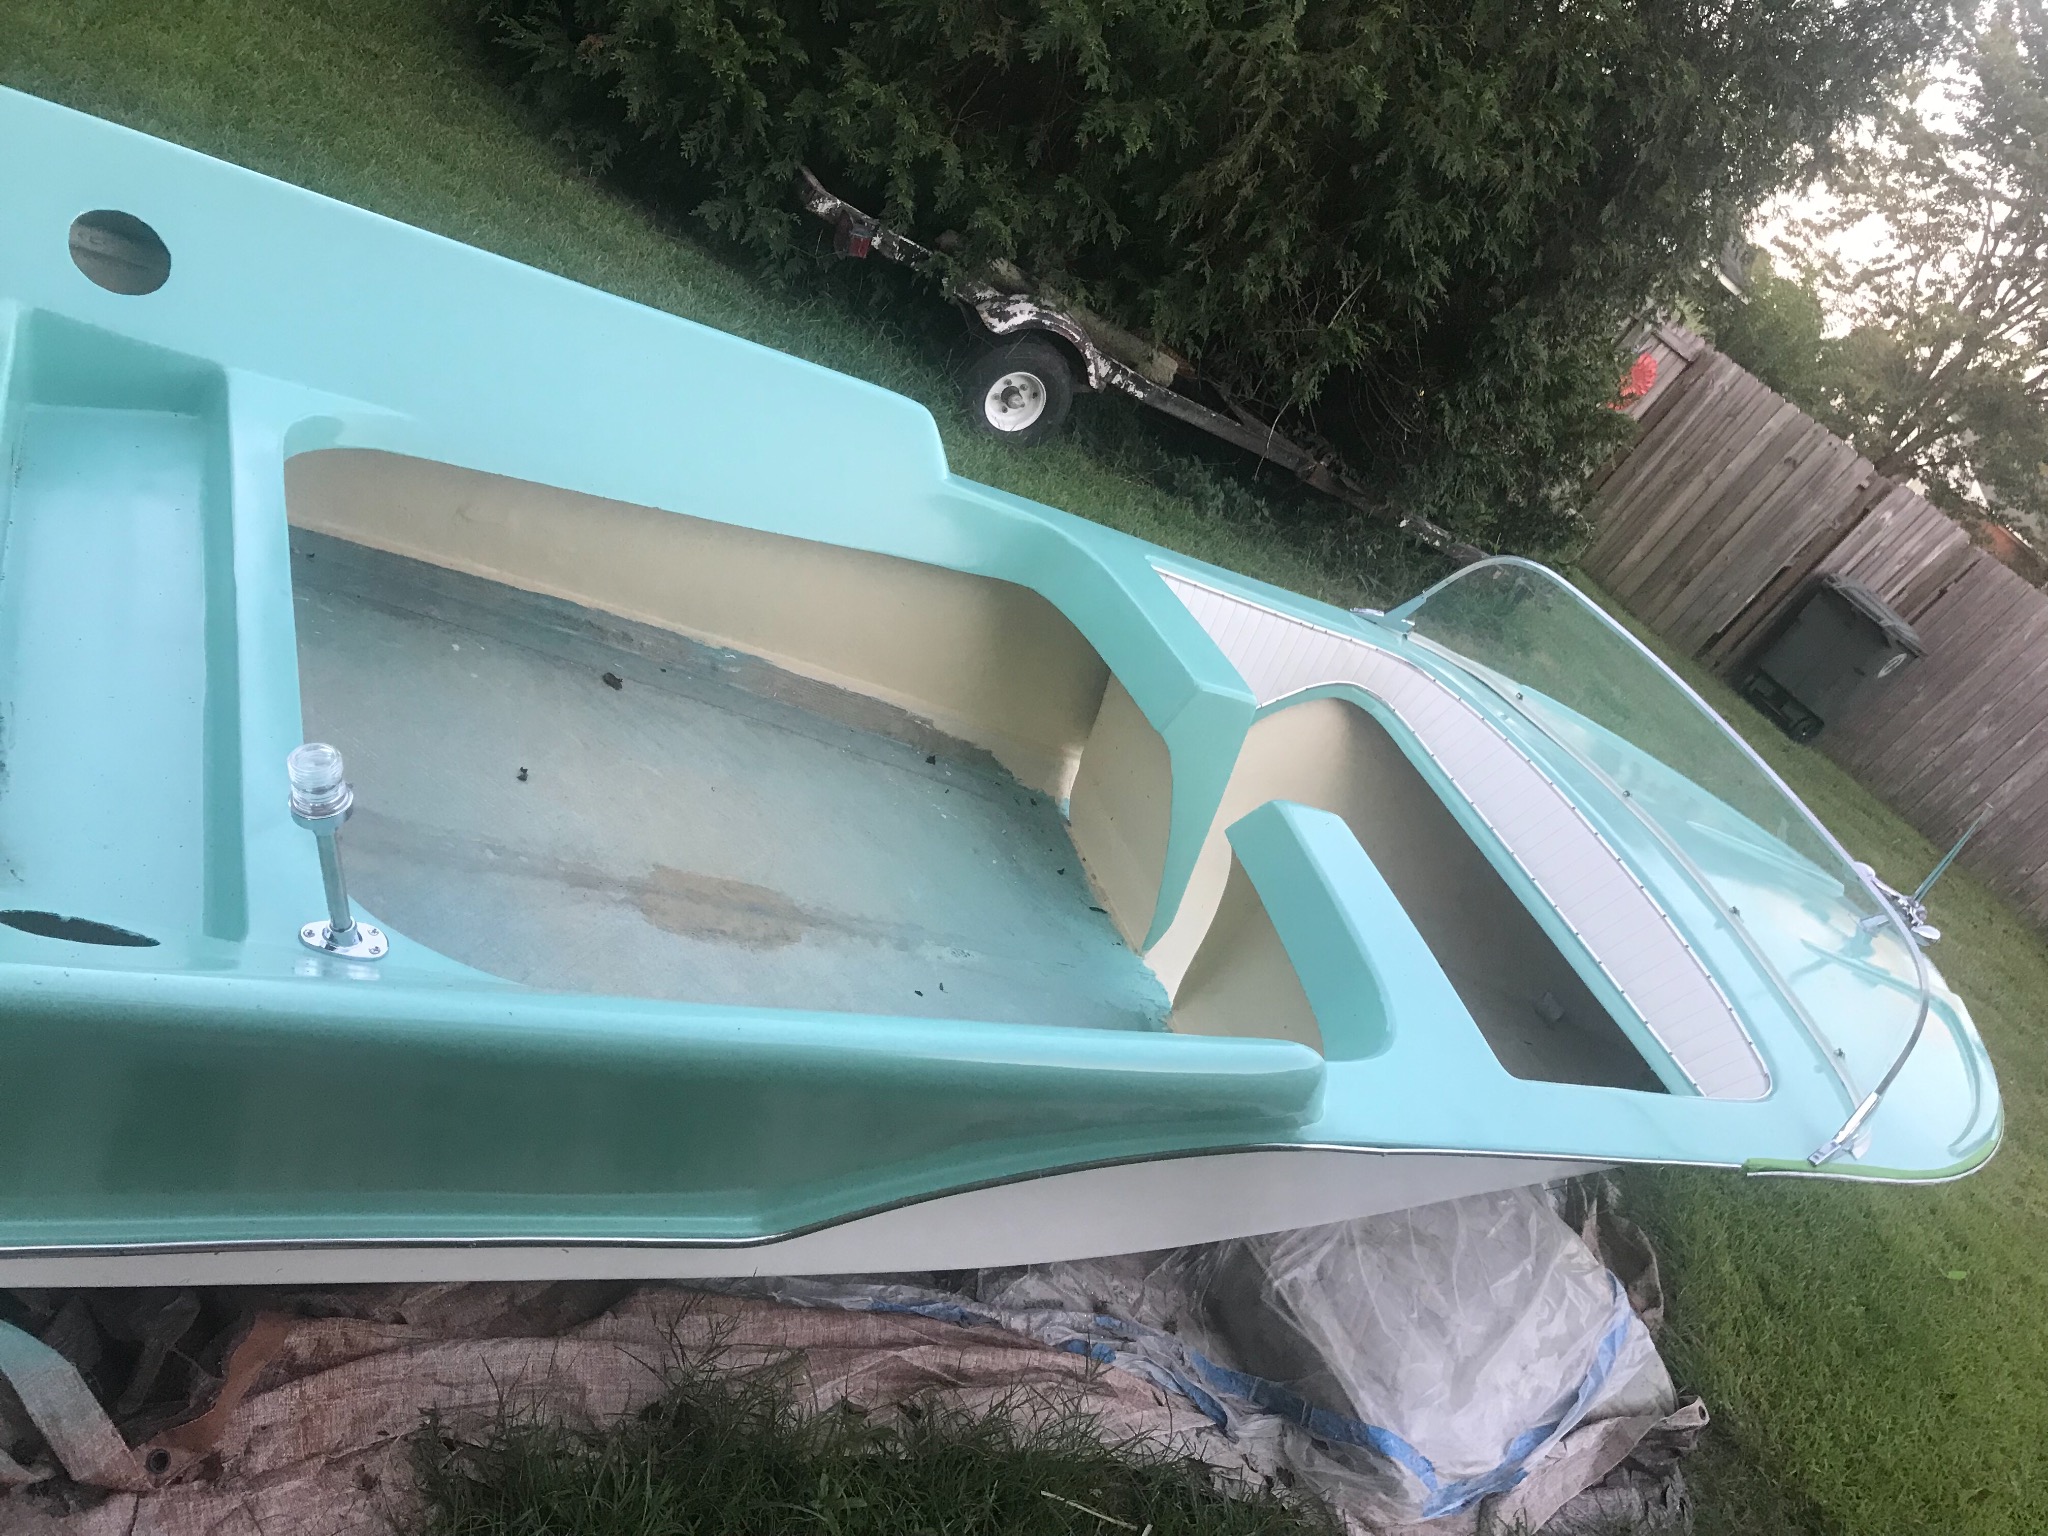
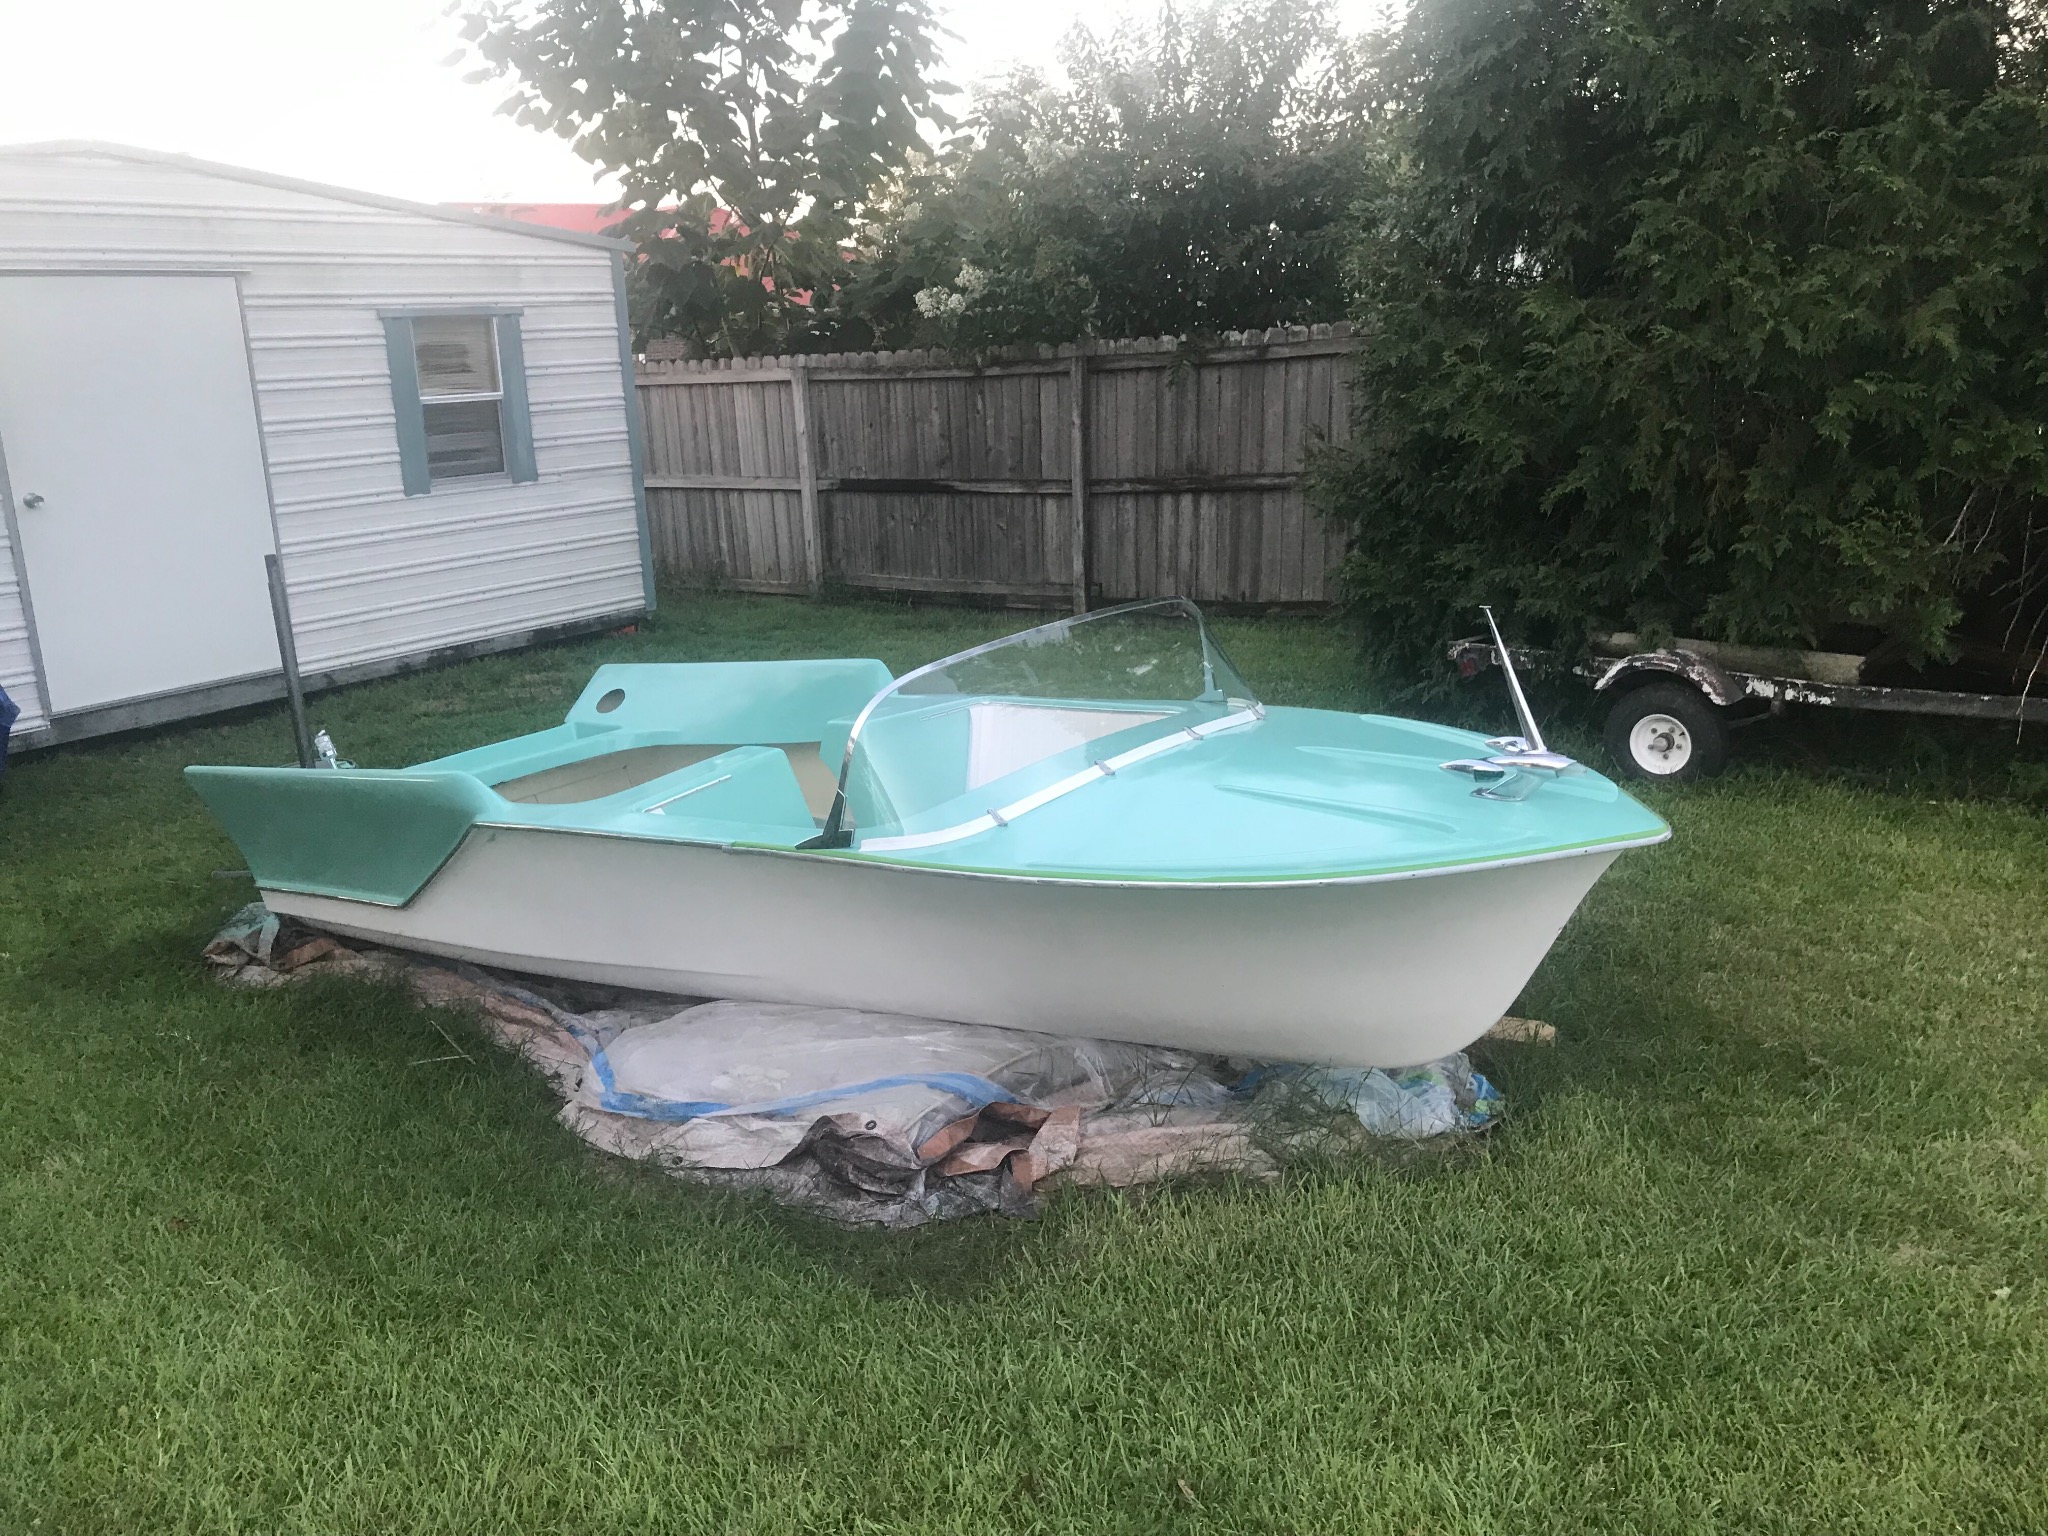
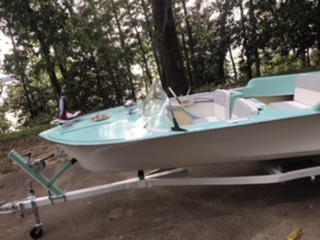
Moving along...finally got some color on my boat. Had mixed and painted two different colors which i wasnt happy with. Finally got a shade i like...sort of a seafoam green. Just added the aluminum trim to the dash along with the pleated fabric. Just need to trim the material. Had to hand bend each piece of aluminum which took several hours between cutting, fitting, attaching, detaching, and finally getting the material in place.

Im out of town for a few weeks so further progress is on hold for a bit....
Attachments:

Please Log in or Create an account to join the conversation.

Returning member...1960 Tomahawk restoration 5 years 4 months ago #140532

Looking great so far!!!!!!!!!!!!!!!

Bob

Please Log in or Create an account to join the conversation.

Returning member...1960 Tomahawk restoration 5 years 3 months ago #140859

  • STN19
  • STN19's Avatar
  • Offline
  • Junior Boarder
  • Junior Boarder
  • Posts: 84
  • Karma: 1
  • Thank you received: 4
all these tomahawks being build makes me want to find on now!! boat looks great love the pleated fabric on the dash

Please Log in or Create an account to join the conversation.

Returning member...1960 Tomahawk restoration 5 years 3 months ago #140893

Awesome color choice!!!!!! :)

Please Log in or Create an account to join the conversation.

Returning member...1960 Tomahawk restoration 5 years 3 months ago #140896

Thank you for the positive comments on the color choice! I decided early in that i wanted something that reminded me of a 1950s vintage automobile color.
I really like yours as well! Seems great minds think alike! I still have to build and cover the seats. Haven’t decided on an accent color yet for the vinyl but think im gonna go with a light gray along with the white i have on the dash.
Hope i can finish it all before i have to begin the restoration all over again due to taking so much time!
Attachments:

Please Log in or Create an account to join the conversation.

Returning member...1960 Tomahawk restoration 5 years 3 months ago #140898

  • Dr.Go!
  • Dr.Go!'s Avatar
  • Offline
  • Contributing Member
  • Contributing Member
  • Posts: 1719
  • Karma: 19
  • Thank you received: 125
All looks like great ideas and great results. Looking better than brand new. Bow light and dash accent really takes it another level.

Please Log in or Create an account to join the conversation.

Dr.Go!

Returning member...1960 Tomahawk restoration 5 years 3 months ago #140899

  • 63 Sabre
  • 63 Sabre's Avatar
  • Offline
  • Contributing Member
  • Contributing Member
  • Posts: 4676
  • Karma: 147
  • Thank you received: 167
Really looks great. For reference I did use a gray accent color on the seats and trim. The seats were upholstered with white and gray marine vinyl over 2" marine grade foam I picked up online. comes in rolls 24" wide. Also ordered a 50' roll of chrome trim that would fit the 1/4" width of the interior glass. I ordered that from one of the local auto supply stores from a company called Trimco (online). That chrome trim is actually a plastic with an adhesive inside. With a little heat it conforms to all the contours.
Attachments:

Please Log in or Create an account to join the conversation.

Returning member...1960 Tomahawk restoration 5 years 3 months ago #140901

Love the grey! Funny, i thought you had posted a couple of black and white pictures until i zoomed in and saw the books in the racks on the back of the front seats.
Ive really been all over the map on trying to choose an accent color to go with the seafoam. I hand mixed the colors using Rustoleum white, blue, and green and really like the result however in trying to find a matching vinyl color, none of the teal/seafoam/greens samples Ive ordered matched very well. I found a light grey which isnt a gard contrast with the chalk white, but i think itll go well overall.

In hindsight, i wish i had chosen the fabric color first, and then mixed the paint to match. Lesson learned.

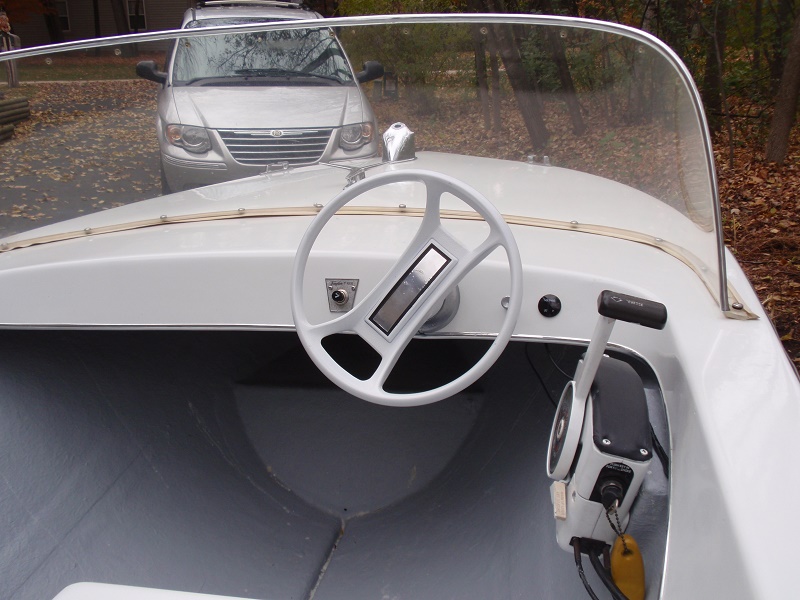
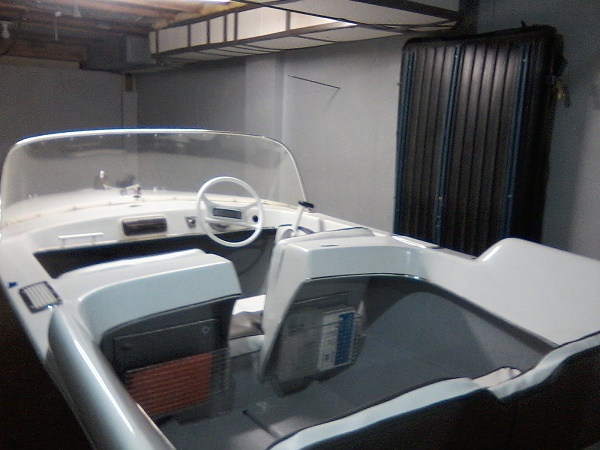
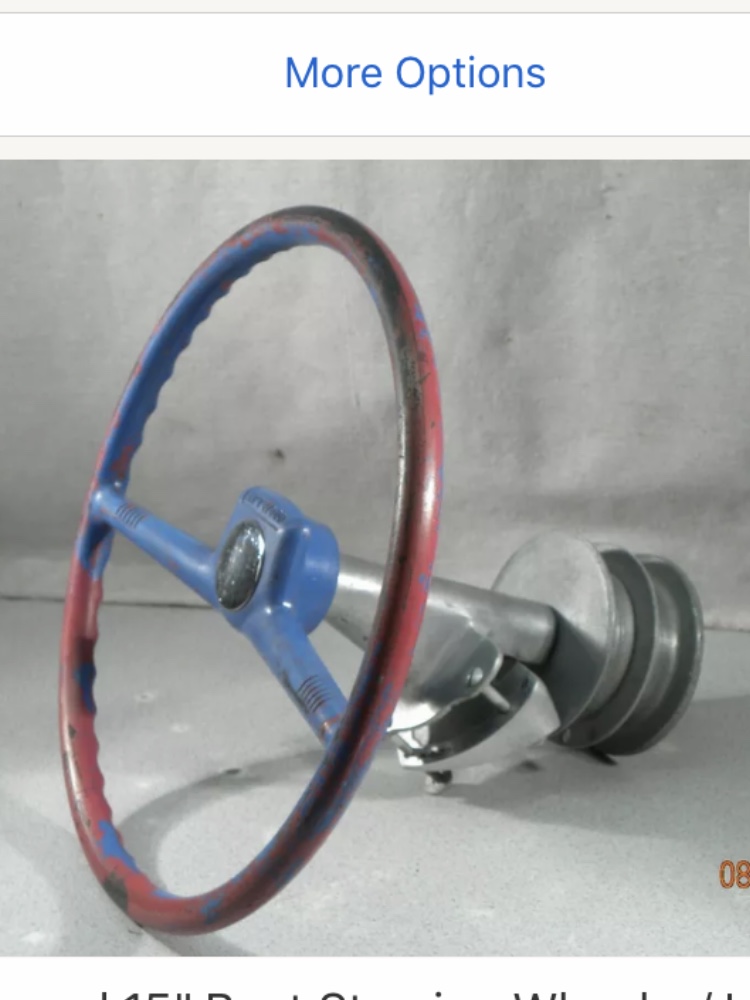
Also found out that the steering wheel i have will sit too far off the dash for comfort. The spokes on the wheel are at a steep angle which brings the wheel out close to my chest...currently waiting on one i just ordered off of ebay which i hope will do the trick.

Picture attached...
Attachments:

Please Log in or Create an account to join the conversation.

Returning member...1960 Tomahawk restoration 5 years 3 months ago #141003

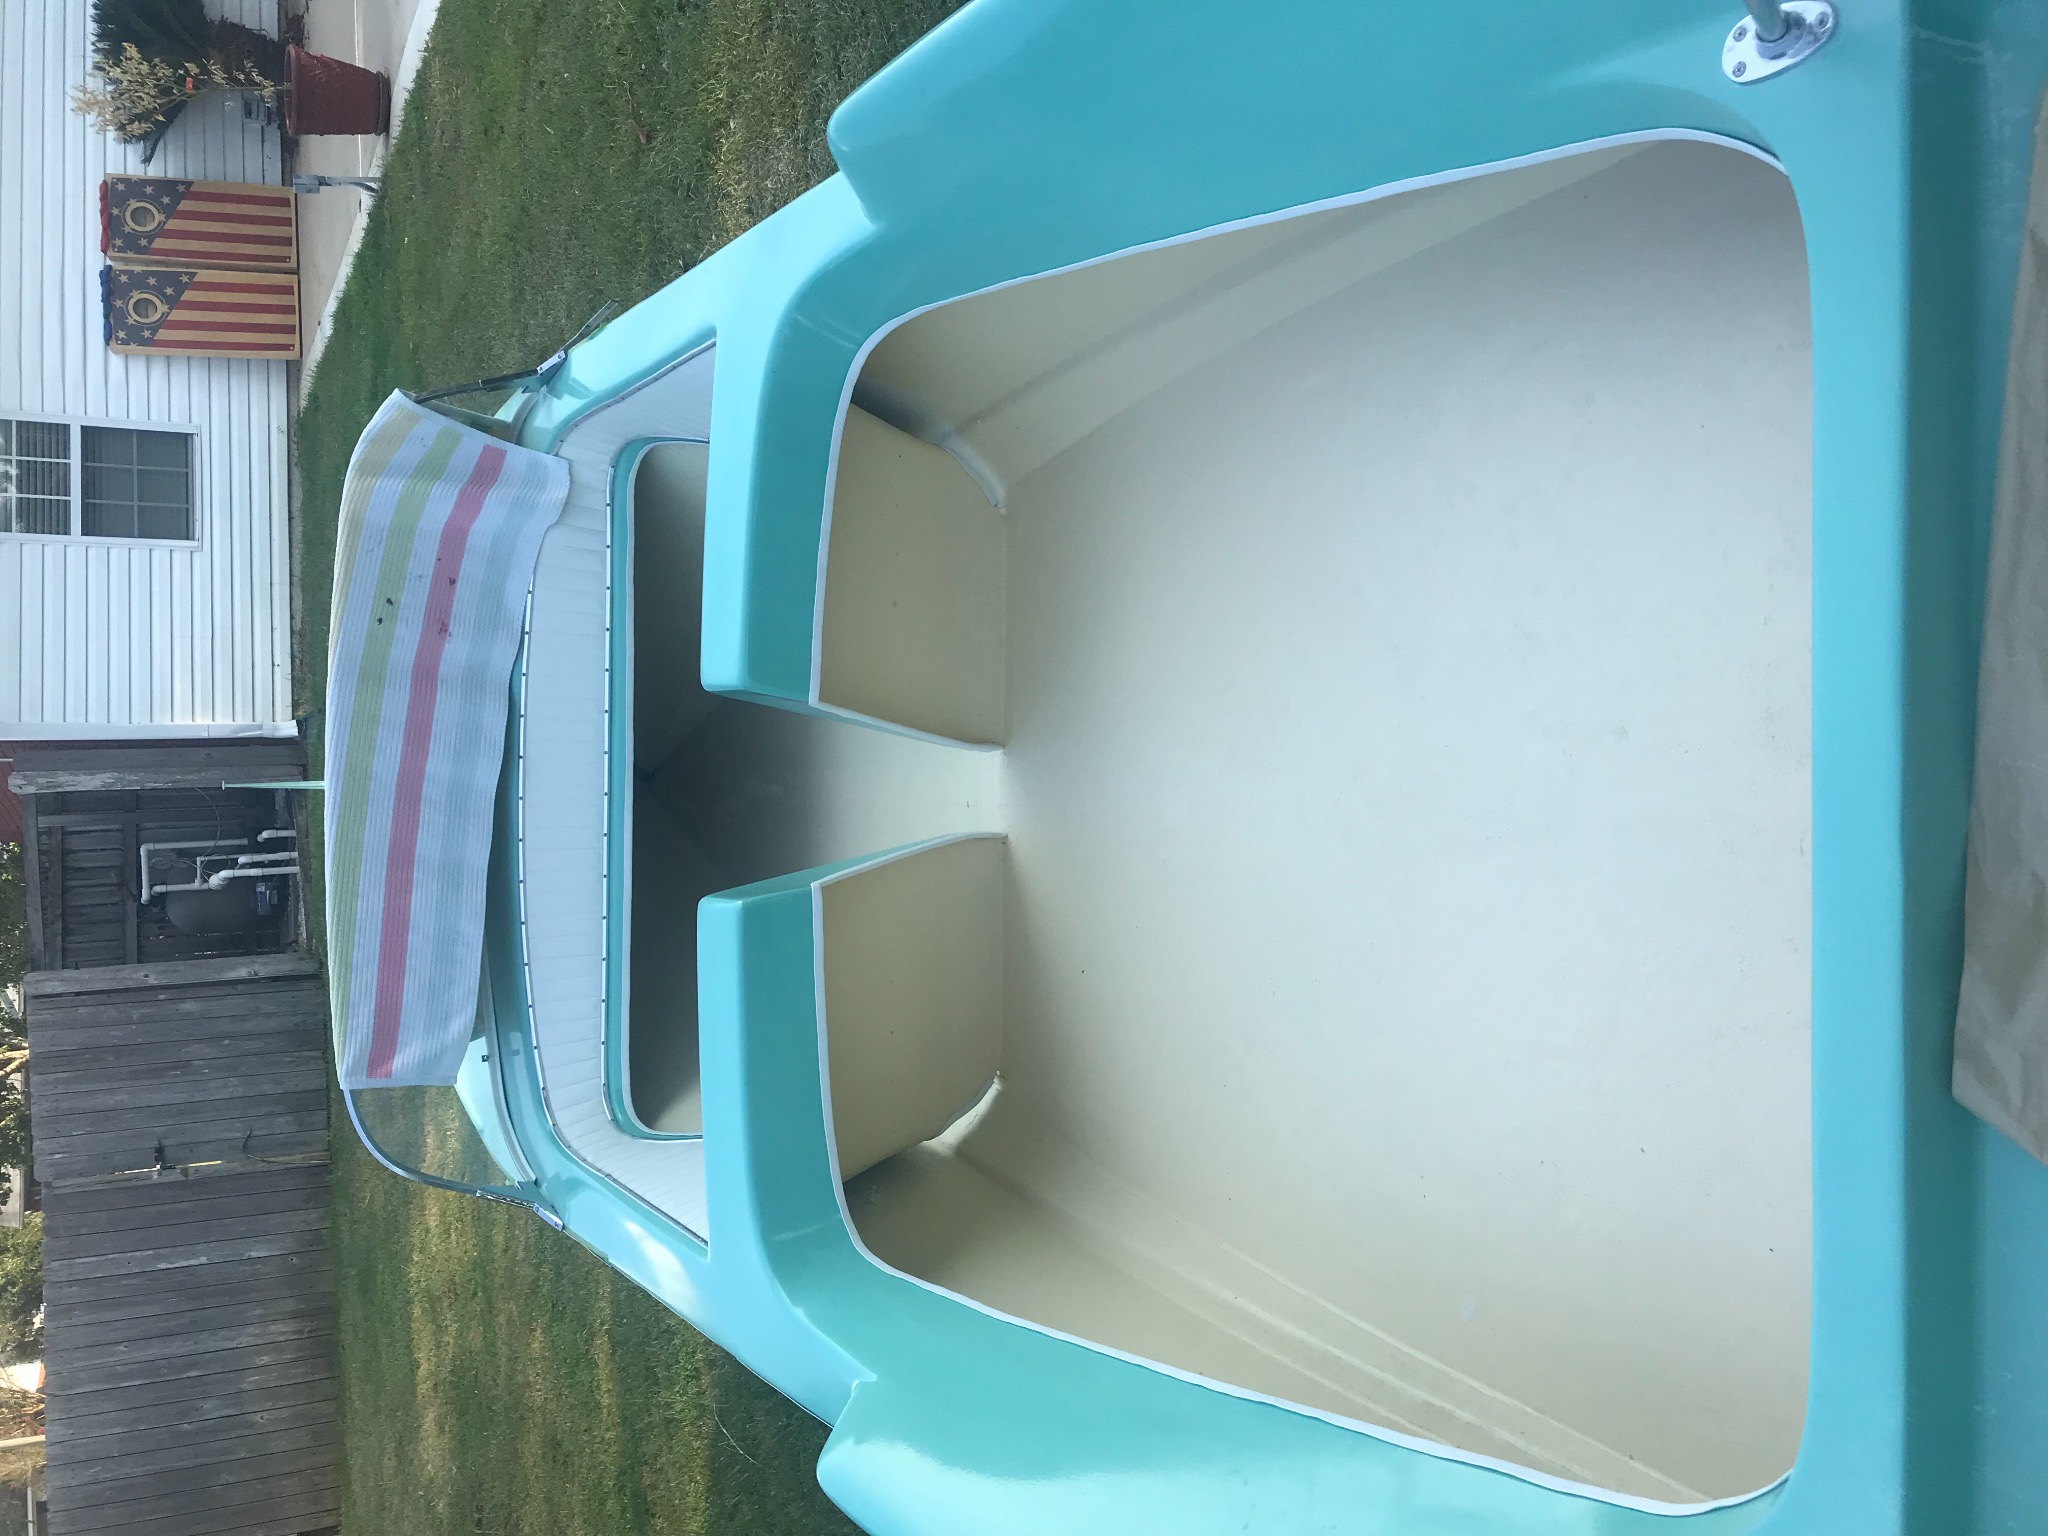
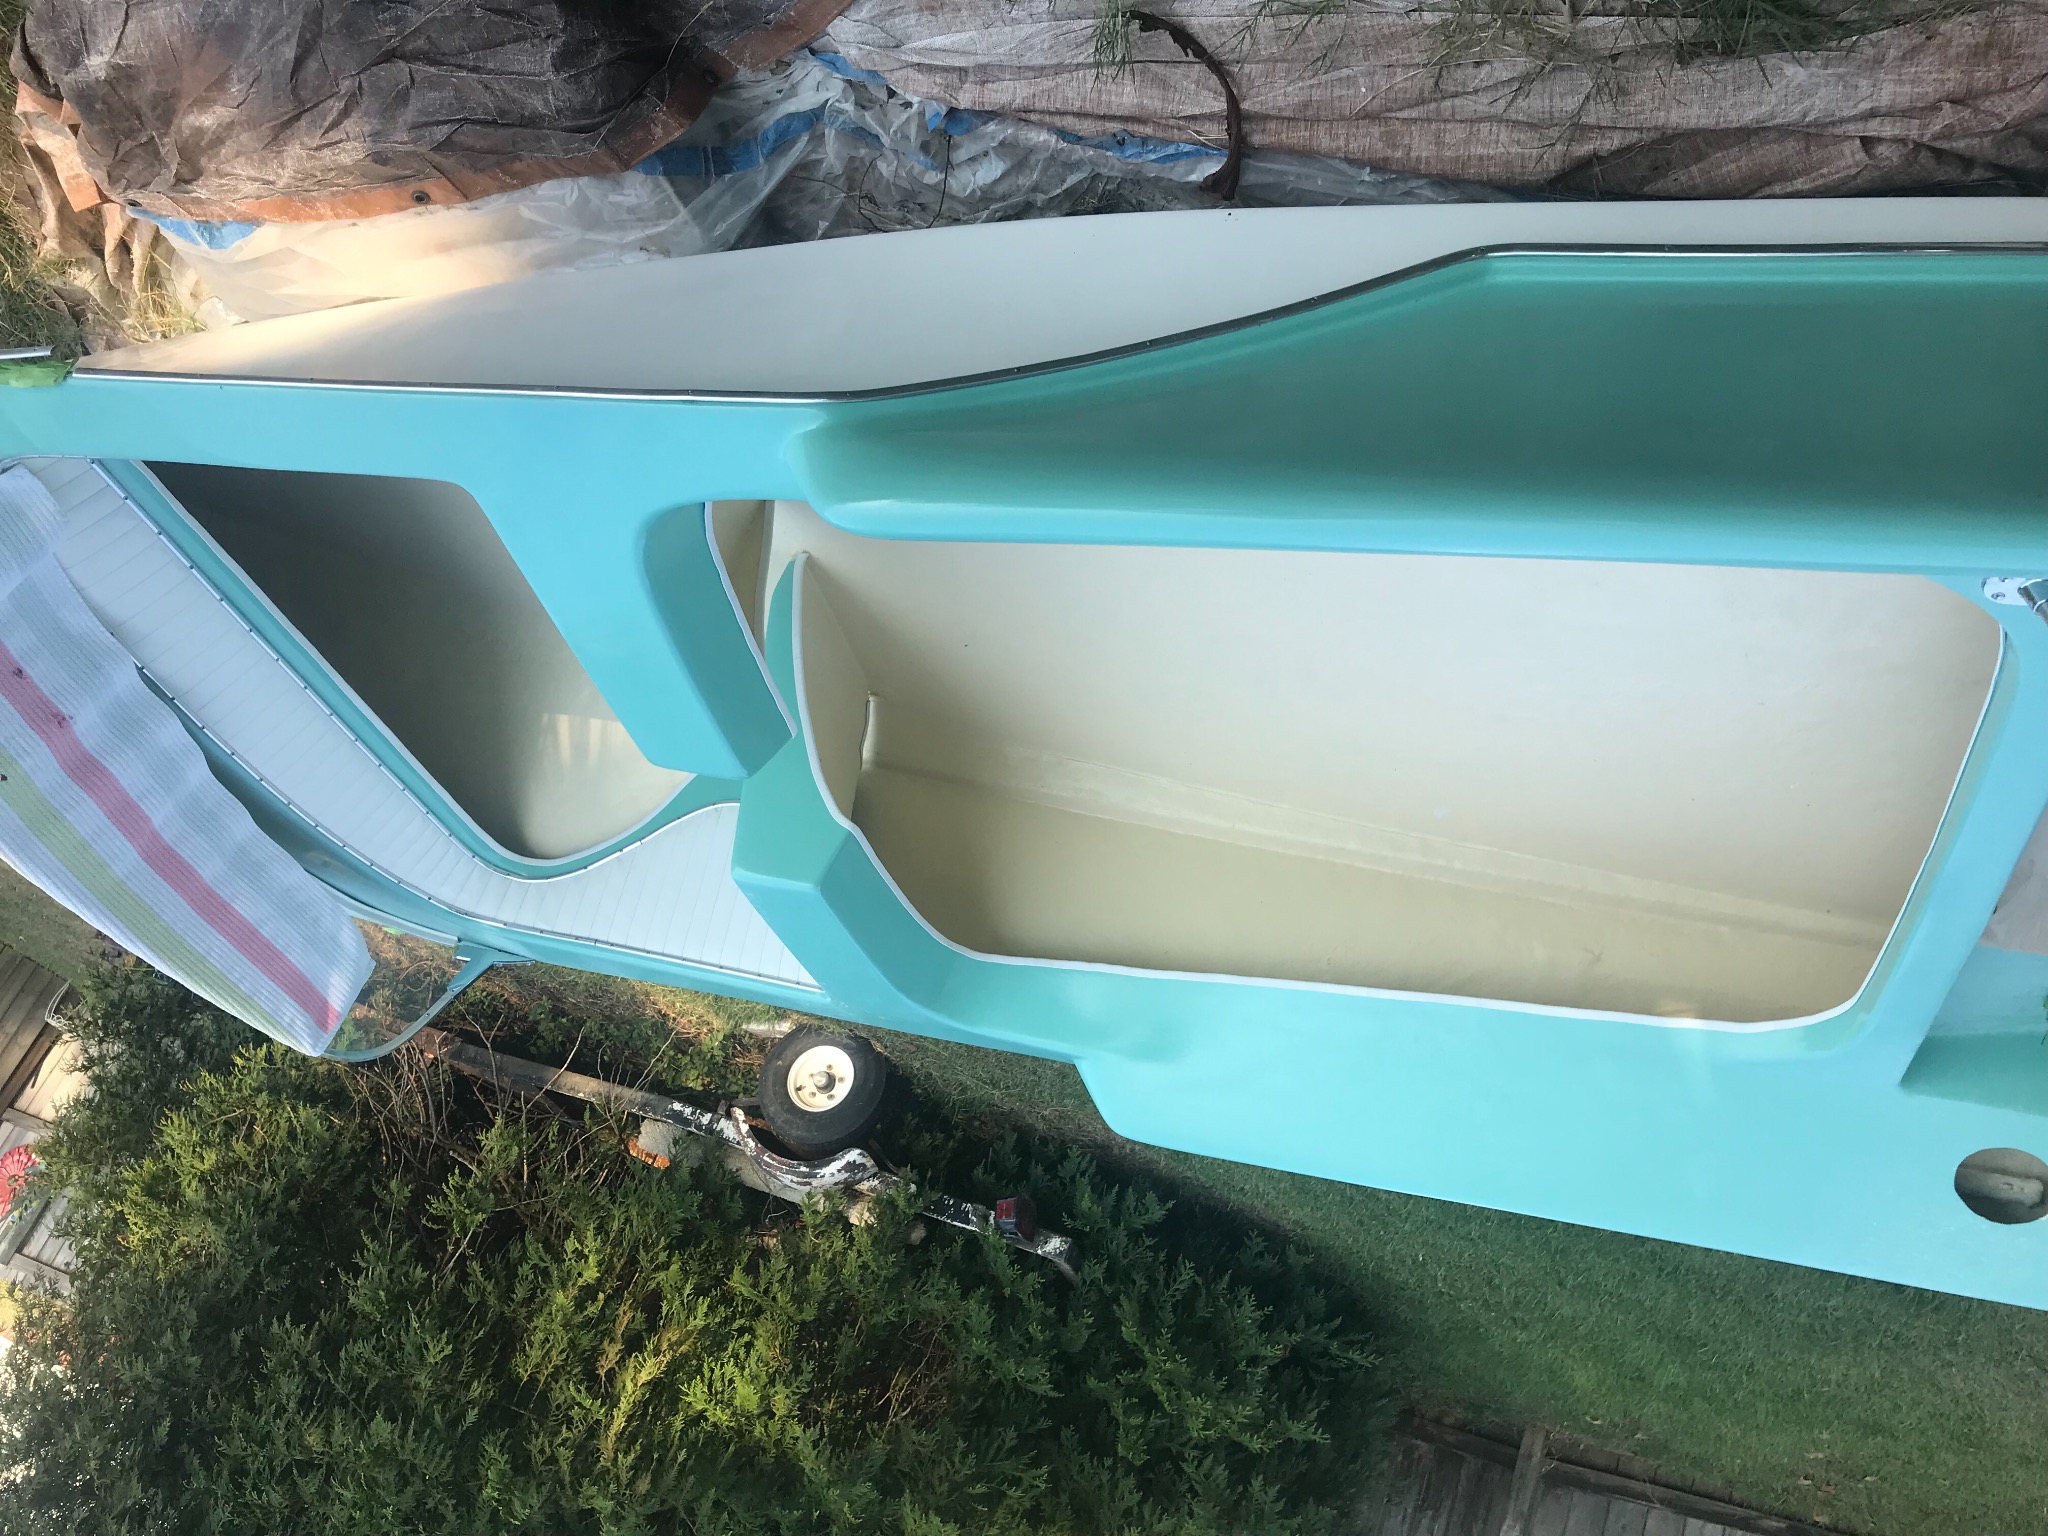
Finally finished the floor and added edge guard around all the exposed edges. I had to purchase a 250’ roll so if anyone out there is looking for some, let me know?

Please Log in or Create an account to join the conversation.

Returning member...1960 Tomahawk restoration 5 years 3 months ago #141004

Attachments:

Please Log in or Create an account to join the conversation.

Returning member...1960 Tomahawk restoration 5 years 3 months ago #141006

Excellent!!!!!!!!!!!!!!!!!!!!!!!!!

Bob

Please Log in or Create an account to join the conversation.

Returning member...1960 Tomahawk restoration 5 years 3 months ago #141010

  • 63 Sabre
  • 63 Sabre's Avatar
  • Offline
  • Contributing Member
  • Contributing Member
  • Posts: 4676
  • Karma: 147
  • Thank you received: 167
Looks like brand new! Never looked that good coming from the factory.

Please Log in or Create an account to join the conversation.

Returning member...1960 Tomahawk restoration 5 years 3 months ago #141011

Did you reuse the original rub rail? Im finding it difficult to locate a replacement for my spirit.

Please Log in or Create an account to join the conversation.

Returning member...1960 Tomahawk restoration 5 years 3 months ago #141013

Hi Cyco,

Yes I was fortunate to have the original rub still on the boat when i bought it. It was in pretty rough shape, had paint on it and some dings/scrapes here and there but after sanding with progressively finer sand paper, i was finally able to get it to the point where it shined up very well. I started with 100 grit and ended with wet sanding with 1000 before applying some metal polish.

There was a suggestion posted in your blog about looking into automobile trim. Have you looked up into that? Somewhere I read about a plastic stick on trim which may work if you cant find aluminum. You may know this but the original rub rail is in three pieces...the two rear pieces begin at the transom and make the two bends in the boat profile, then terminate right below where the driver and passenger sit respectively. The nose piece begins and ends at that point and wraps all the way around the bow. The nose piece is a fairly lobg run and is a bit flimsy/unwieldy when not installed. That may be the most difficult to reproduce because if it was a straight piece it would be about 12-14 feet long.

The good news is, if you can find some straight stock, it’s fairly easy to bend into the shape you want. Thats what i did with the trim in the cockpit around the dash and sides. I found a bundle of aluminum trim on ebay a few years ago but none of the pieces were over 6 foot in length.

Please Log in or Create an account to join the conversation.

Returning member...1960 Tomahawk restoration 5 years 3 months ago #141014

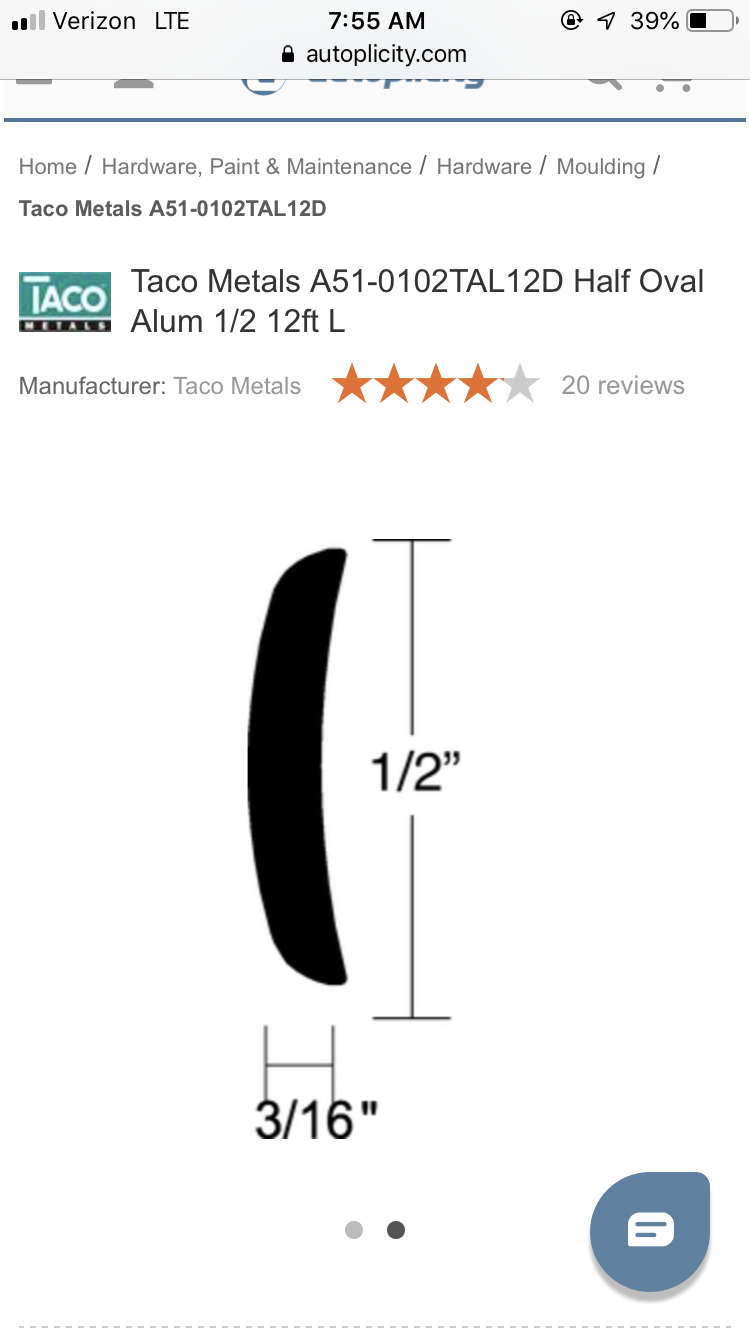
This might work? I found this doing a quick google search for aluminum rub rail...look for TACO metals...they have 1/2” x12’ available. Perhaps you can get a sample? Youll have to drill and counter sink the holes but thats a small inconvenience

Let me know what you think?
Attachments:

Please Log in or Create an account to join the conversation.

Returning member...1960 Tomahawk restoration 5 years 3 months ago #141015


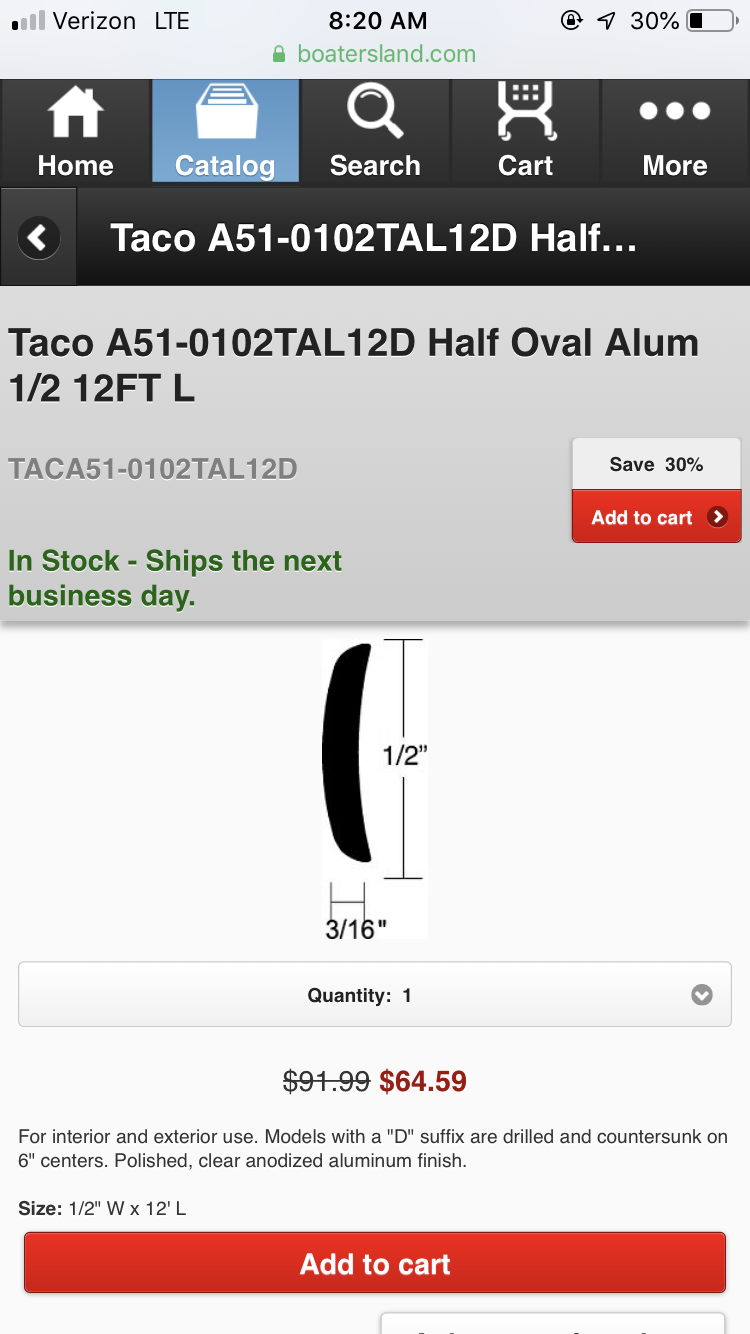
Heres another web site but it looks like they are selling the same thing for a little more $$$. The description says it is predrilled and countersunk on 12” centers...since they are both coming from the same source, im sure the first suggestion i posted above would be the same...
Attachments:

Please Log in or Create an account to join the conversation.

Returning member...1960 Tomahawk restoration 5 years 3 months ago #141016

...i meant to say “drilled and countersunk on 6” centers”

Please Log in or Create an account to join the conversation.

Returning member...1960 Tomahawk restoration 5 years 2 months ago #141144

Dies anyone know of a lead on a 90degree helm? I have a helm but its a 20 degree and id rather not use it.

Any help would be appreciated......

Thanks, tom

Please Log in or Create an account to join the conversation.

Returning member...1960 Tomahawk restoration 5 years 1 month ago #141434

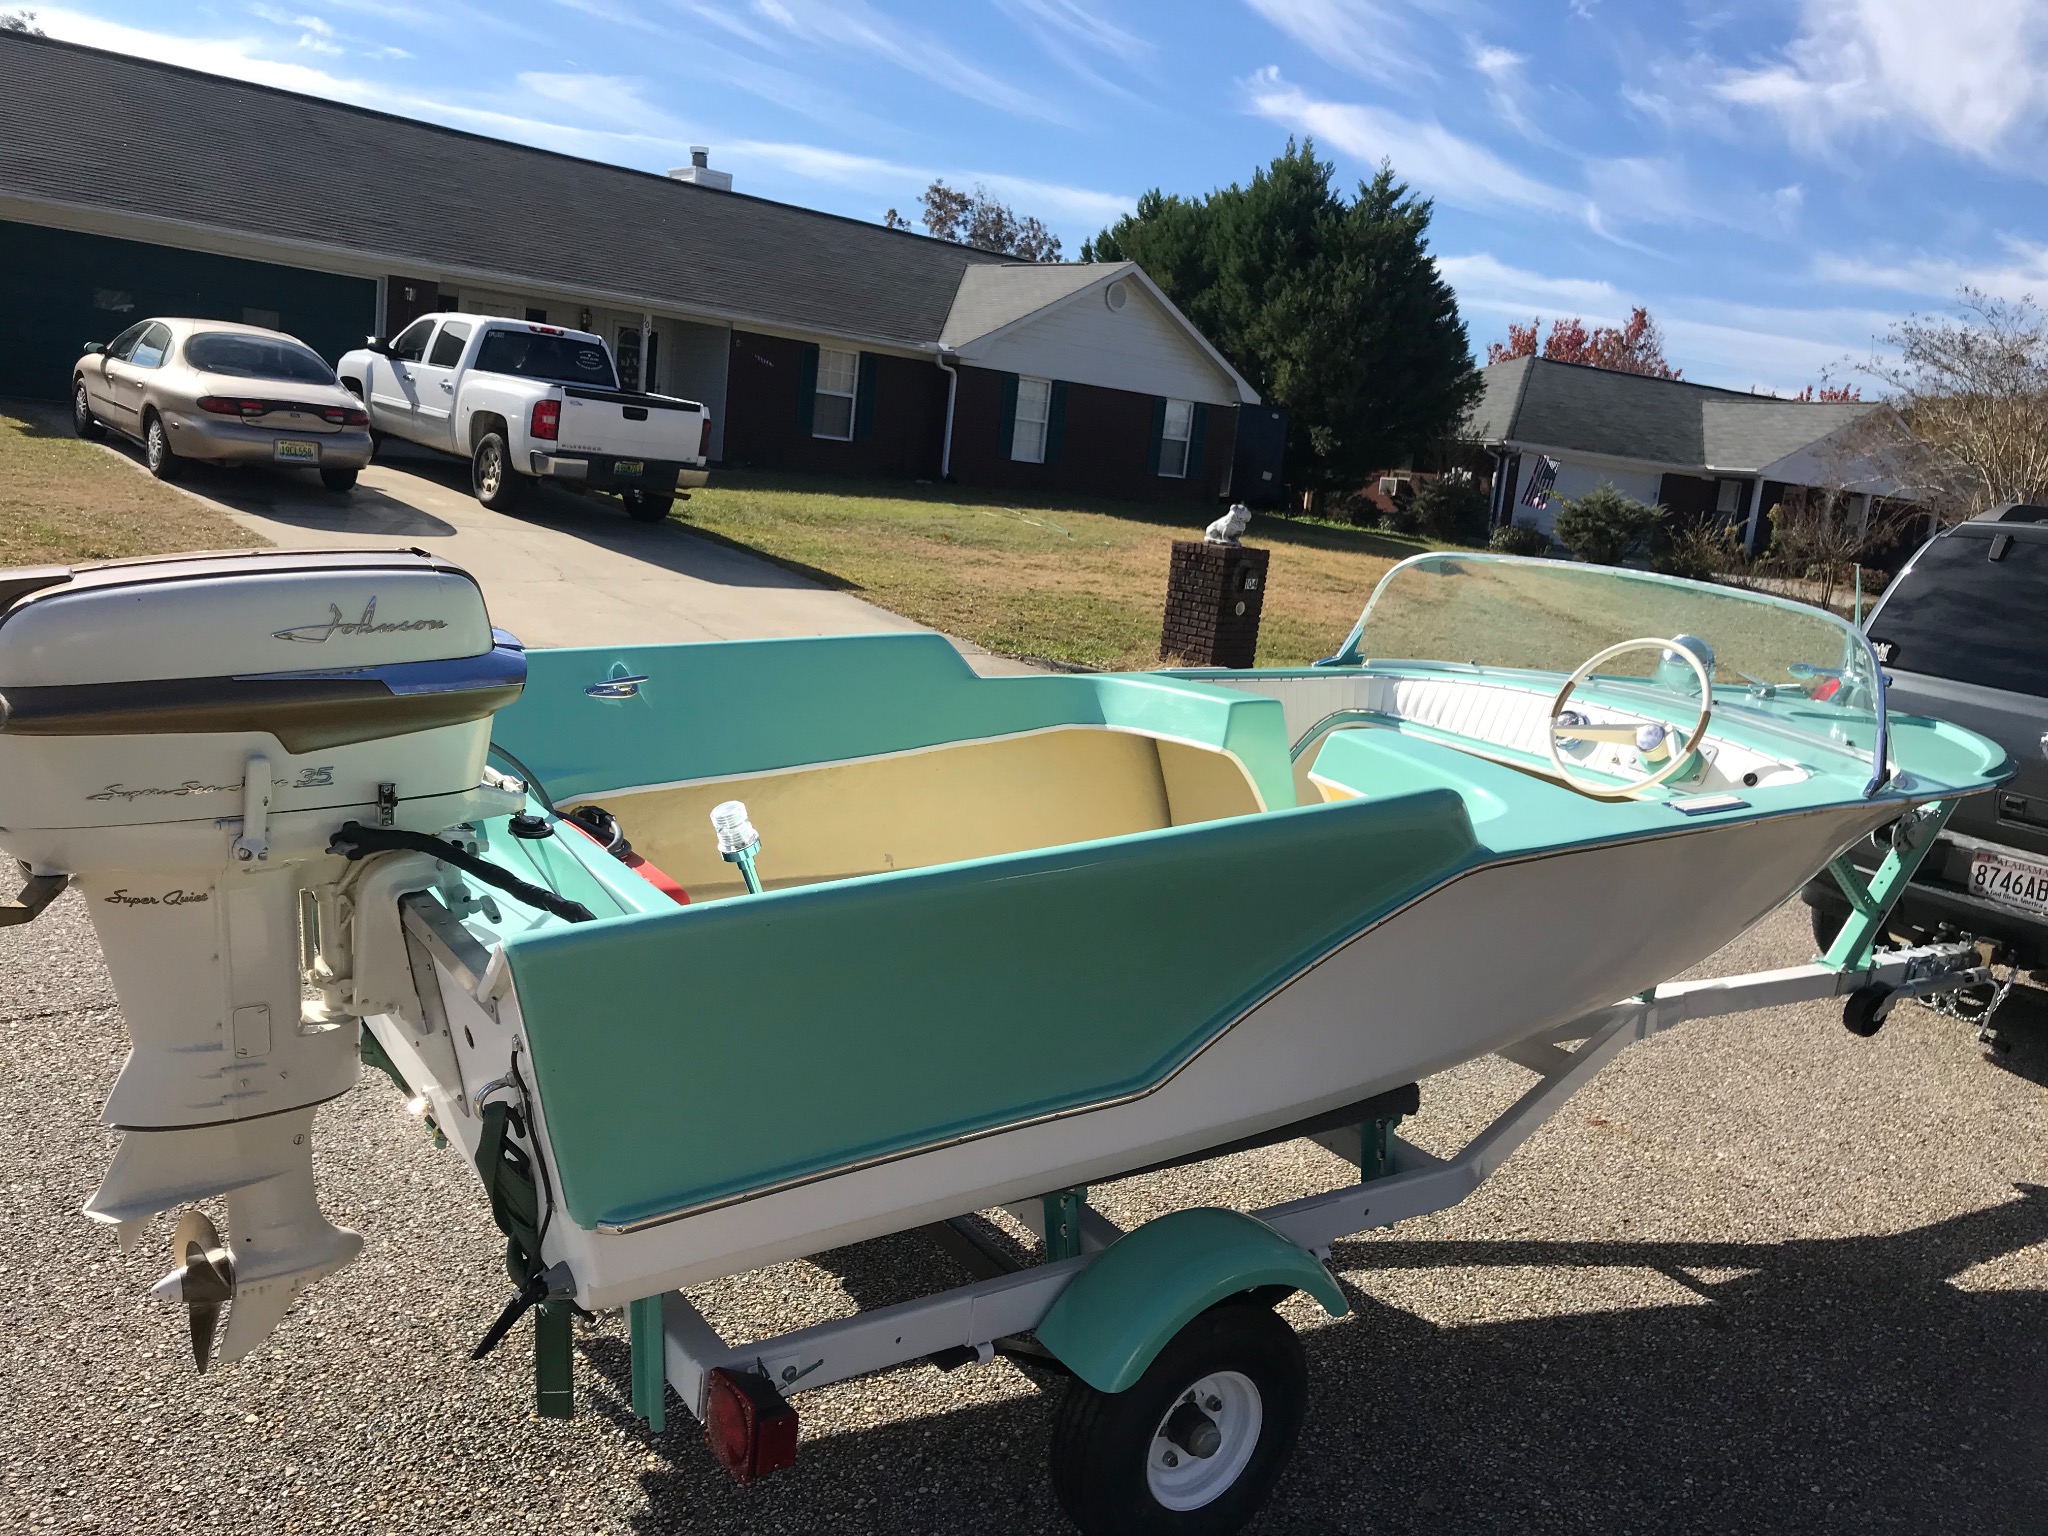
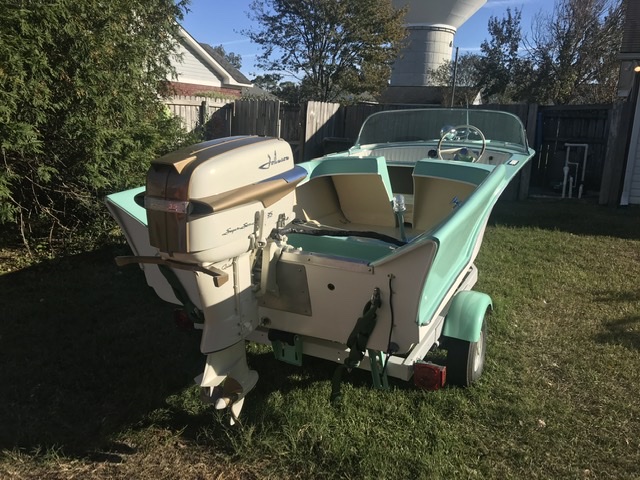
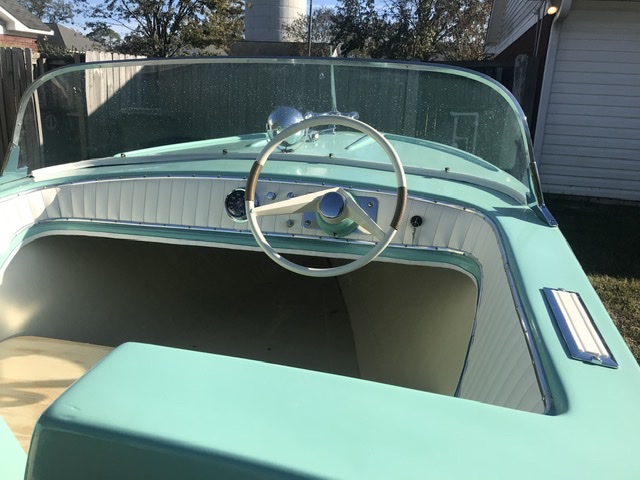
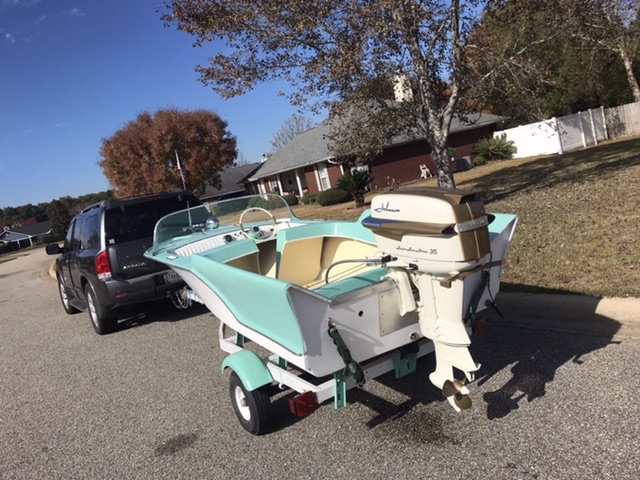
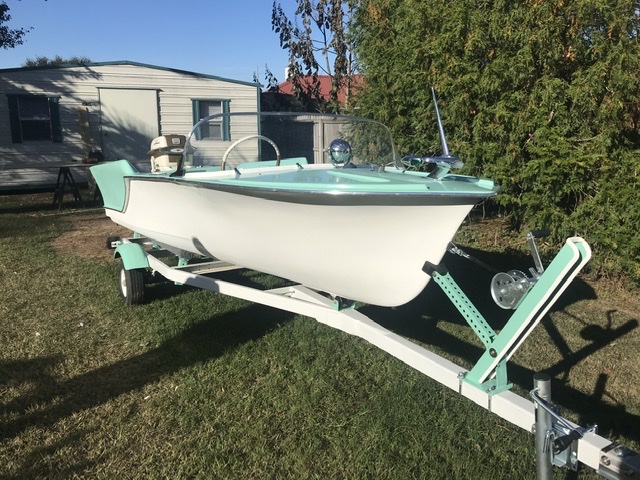
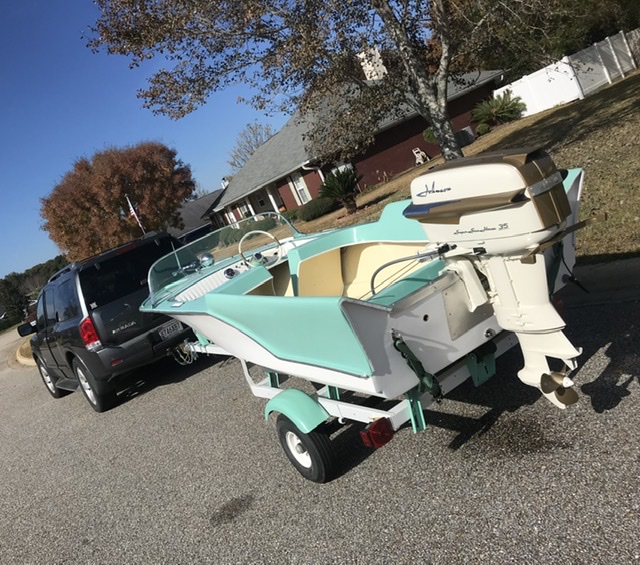
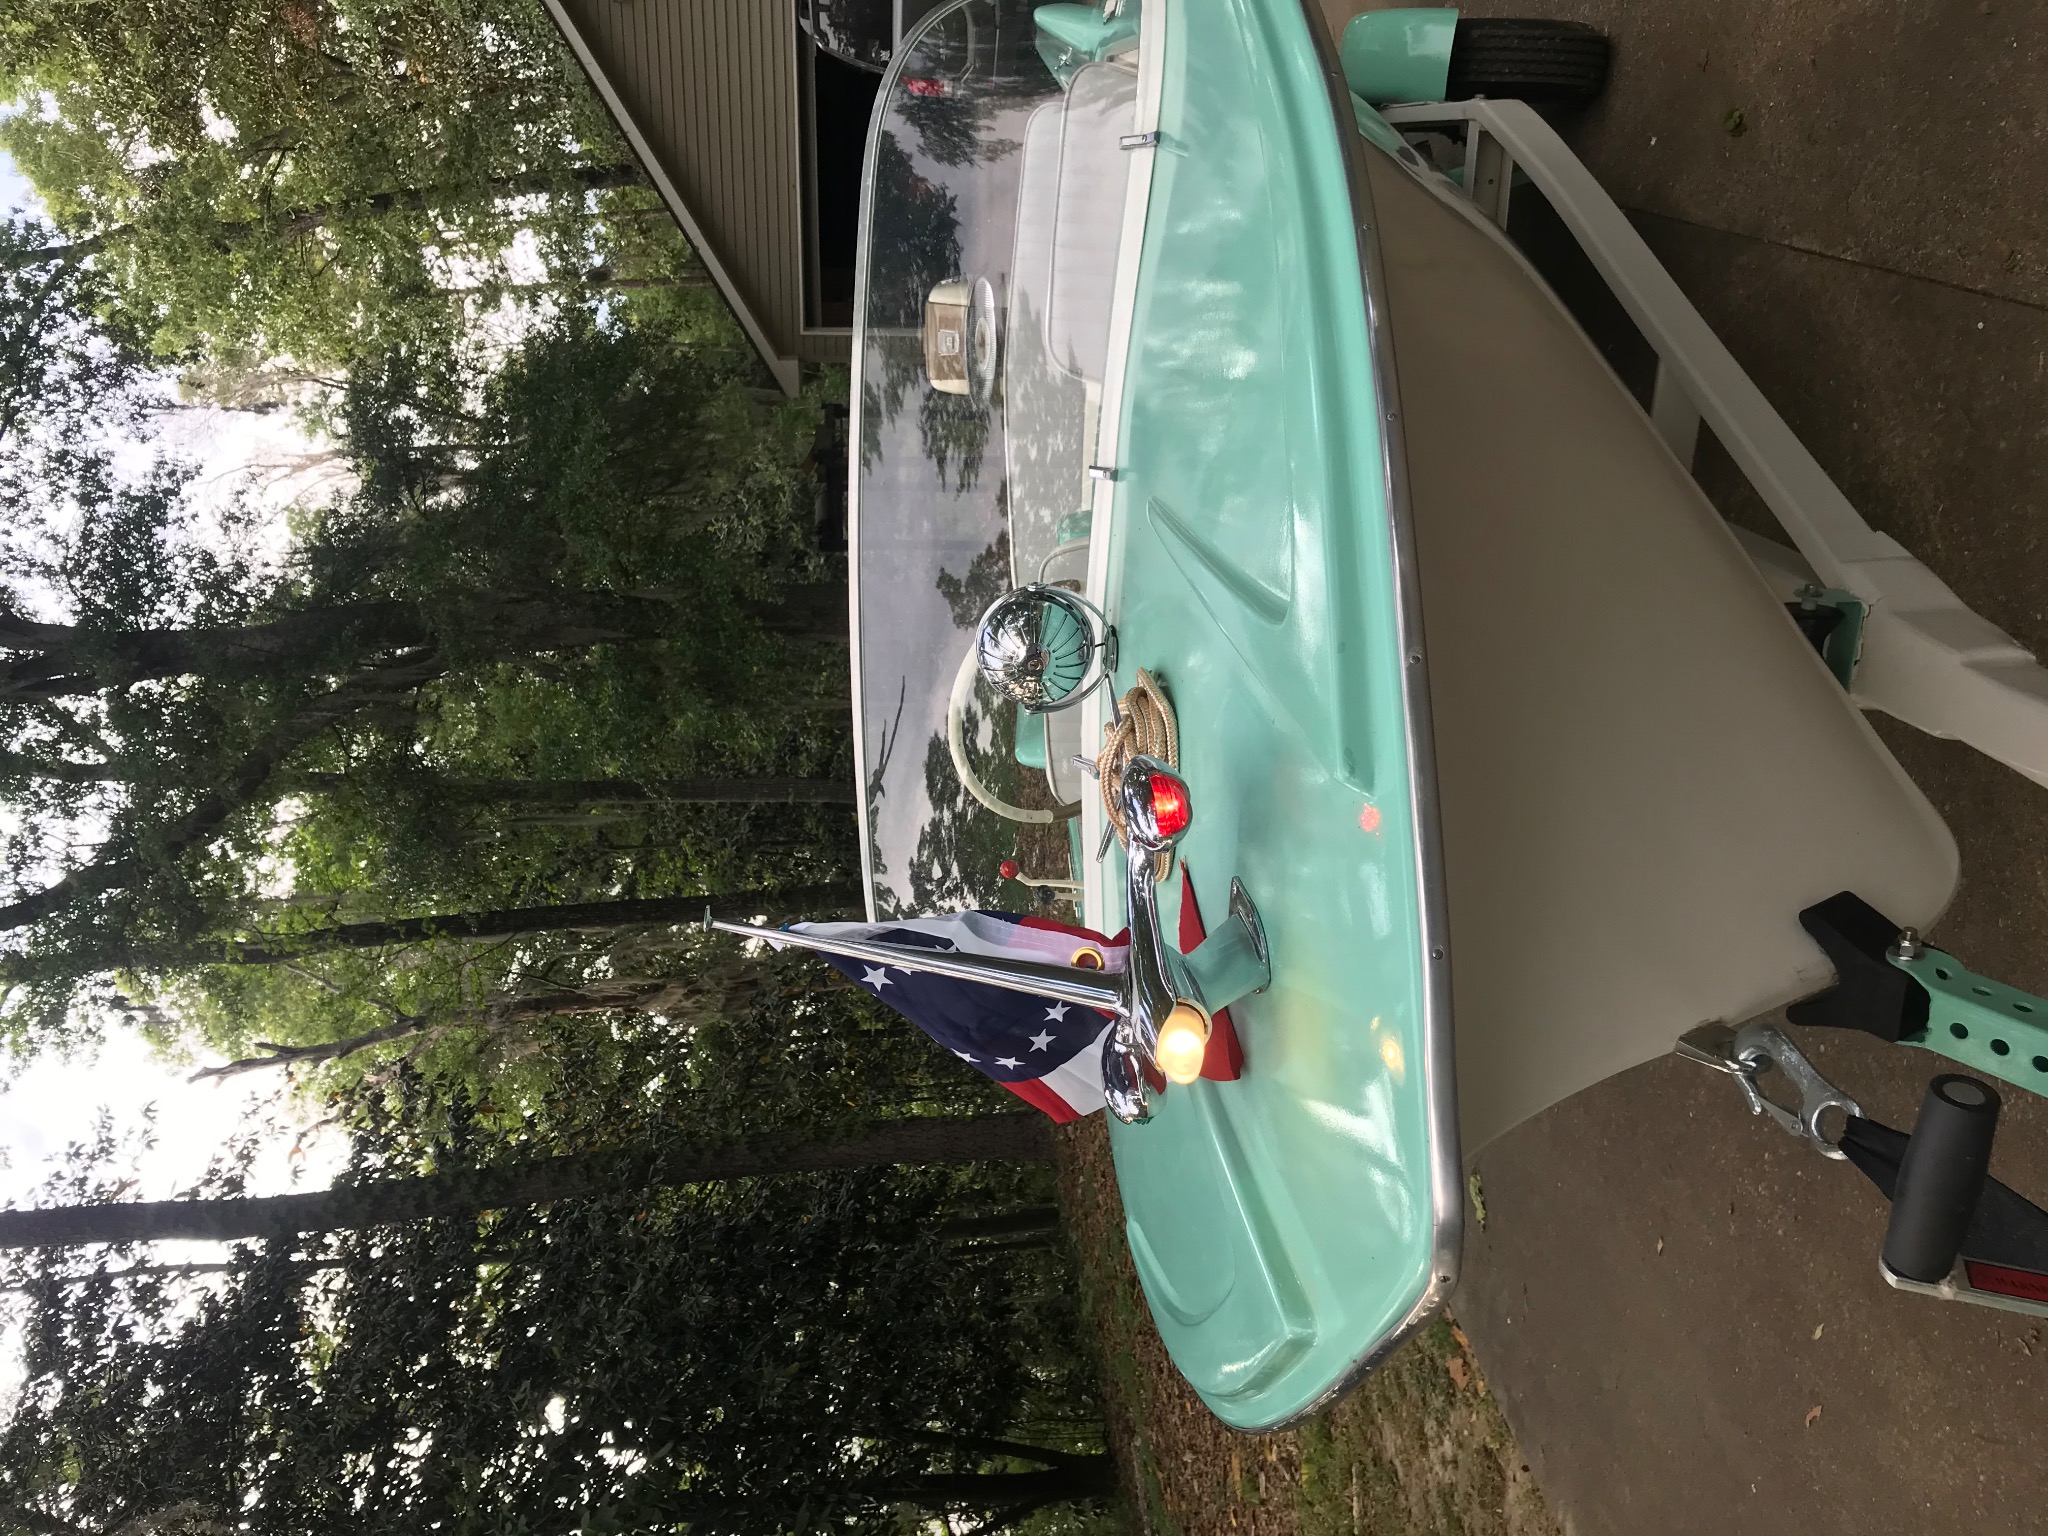
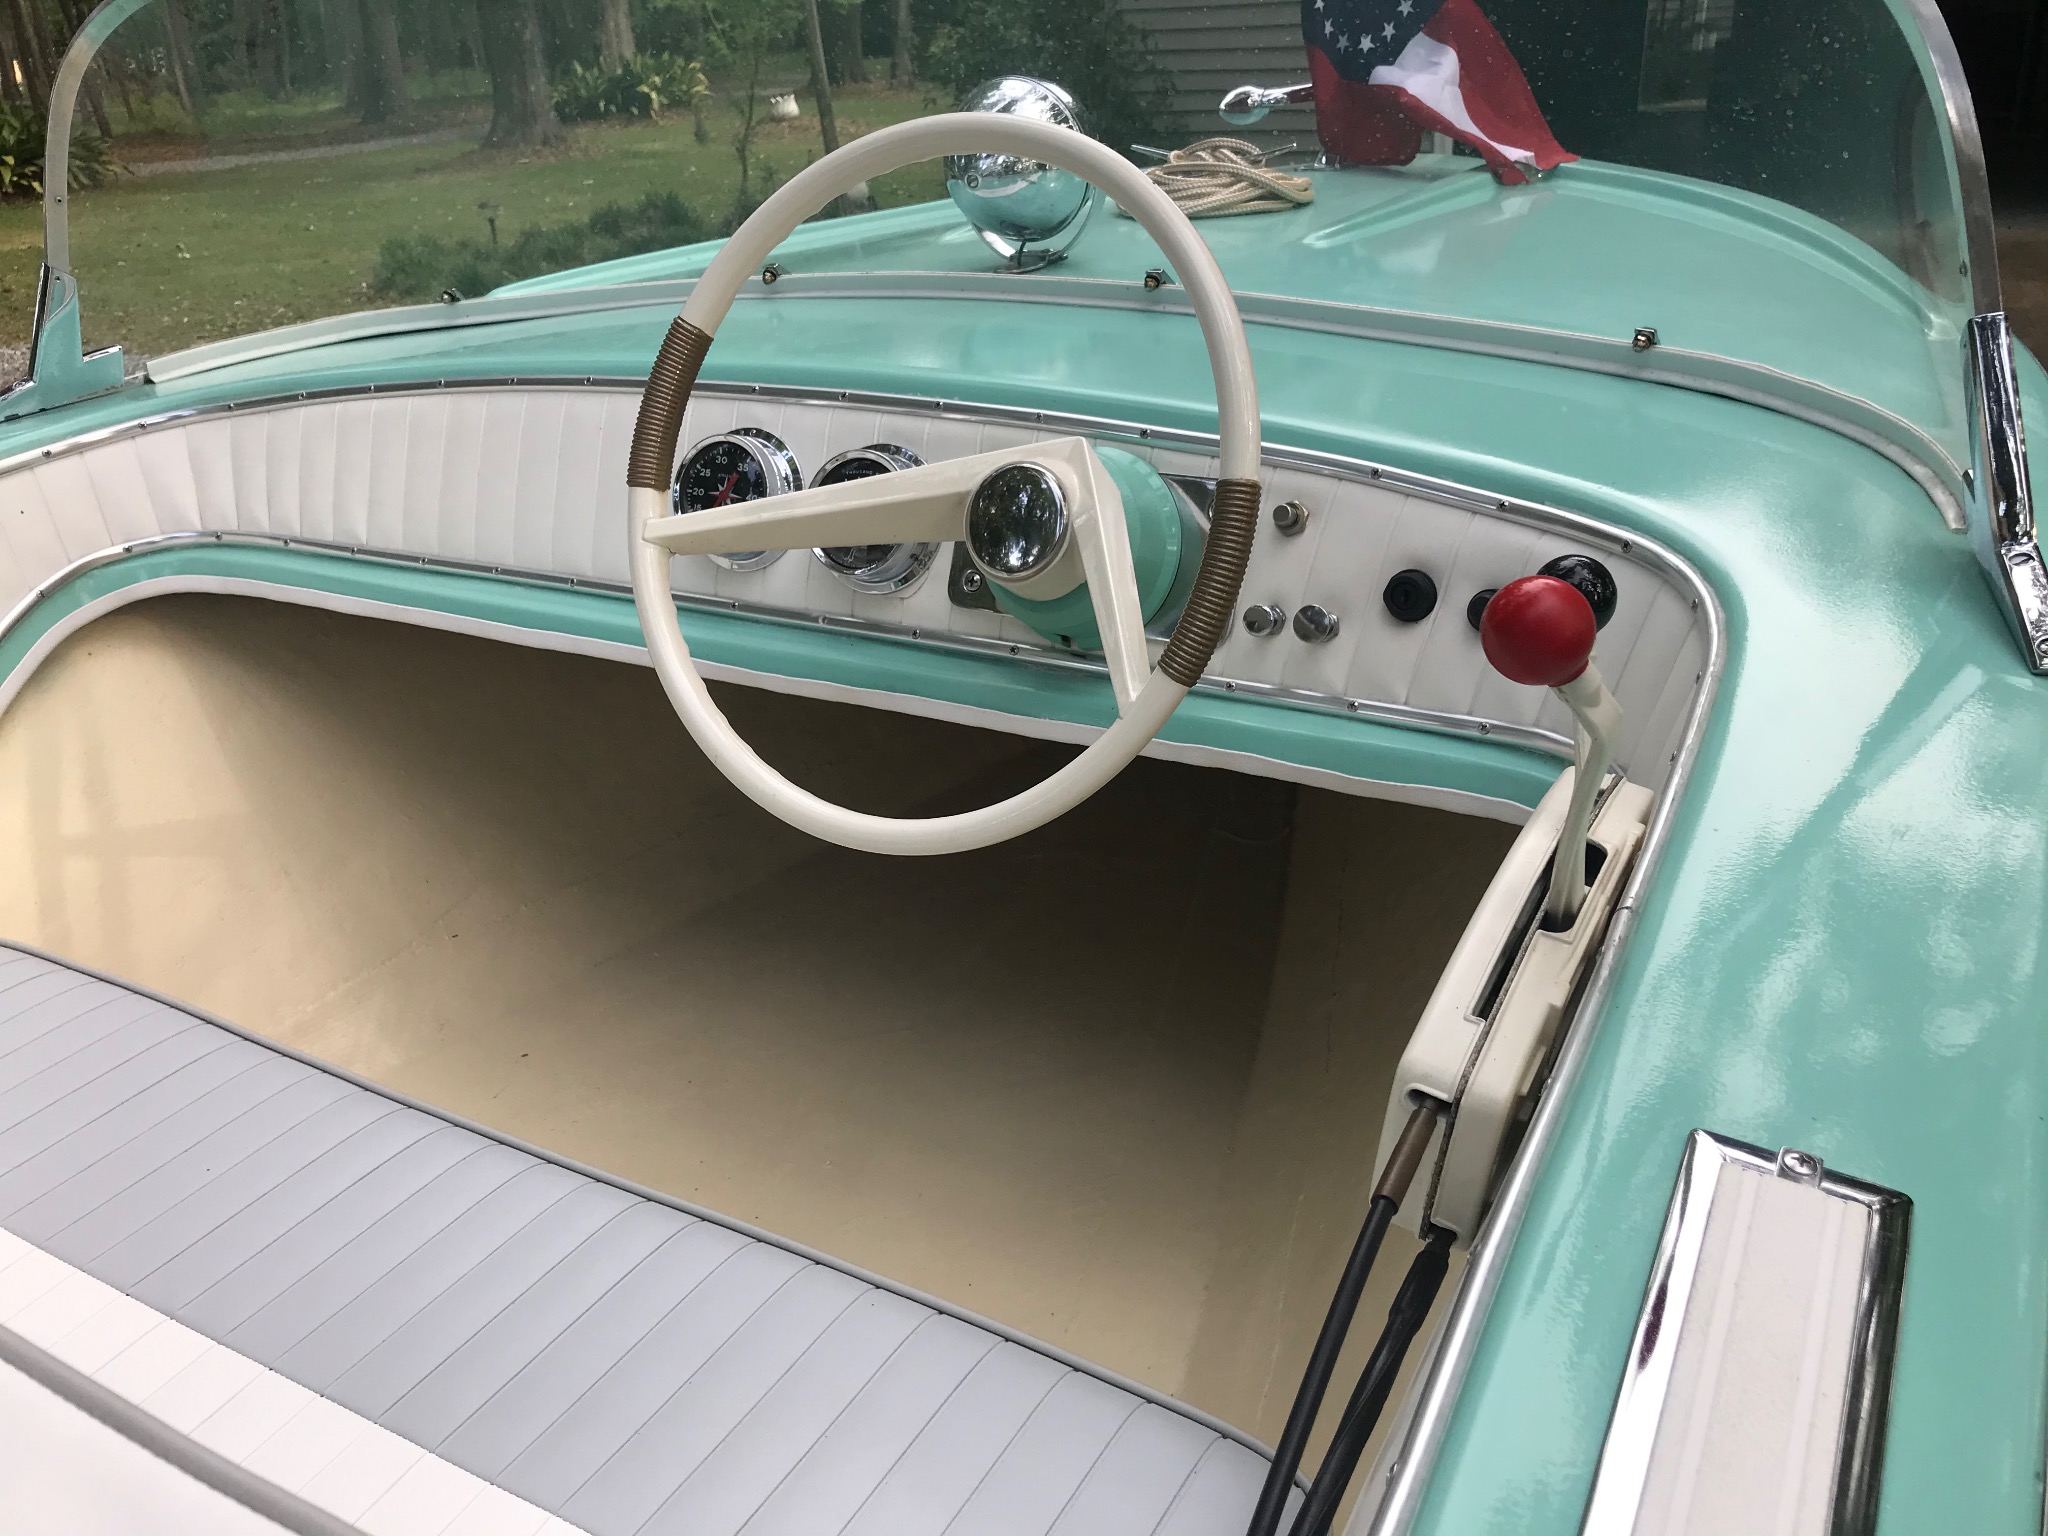
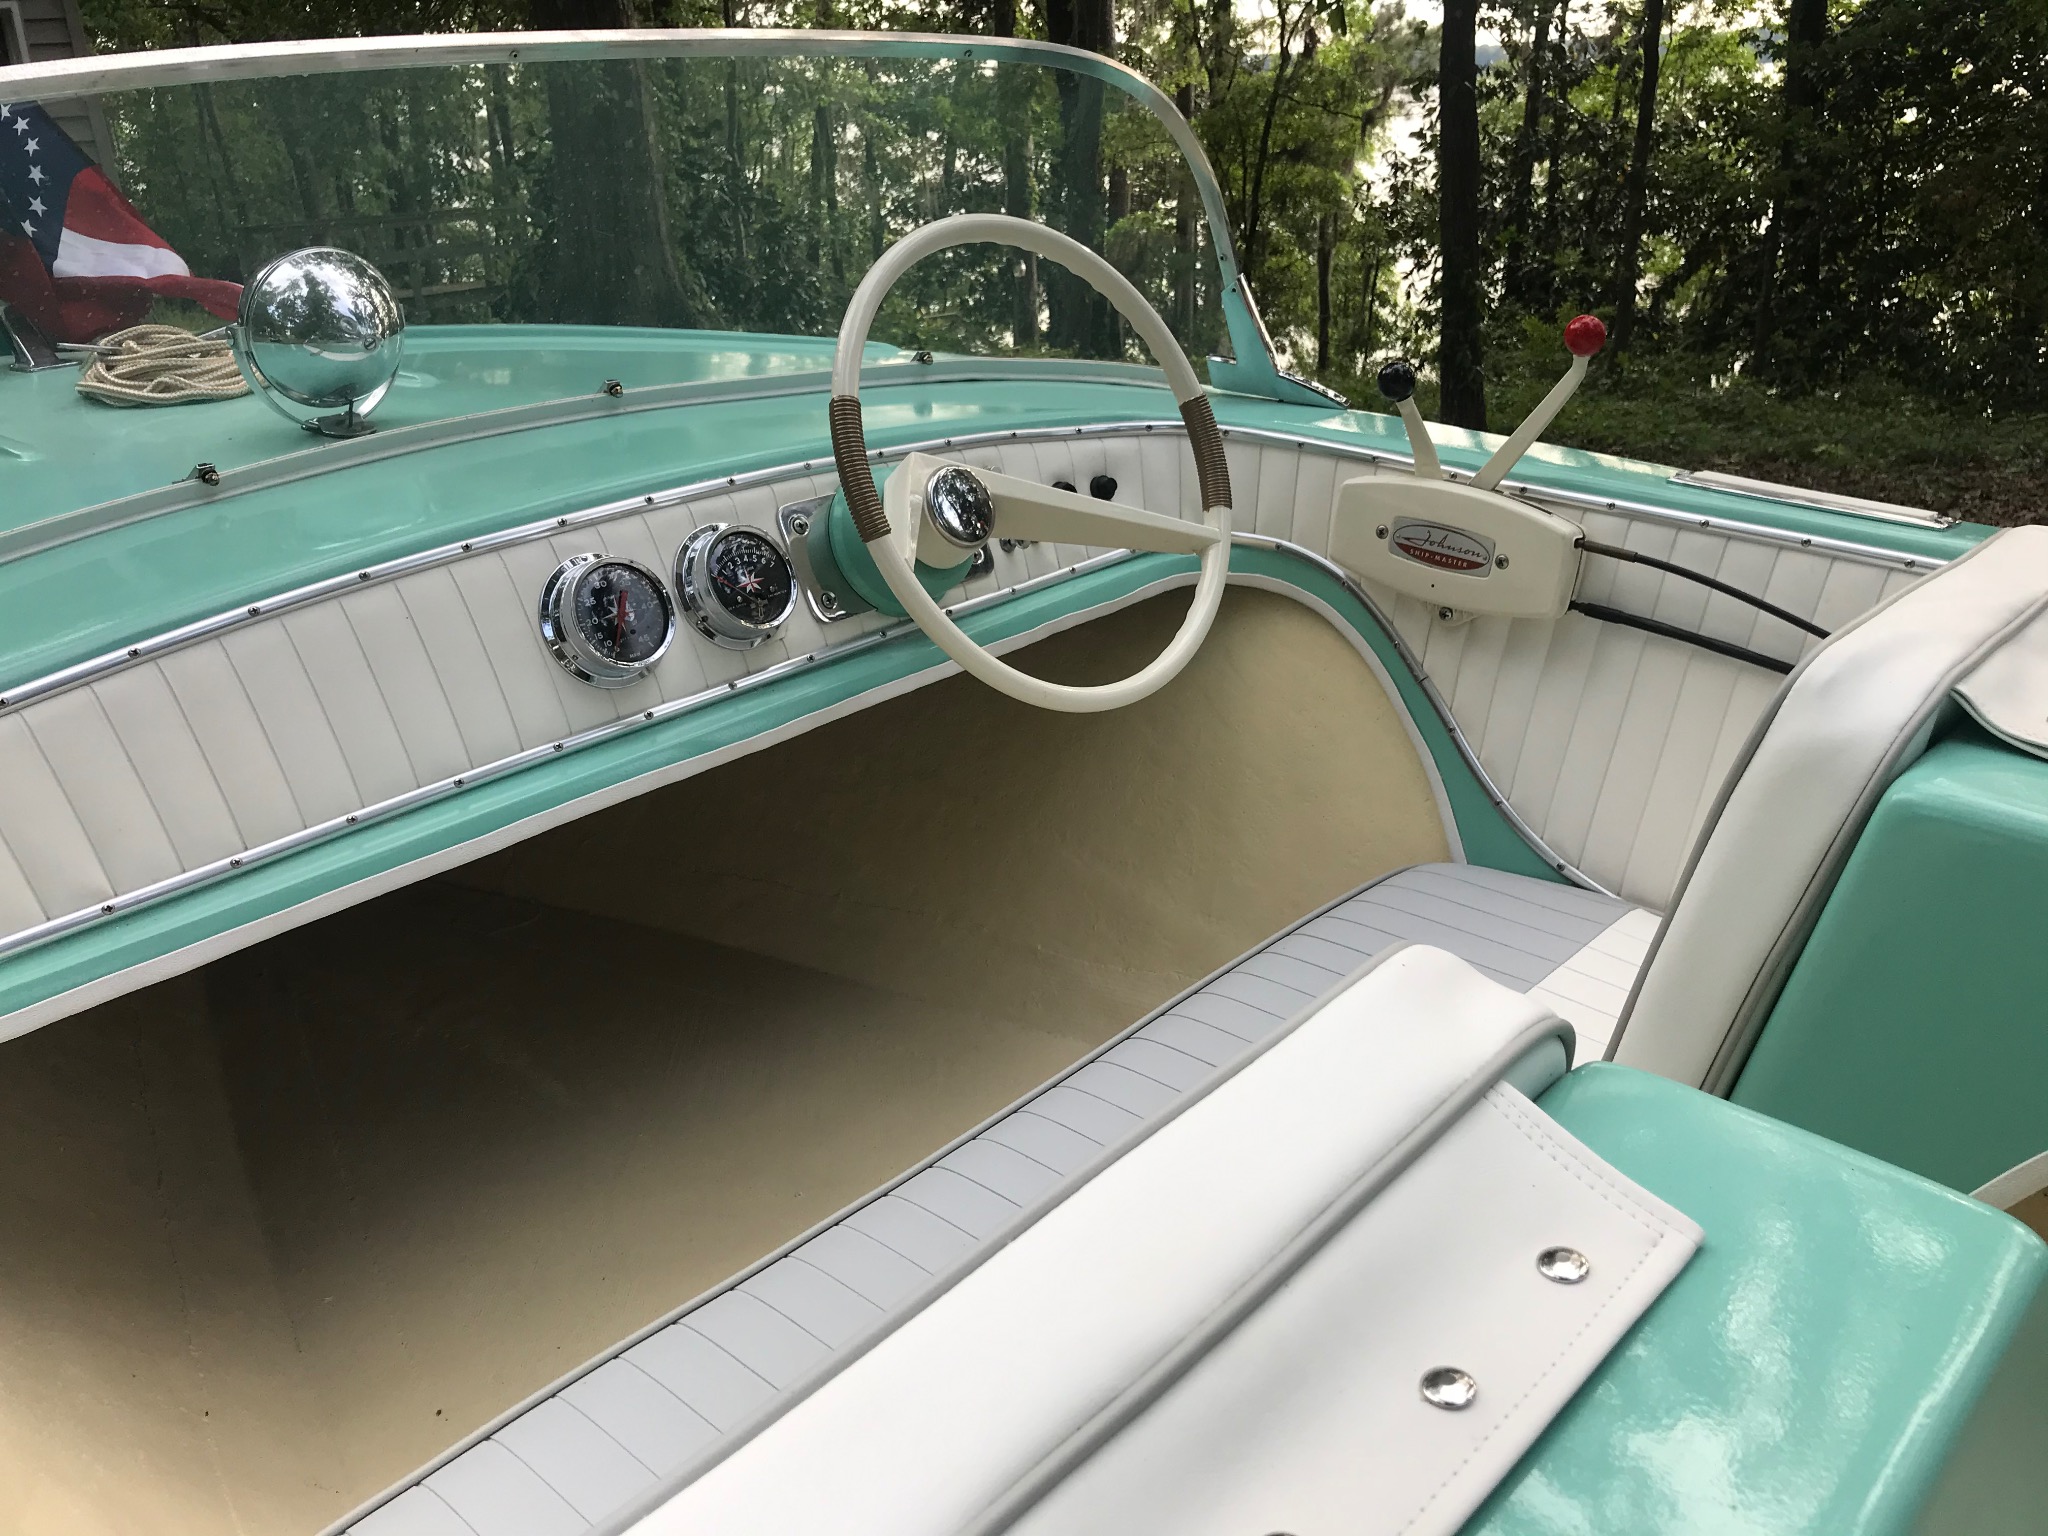
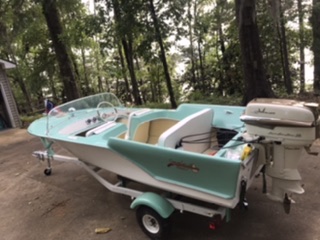
Just need to cover the seats and we might be ready to get wet....
Attachments:

Please Log in or Create an account to join the conversation.

Returning member...1960 Tomahawk restoration 5 years 1 month ago #141435

Please Log in or Create an account to join the conversation.

Returning member...1960 Tomahawk restoration 5 years 1 month ago #141437

looks great and reading thru i got some good tips to remember

Please Log in or Create an account to join the conversation.

Returning member...1960 Tomahawk restoration 5 years 1 month ago #141438

  • Dr.Go!
  • Dr.Go!'s Avatar
  • Offline
  • Contributing Member
  • Contributing Member
  • Posts: 1719
  • Karma: 19
  • Thank you received: 125
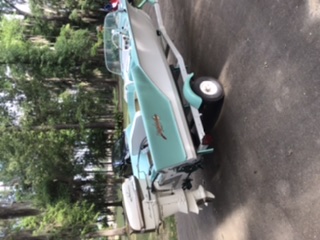
Nice! I like how you painted selected parts of the trailer so that it matches the same 2 - tone colors of the boat. The dash accent is a very nice touch. Excellent work!

Please Log in or Create an account to join the conversation.

Dr.Go!

Returning member...1960 Tomahawk restoration 5 years 1 month ago #141440

Thank you for the positive comments! This was my first resto and managed to use several great ideas from this board and other resources but especially Greg from Wisconsin!
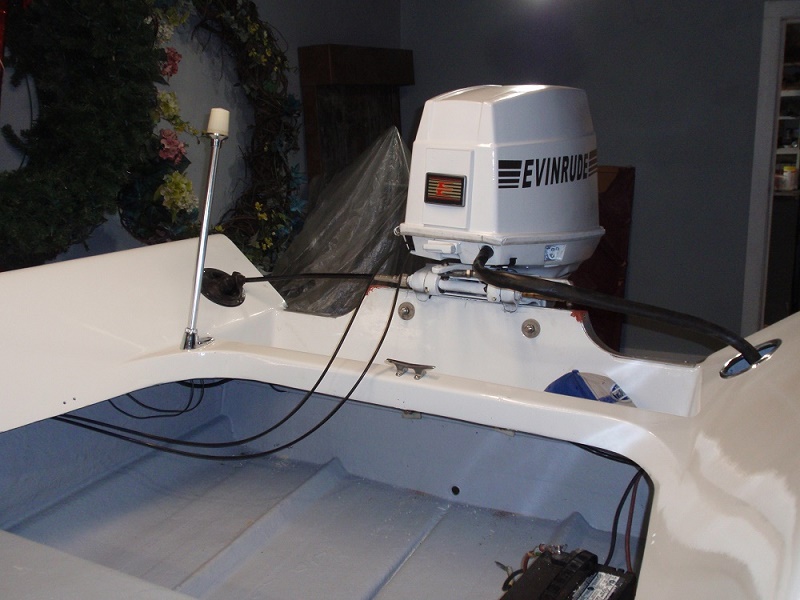
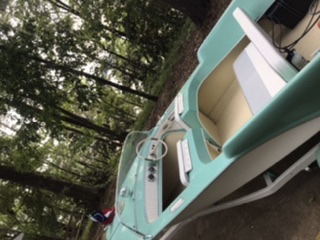
A few weeks back i was having difficulty in locating a 90 degree helm in order to mount the steering wheel/drum assembly. For anyone who might be facing the same problem in the future, i discovered that a pedestal seat base I bought at Bass Pro, fit the diameter of the steering shaft perfectly. I was going to mount it behind the dash but after getting some opinions, decided to mount it on the front. I bought a black plastic helm cover and painted it to match the boat i kinda like how it came out but wasnt sure at first. But its fit and function are perfect.

Please Log in or Create an account to join the conversation.

Returning member...1960 Tomahawk restoration 4 years 8 months ago #142140

Attachments:

Please Log in or Create an account to join the conversation.

Returning member...1960 Tomahawk restoration 4 years 8 months ago #142141

Finally got the seats installed...recently replaced the coils, points, condensers and ready to fire it up.

Please Log in or Create an account to join the conversation.

Returning member...1960 Tomahawk restoration 4 years 8 months ago #142143

Outstanding!!!!!!!!!!!!!!!!!!!!!!!!

Bob

Please Log in or Create an account to join the conversation.

  • Page:
  • 1
  • 2
Time to create page: 0.503 seconds

Donate

Please consider supporting our efforts.

Glassified Ads

1956 Lonestar Meteor
( / Boats)

1956 Lonestar Meteor
12-24-2024

Mercury outboard
( / Engines)

noimage
11-03-2024

Classic Mercury Outboard Motors
( / Engines)

Classic Mercury Outboard Motors
10-18-2024

FG Login

FiberGoogle

Who's Online

We have 13052 guests and one member online